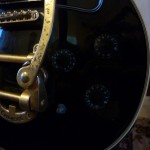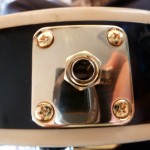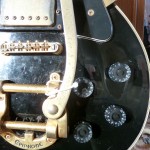
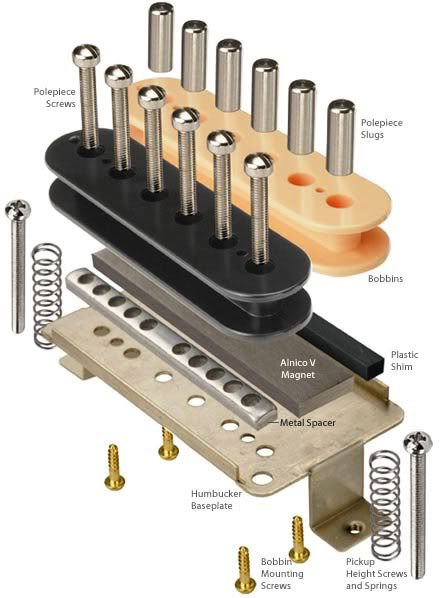
Pickups traditionally need some form of bracket to mount them to the guitar; 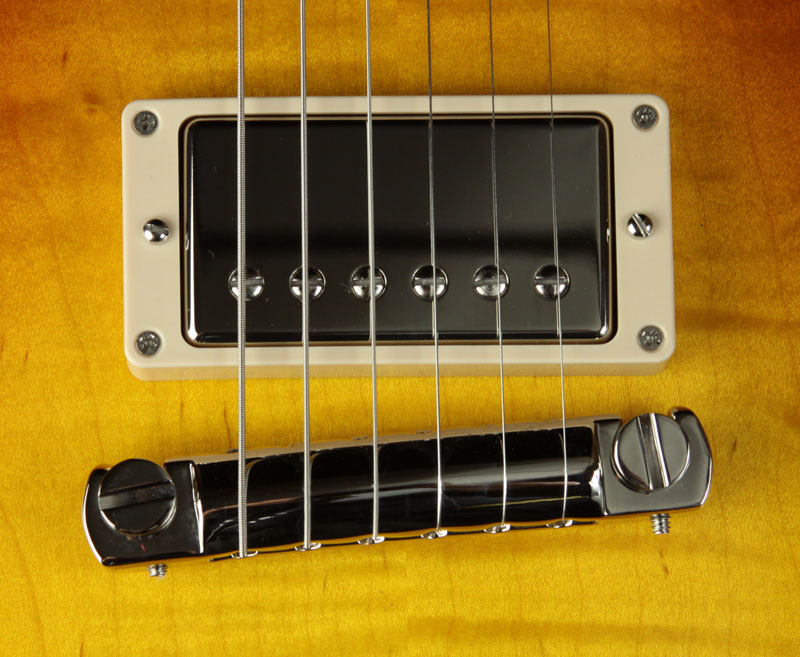 e.g. Stratocasters have pick-guards and Les Pauls have pickup rings. The mounting bolts pass through the pick-guard or ring, through an adjusting spring or silicone tube and finally screw into the pickups threaded side tabs.
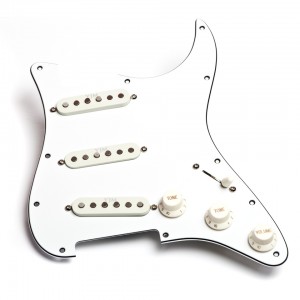 The height of the pickup is then adjusted by tightening or loosening the bolt on either side, while the spring or silicone tube applies the constant resistance required so that the pickup doesn’t flap around and moves up and down with the adjustment.
Mounting a pickup directly to the body is almost the inverse of this process.
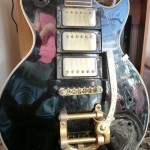
The routing of the pickup area does not need to be as large. In fact it is desirable for the routing to be as tight as possible with the chosen pickup so that any gaps are minimal, limiting sight into the cavity. Failure to do this results in a finish similar to Eddie Van Halen’s Frankenstein guitar.
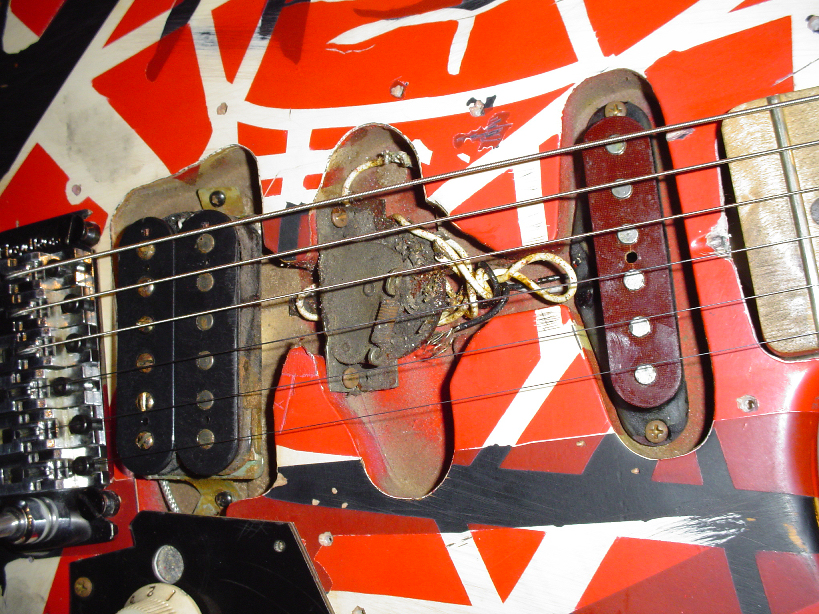
“Franky”
I found when researching the options for body mounting that there were very few solutions available. The general consensus seems to be changing the mounting bolts for wood screws that pass though the pickup tabs and directly into the guitar body. This obviously means that the threaded holes in the pickup need to be drilled out to allow a screw to pass though freely. Most solutions add a piece of foam between the back of the pickup and the guitar body, creating the resistance in place of the springs/silicone used with pickup rings. The length and diameter of the wood screw in this case would be very critical as it would need to be sized accurately for the required final height the pickup once complete. Adjustment of the pickup height by the customer would then be at risk of the screws possibly coming right through the back of the guitar if they were too long.
Screws of unknown length, girth and finish to mount a pickup didn’t appeal to me. Putting a bit of foam in one of my guitars with the hope that it remained spongy, also seemed destined to fail and an overall bodge, so I decided to do it my own way.
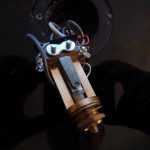
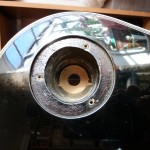
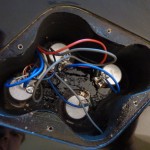
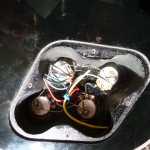
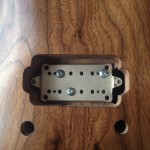
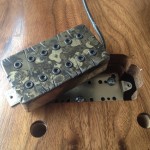
 Pickup base-plates are readily available from guitar building sites such as AxesRus, which are used for building custom-wound pickups. They’re cheap, they have holes pre-drilled which can be used for mounting and the tabs are already exactly spaced and threaded to fit any standard 6-pole humbucker. It seemed very logical to just mount one of these plates upside down in the pickup cavity. The side tabs (then facing upwards) mirror the pickup to be fitted, and act as a bracket for mounting. This also allows for the supplied bolt and spring configuration for resistance. I couldn’t believe that nobody else had seemed to have tried this.
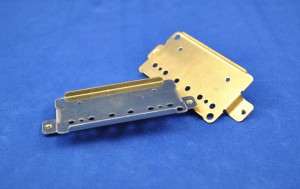 The threaded holes in the side tabs of the chosen pickup still need to be drilled out to allow the bolts to pass through freely, but this is the only modification required (with possible exception to the mounting bolts).
NB: In a recent build the bolts were so long that they ‘bottomed out’ into the pickup cavity when I tried to lower the pickup. Simply snipping off around 4 mm of the bolt with some side-cutters and tidying up with a needle file quickly fixed this.

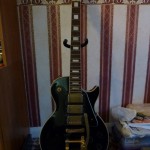
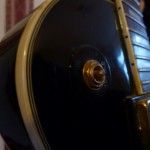
 somehow slipped from its upright position against an amp, landing face-down and breaking clean through the headstock itself just under the bottom machine-heads holes. This guitar was then out of commission for a long time as my friend requested quotes from local Luthiers to re-join the head.