Images taken through daily life, of inspirational images and designs I plan to use for inlay ideas across various projects.
 The primary delay of this project has been deciding on the headstock inlay. It has always been intended to be the head of the Pagan symbol Green Man, but I have laboured over the style and design for a long time.
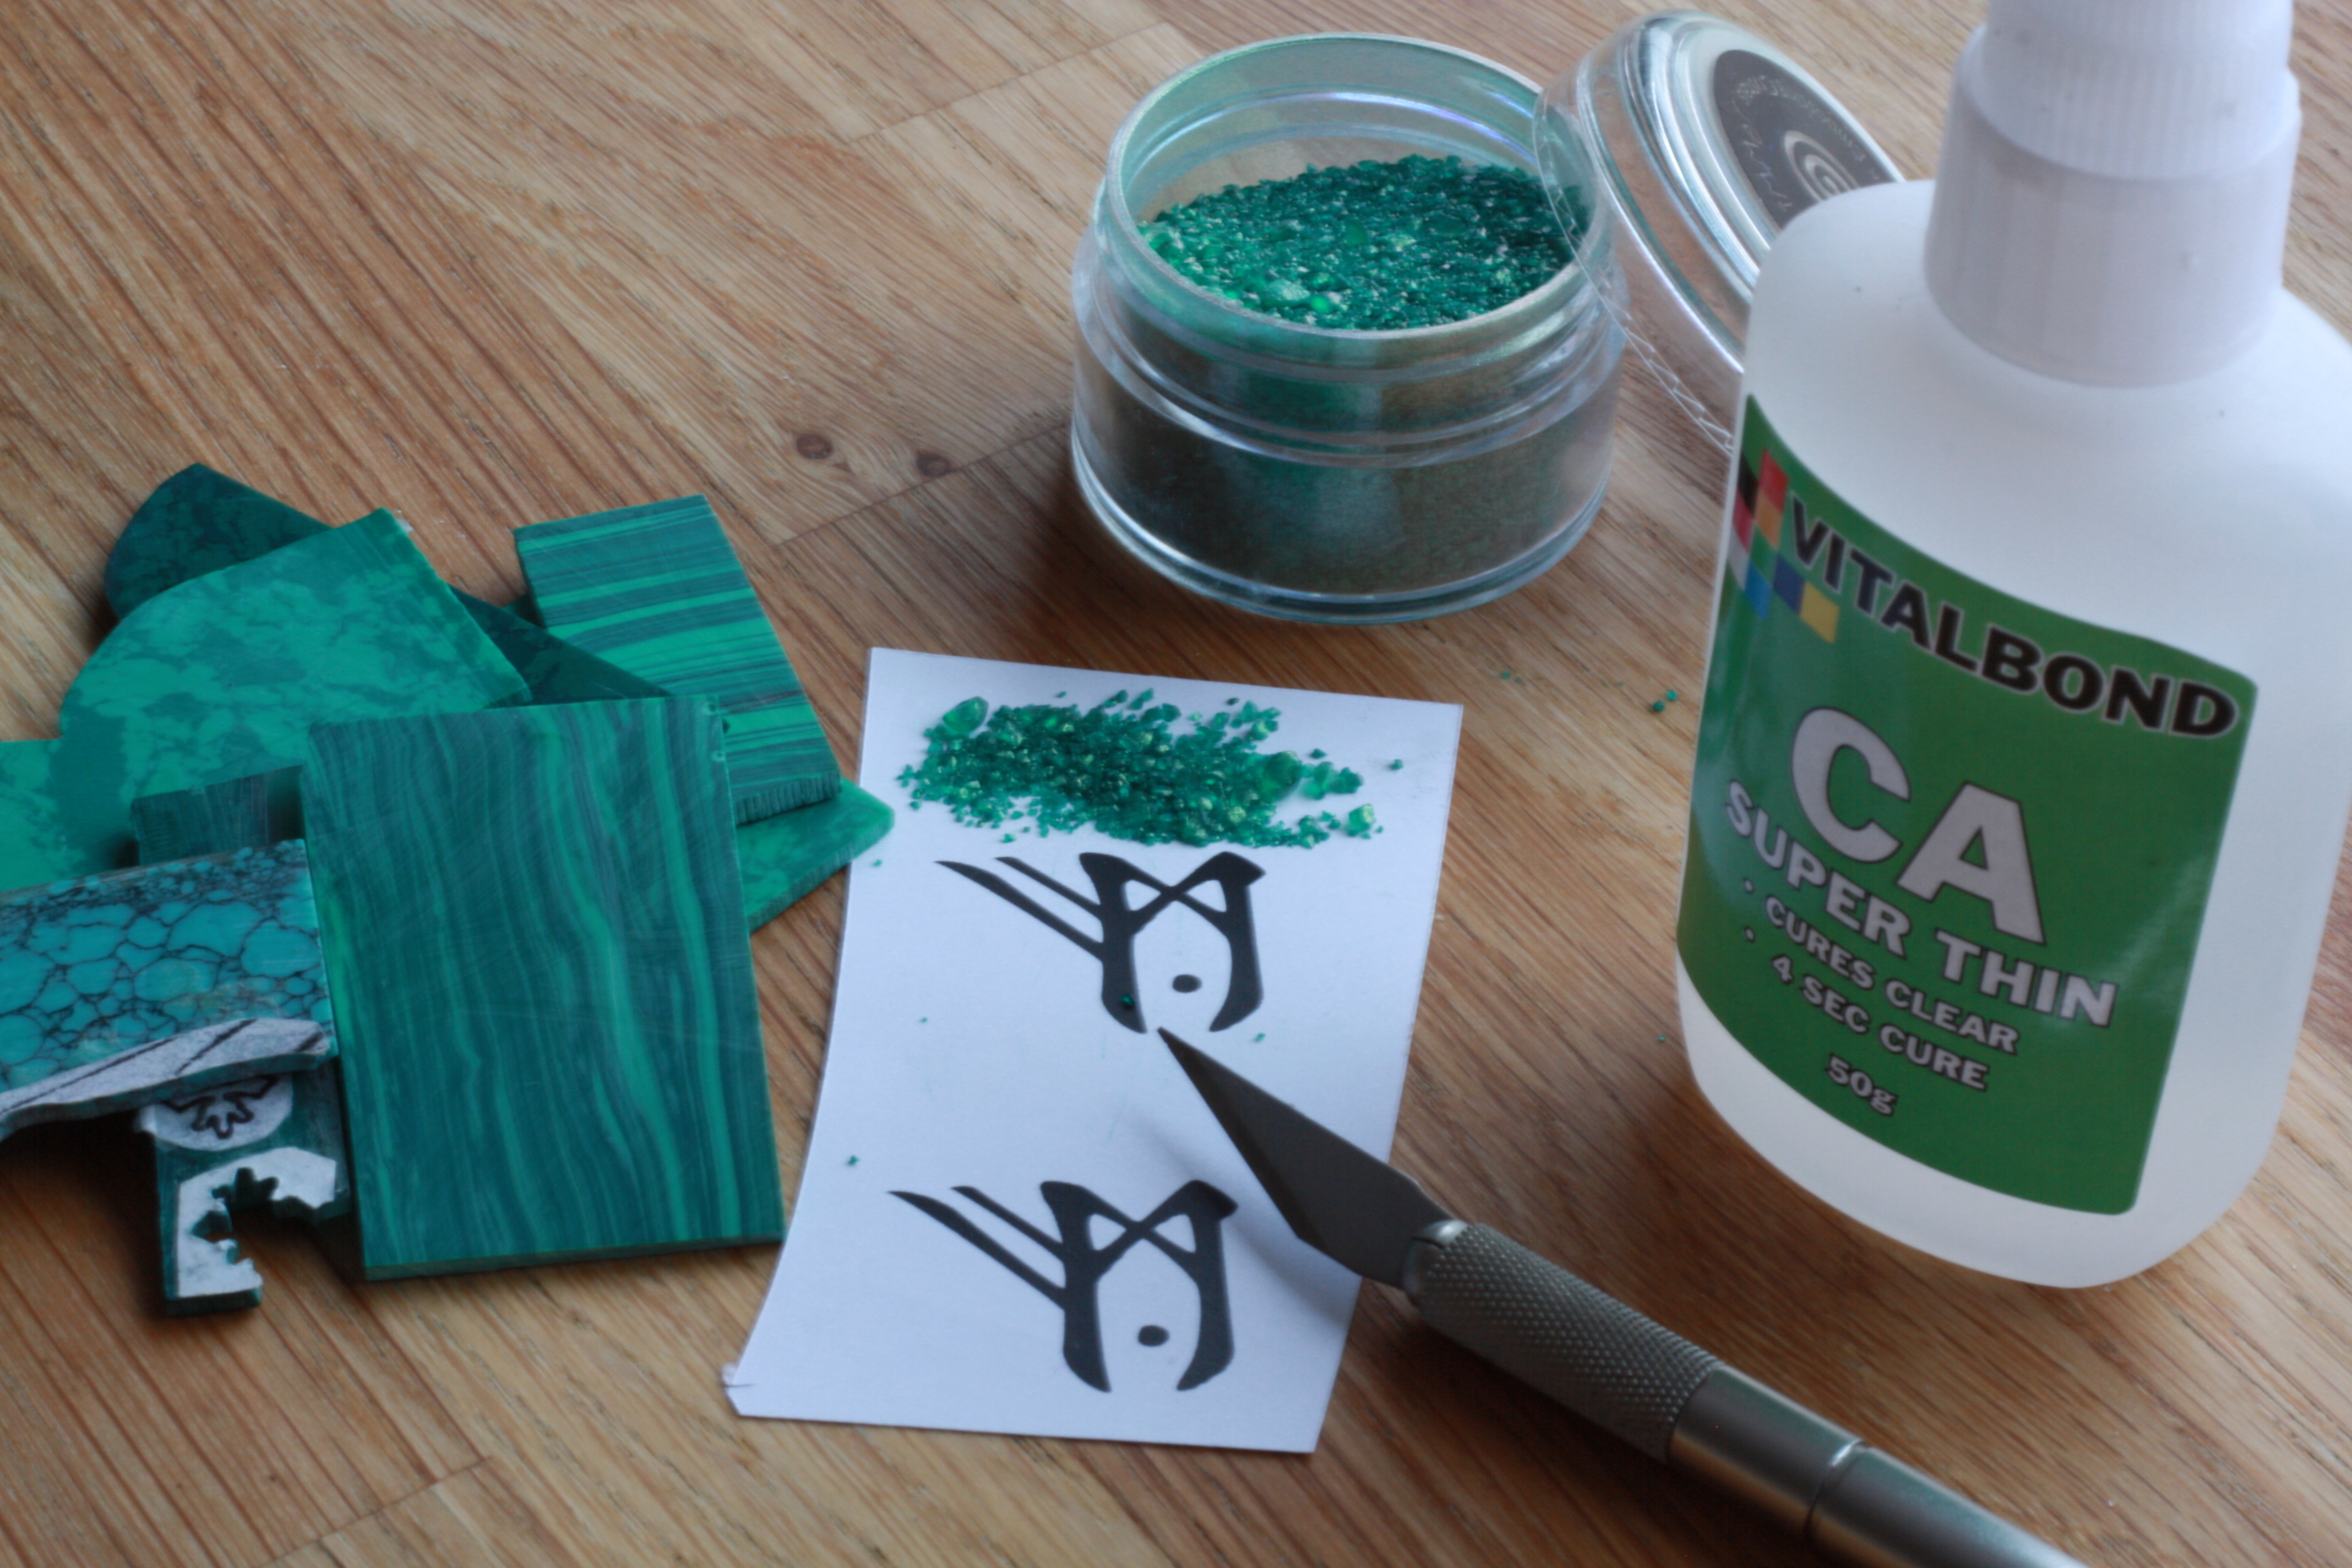 The inlay substrate will be some form of Green. I have not decided whether this will be cut from reconstituted rock Malachite (like the brand logo will be) or whether to experiment inlaying green rock granules. The method with the grains of rock would entail inlaying a channel into the timber, around 2-3 mm deep, then filling with the grains and back-filling with thin Cyanoacrylate. This is basically a very low viscosity Super Glue that is even ‘thinner’ than water, which will enable it to filter between the grains of rock before setting hard, ready to sand flat. I have not attempted this method before, and can only find vague reference of it’s use.
For the headstock design, I have trawled the internet for appropriate images and played around with minimalising the design ready for inlay. Here are some of the rough works that have not made the cut, to illustrate the basic work method. The finalised design will be much more ornate.
We have decided on an image to work from now at least. This will be edited into a silhouette form and then will go through a post-production stage to add shapes of flora around the edged of the hair and beard/moustache to keep the Pagan theme. Depending on how the resulting design looks, the eyes may be inset mother-of-pearl to highlight the piece.
All images will be inlaid into the black ebony headstock veneer.
This post charts the process of inlaying my standard logo into the headstock of a personal guitar project. In this case, I am using 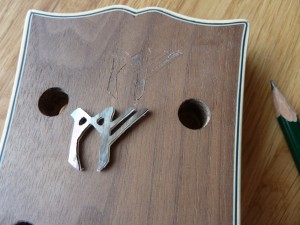 Black Tahiti Abalone, which gives black, green and purple hues in different lights. This has been chosen as a match for the Walnut neck predominantly for its darker appearance.
Once the design has been cut out and finished with needle files (see previous posts), the inlay is glued to the headstock, and once dried, scored around with a scalpel. This can be tricky with heavily grained timbers like Walnut as the blade can catch in the grain and travel off course. I am waiting for the delivery of an engineer’s scribe for future work, as this should make things easier on the first pass.
At this point ideally, some coloured chalk should be cross-hatched around the scoring to highlight the boundaries of the design to be routed. Snooker chalk is good for this, but I couldn’t find anything in the ‘Man-drawer’ that would suffice, so I did without. This becomes very tricky as the cutting progresses due to the build-up of sawdust covering the guidelines.
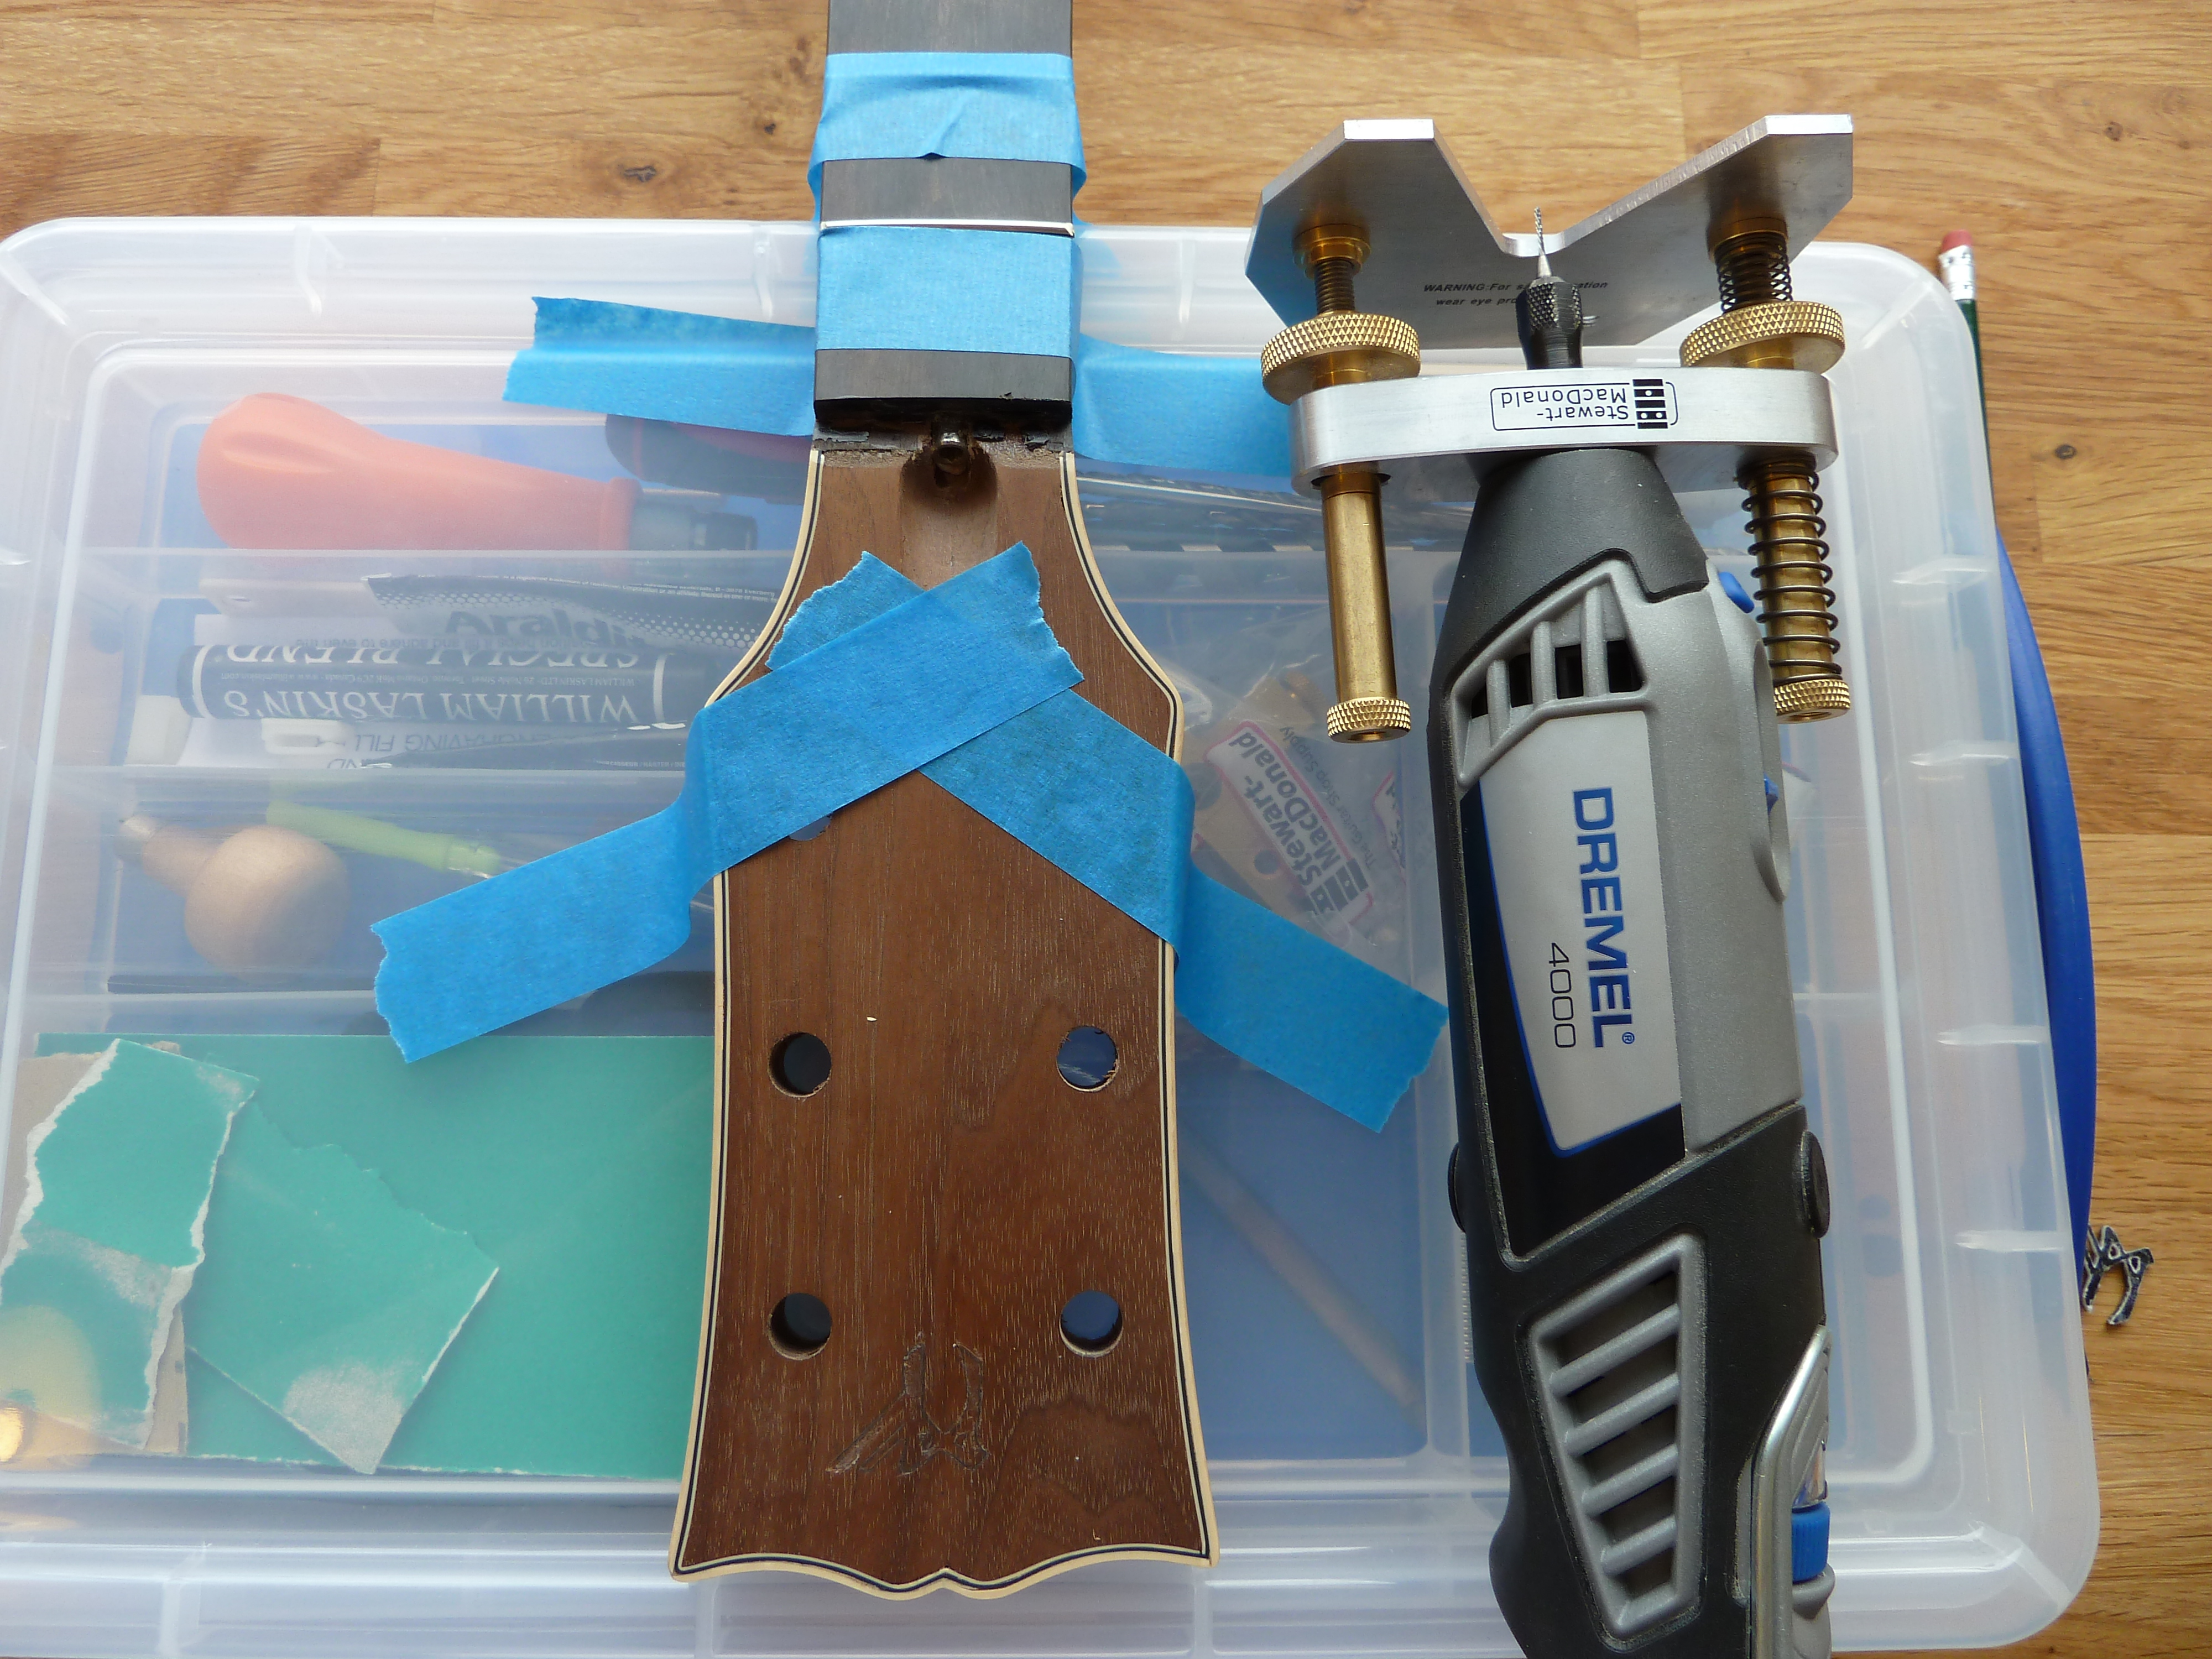 A Dremel multi-tool and Stewart MacDonald router base are essential for intricate routing work like this.
 When adjusting the cutting depth, it’s always better to cut deeper than required, especially with a thick substrate like abalone. This allows a much greater tolerance for a tight fit. It’s easy to pad the routing with epoxy to raise the level if the inlay is sitting too low.
I mix the leftover sawdust with some epoxy resin to create a darker colour. Without this darkening effect, the resin can tend to look too translucent and can spoil the definition of the edges of the inlay.
Even though they reckon Epoxy doesn’t shrink during the curing process like super glue, I find that it does tend to settle and can leave holes and gaps if the excess is skimmed off. For this reason I leave a good mound of Epoxy over the inlay to cure (a minimum of 24 hours).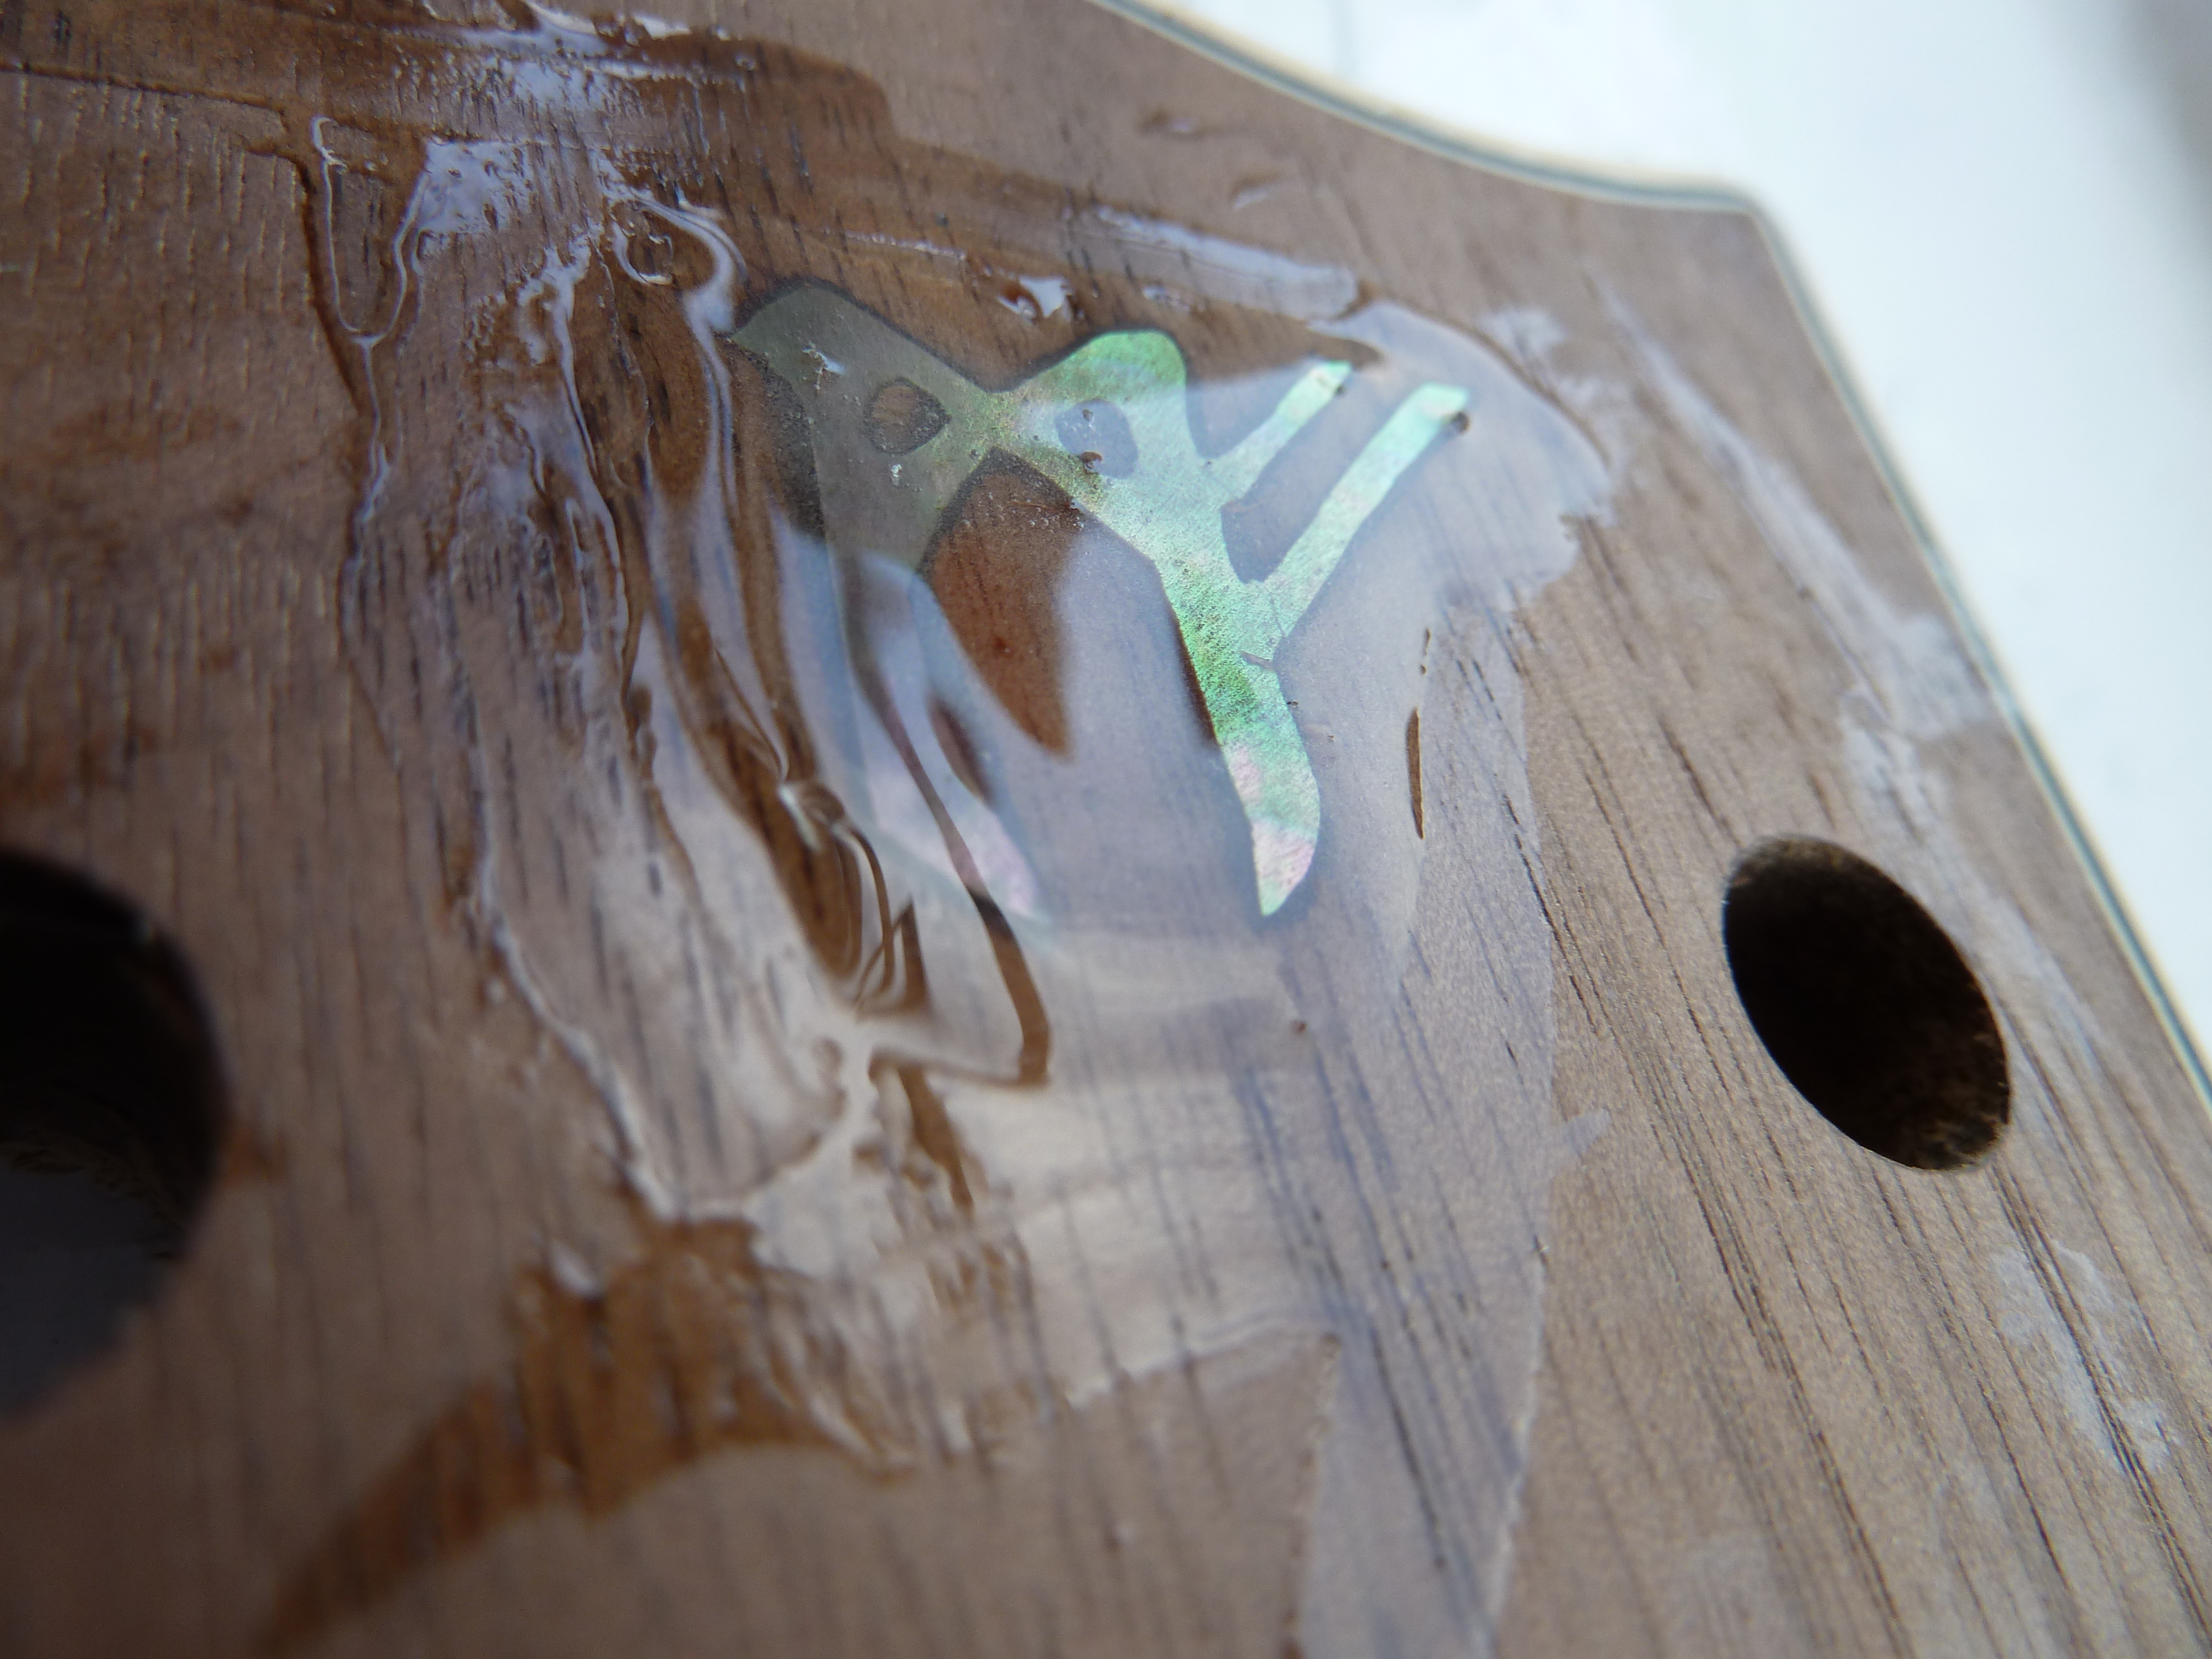
It’s then just a case of sanding off the excess after curing. I started with 80-grit, and worked down to 240 via 180. As a Wudtone finish is going to be applied to this neck, I did not want to sand the timber too fine. However, to ensure the inlay itself is highly polished, I used some 0000 ultra-fine steel wool and a little Lemon oil as a lubricant to make it shine.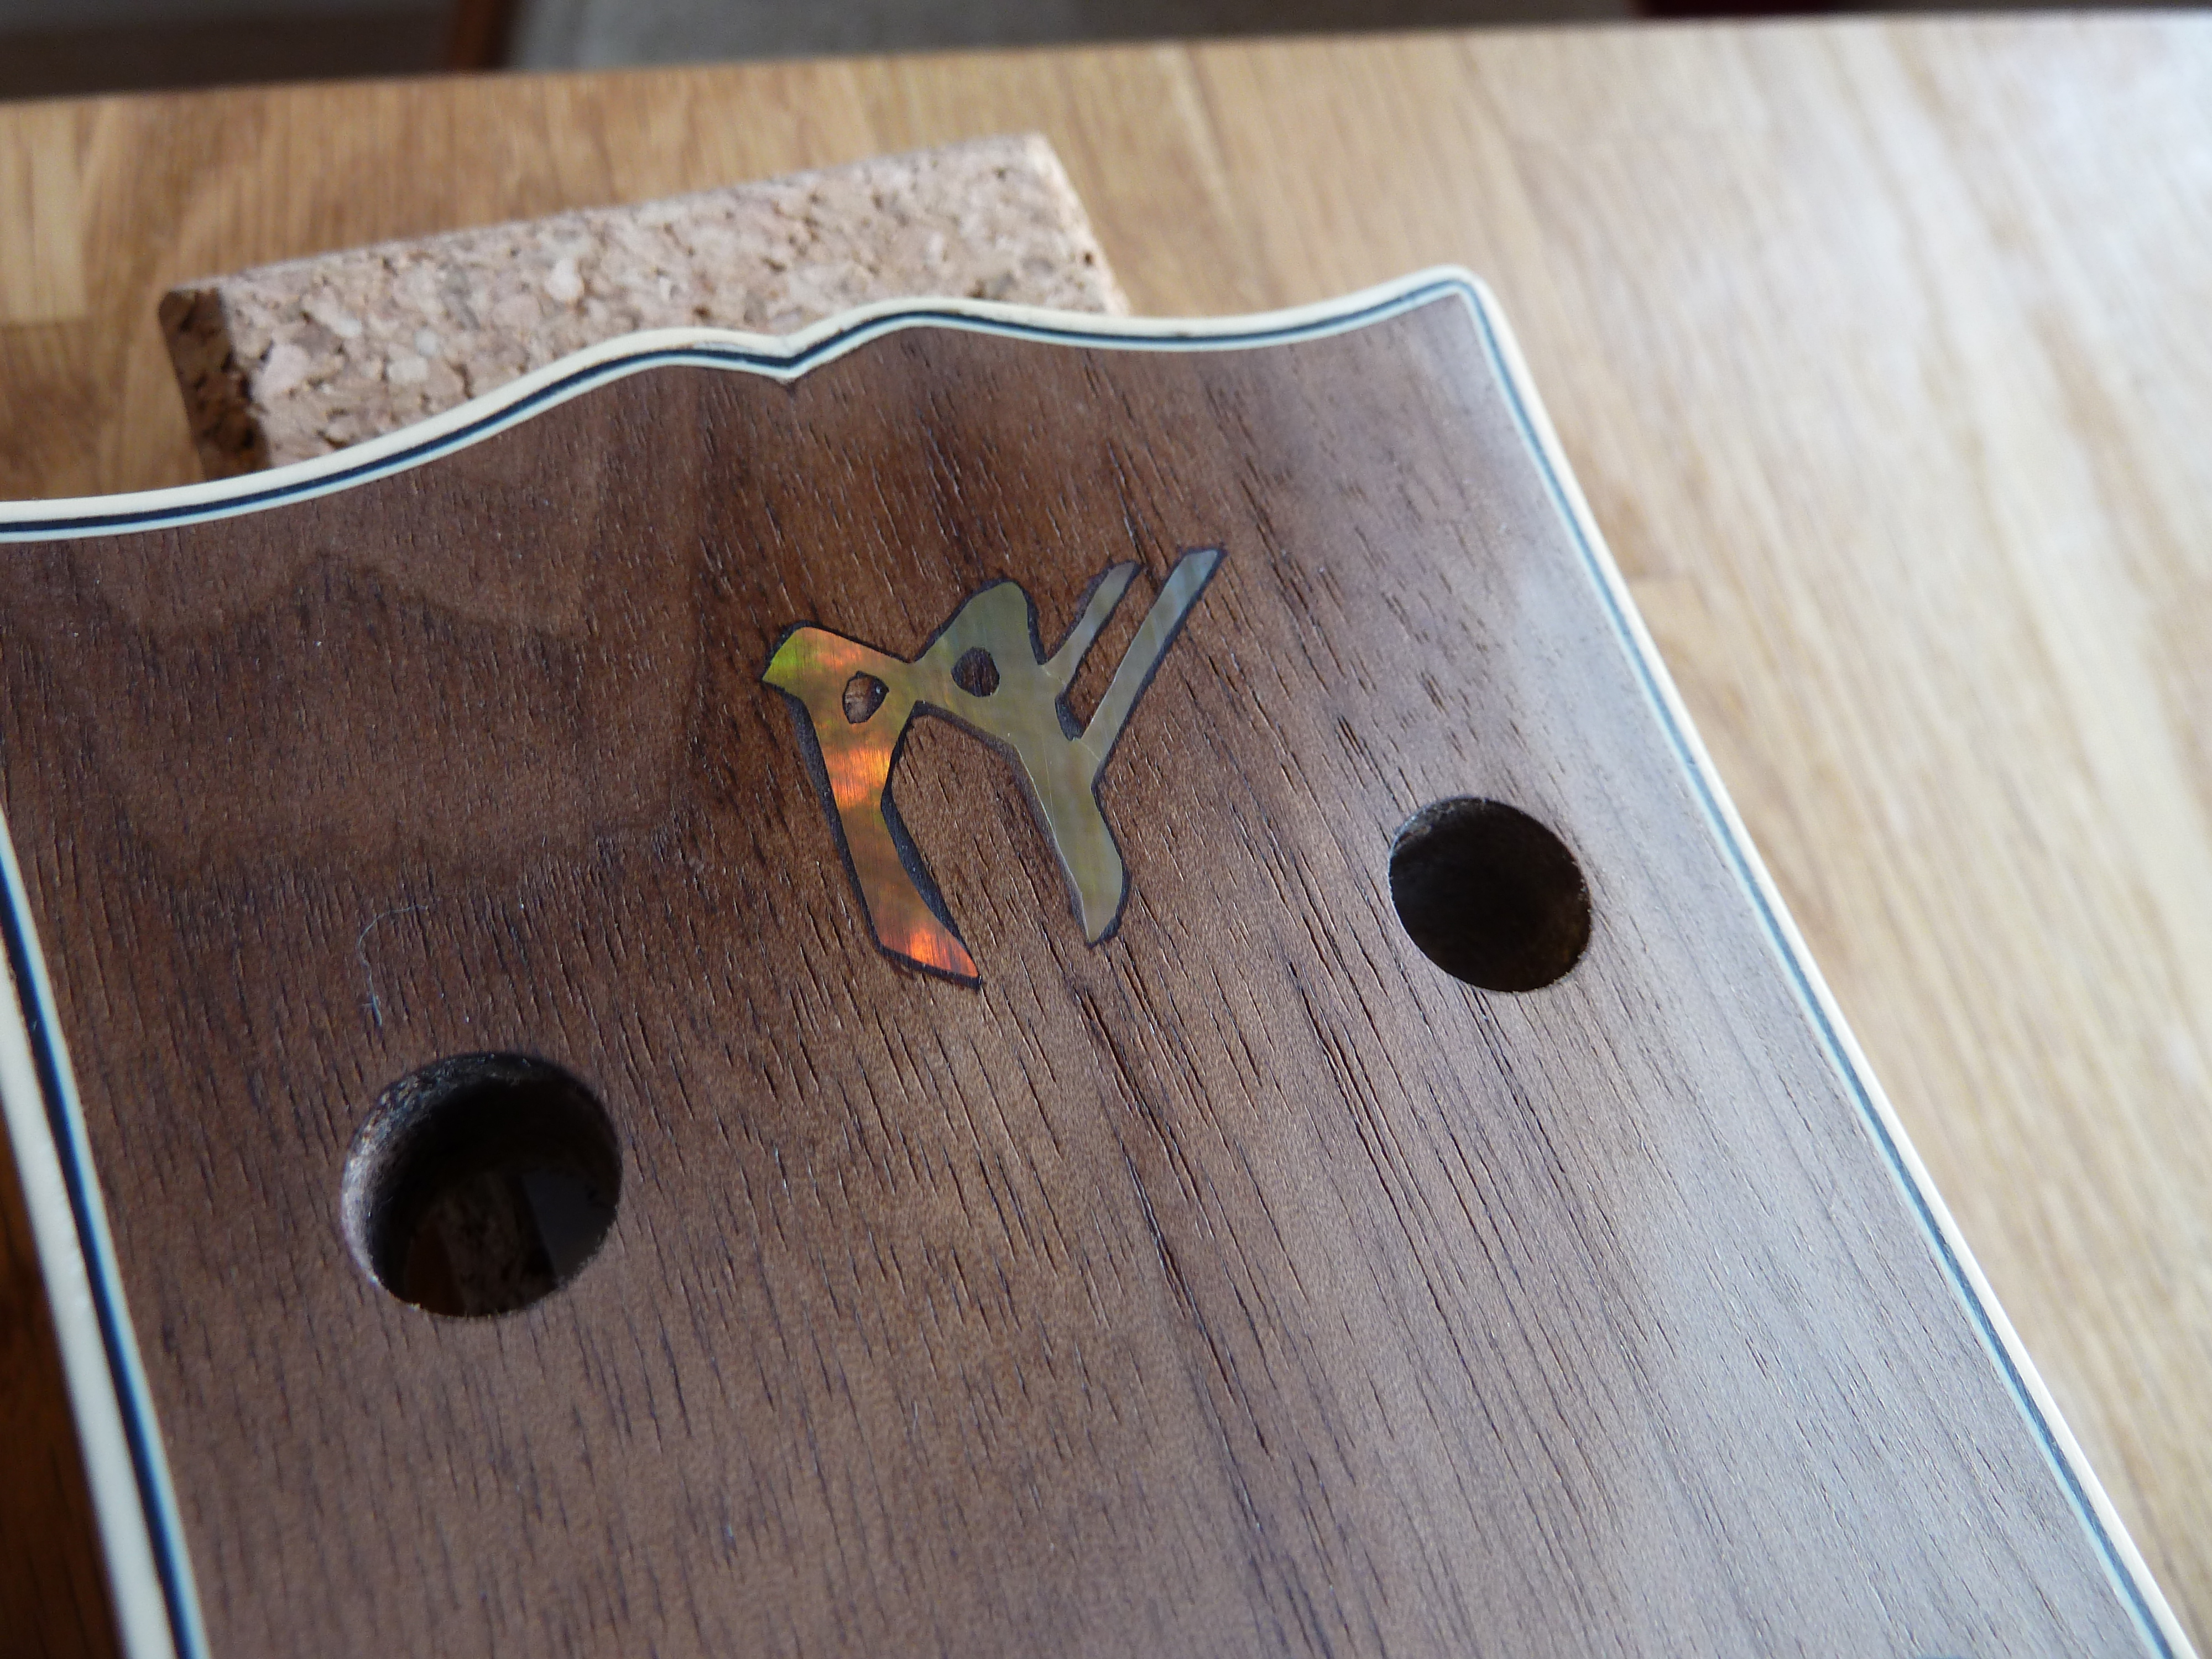
![]()
Although I have been setting up and building guitars for a few years now, I have only fairly recently started to fully customise and create a ‘new’ guitar where none of the contributing components have ever existed or belonged to a musical instrument before. As these builds are unique and created by me, I wanted to brand them as such.
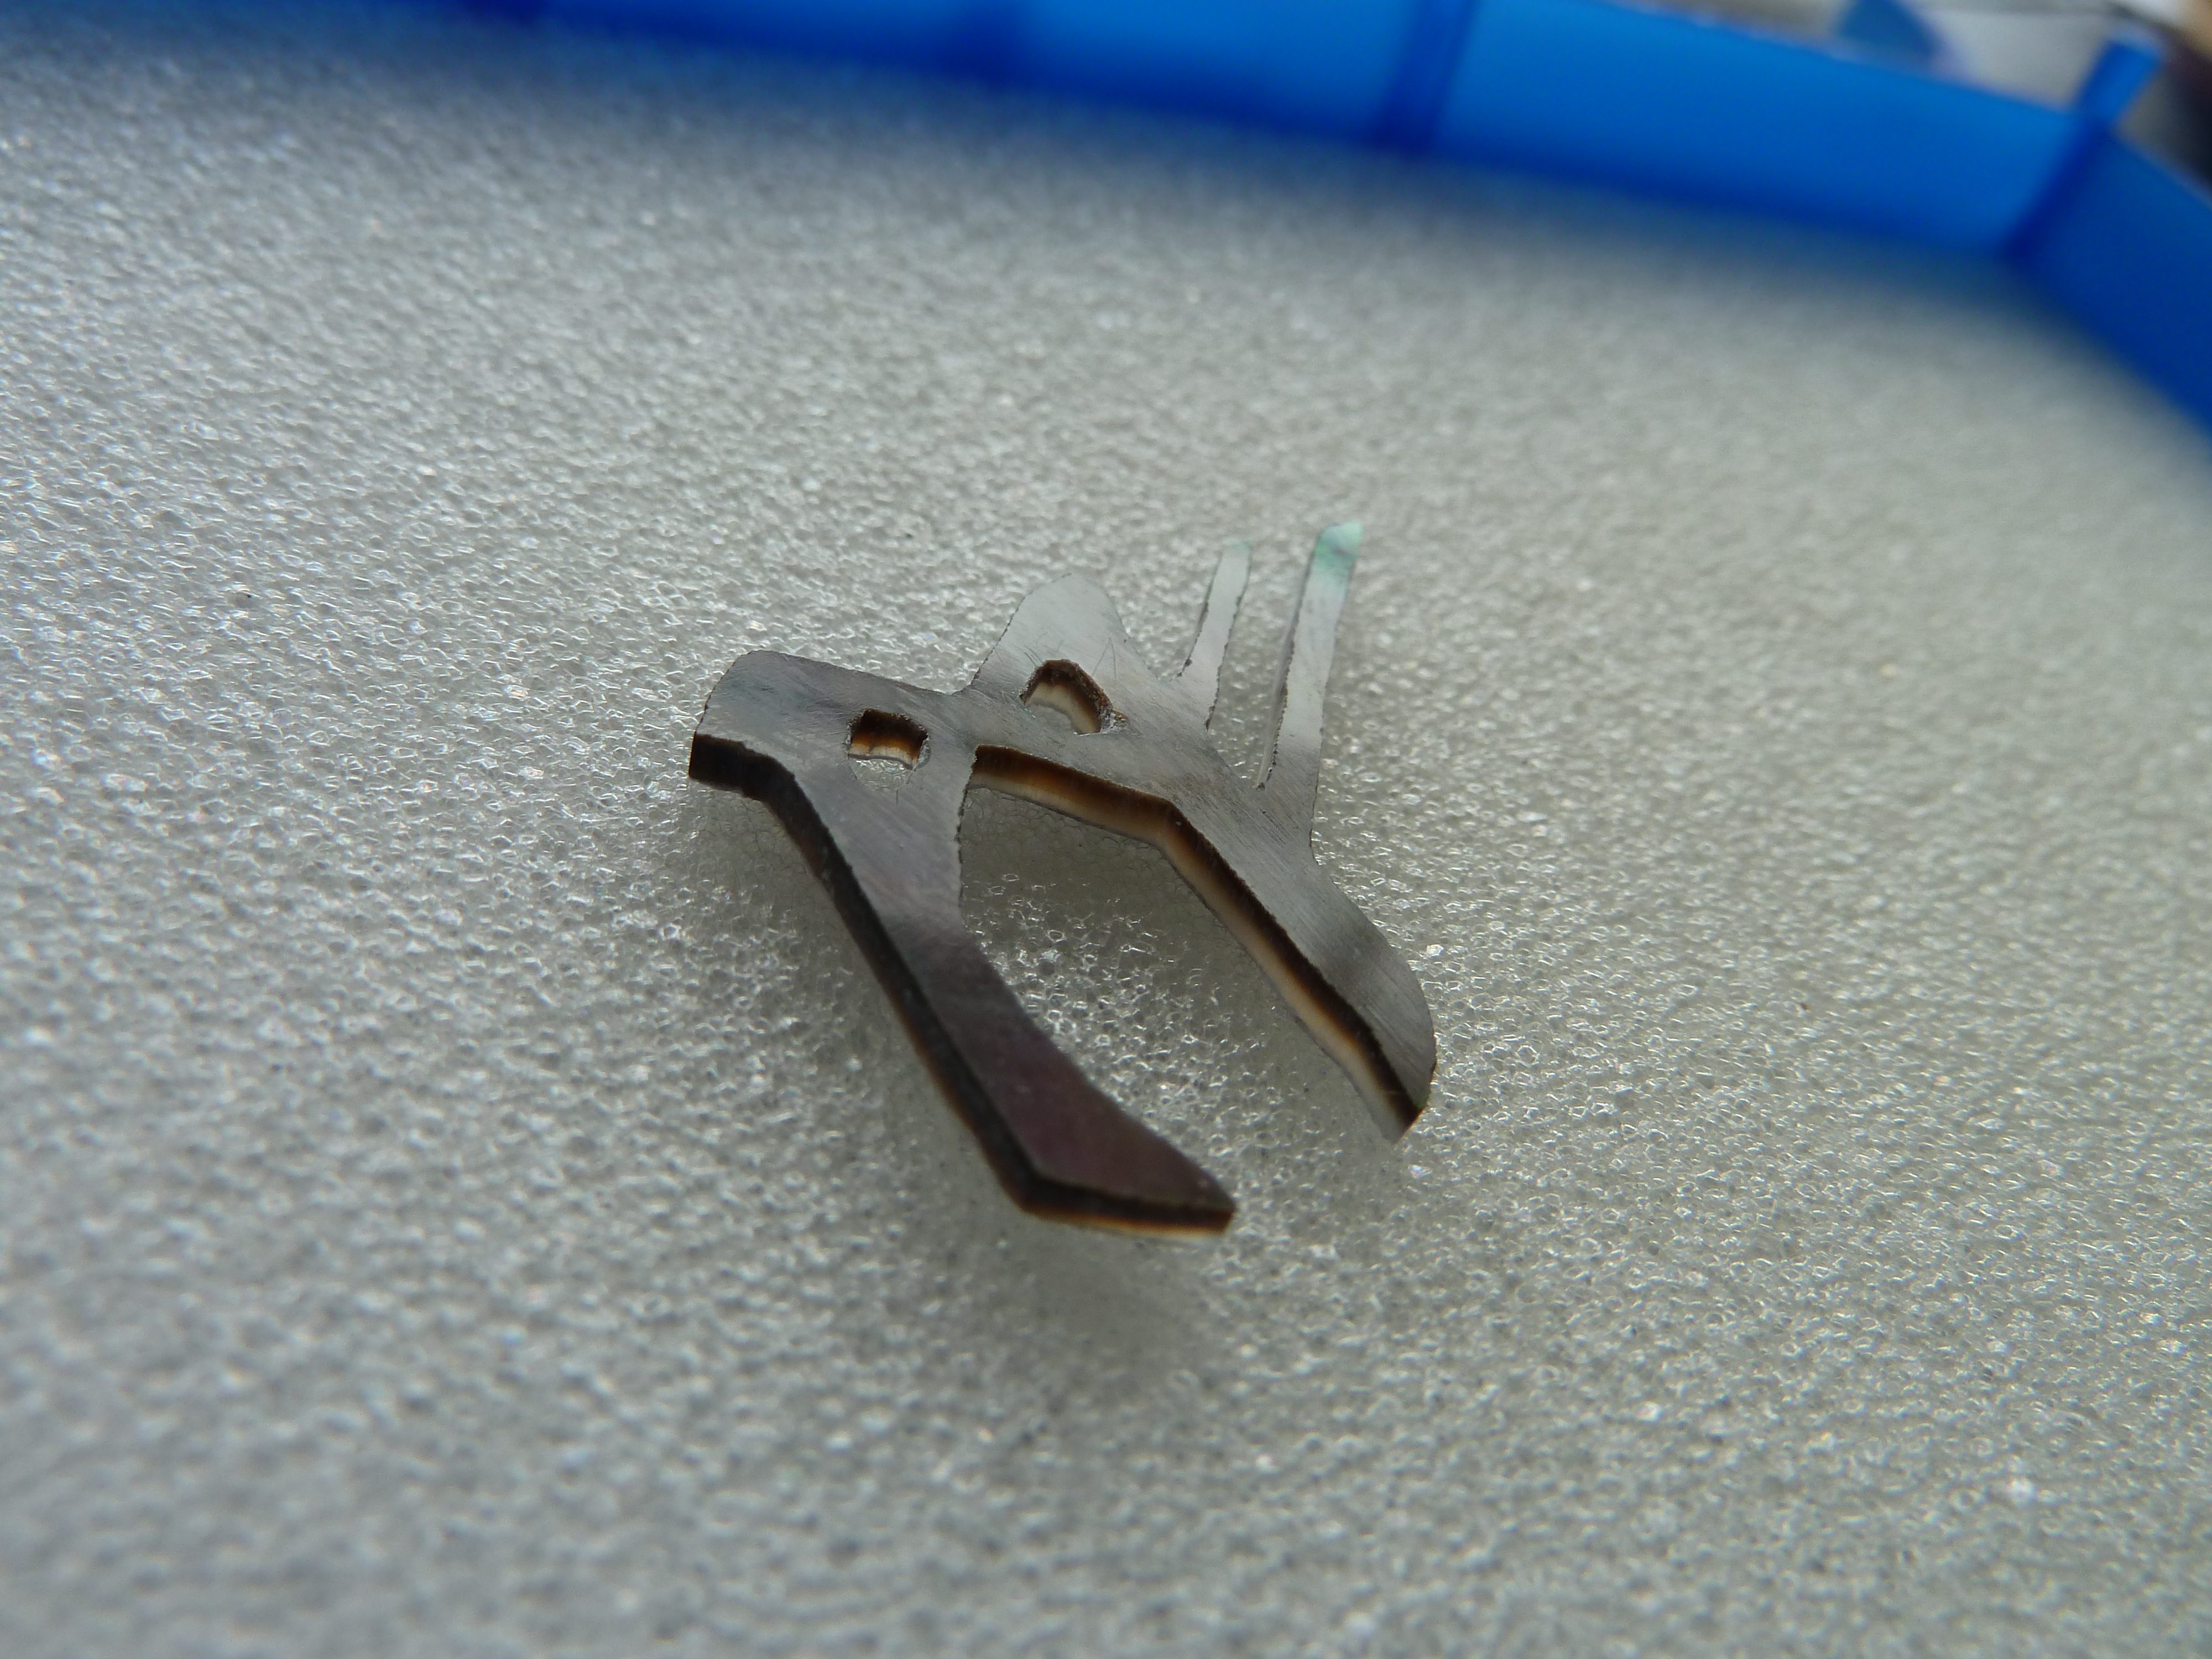
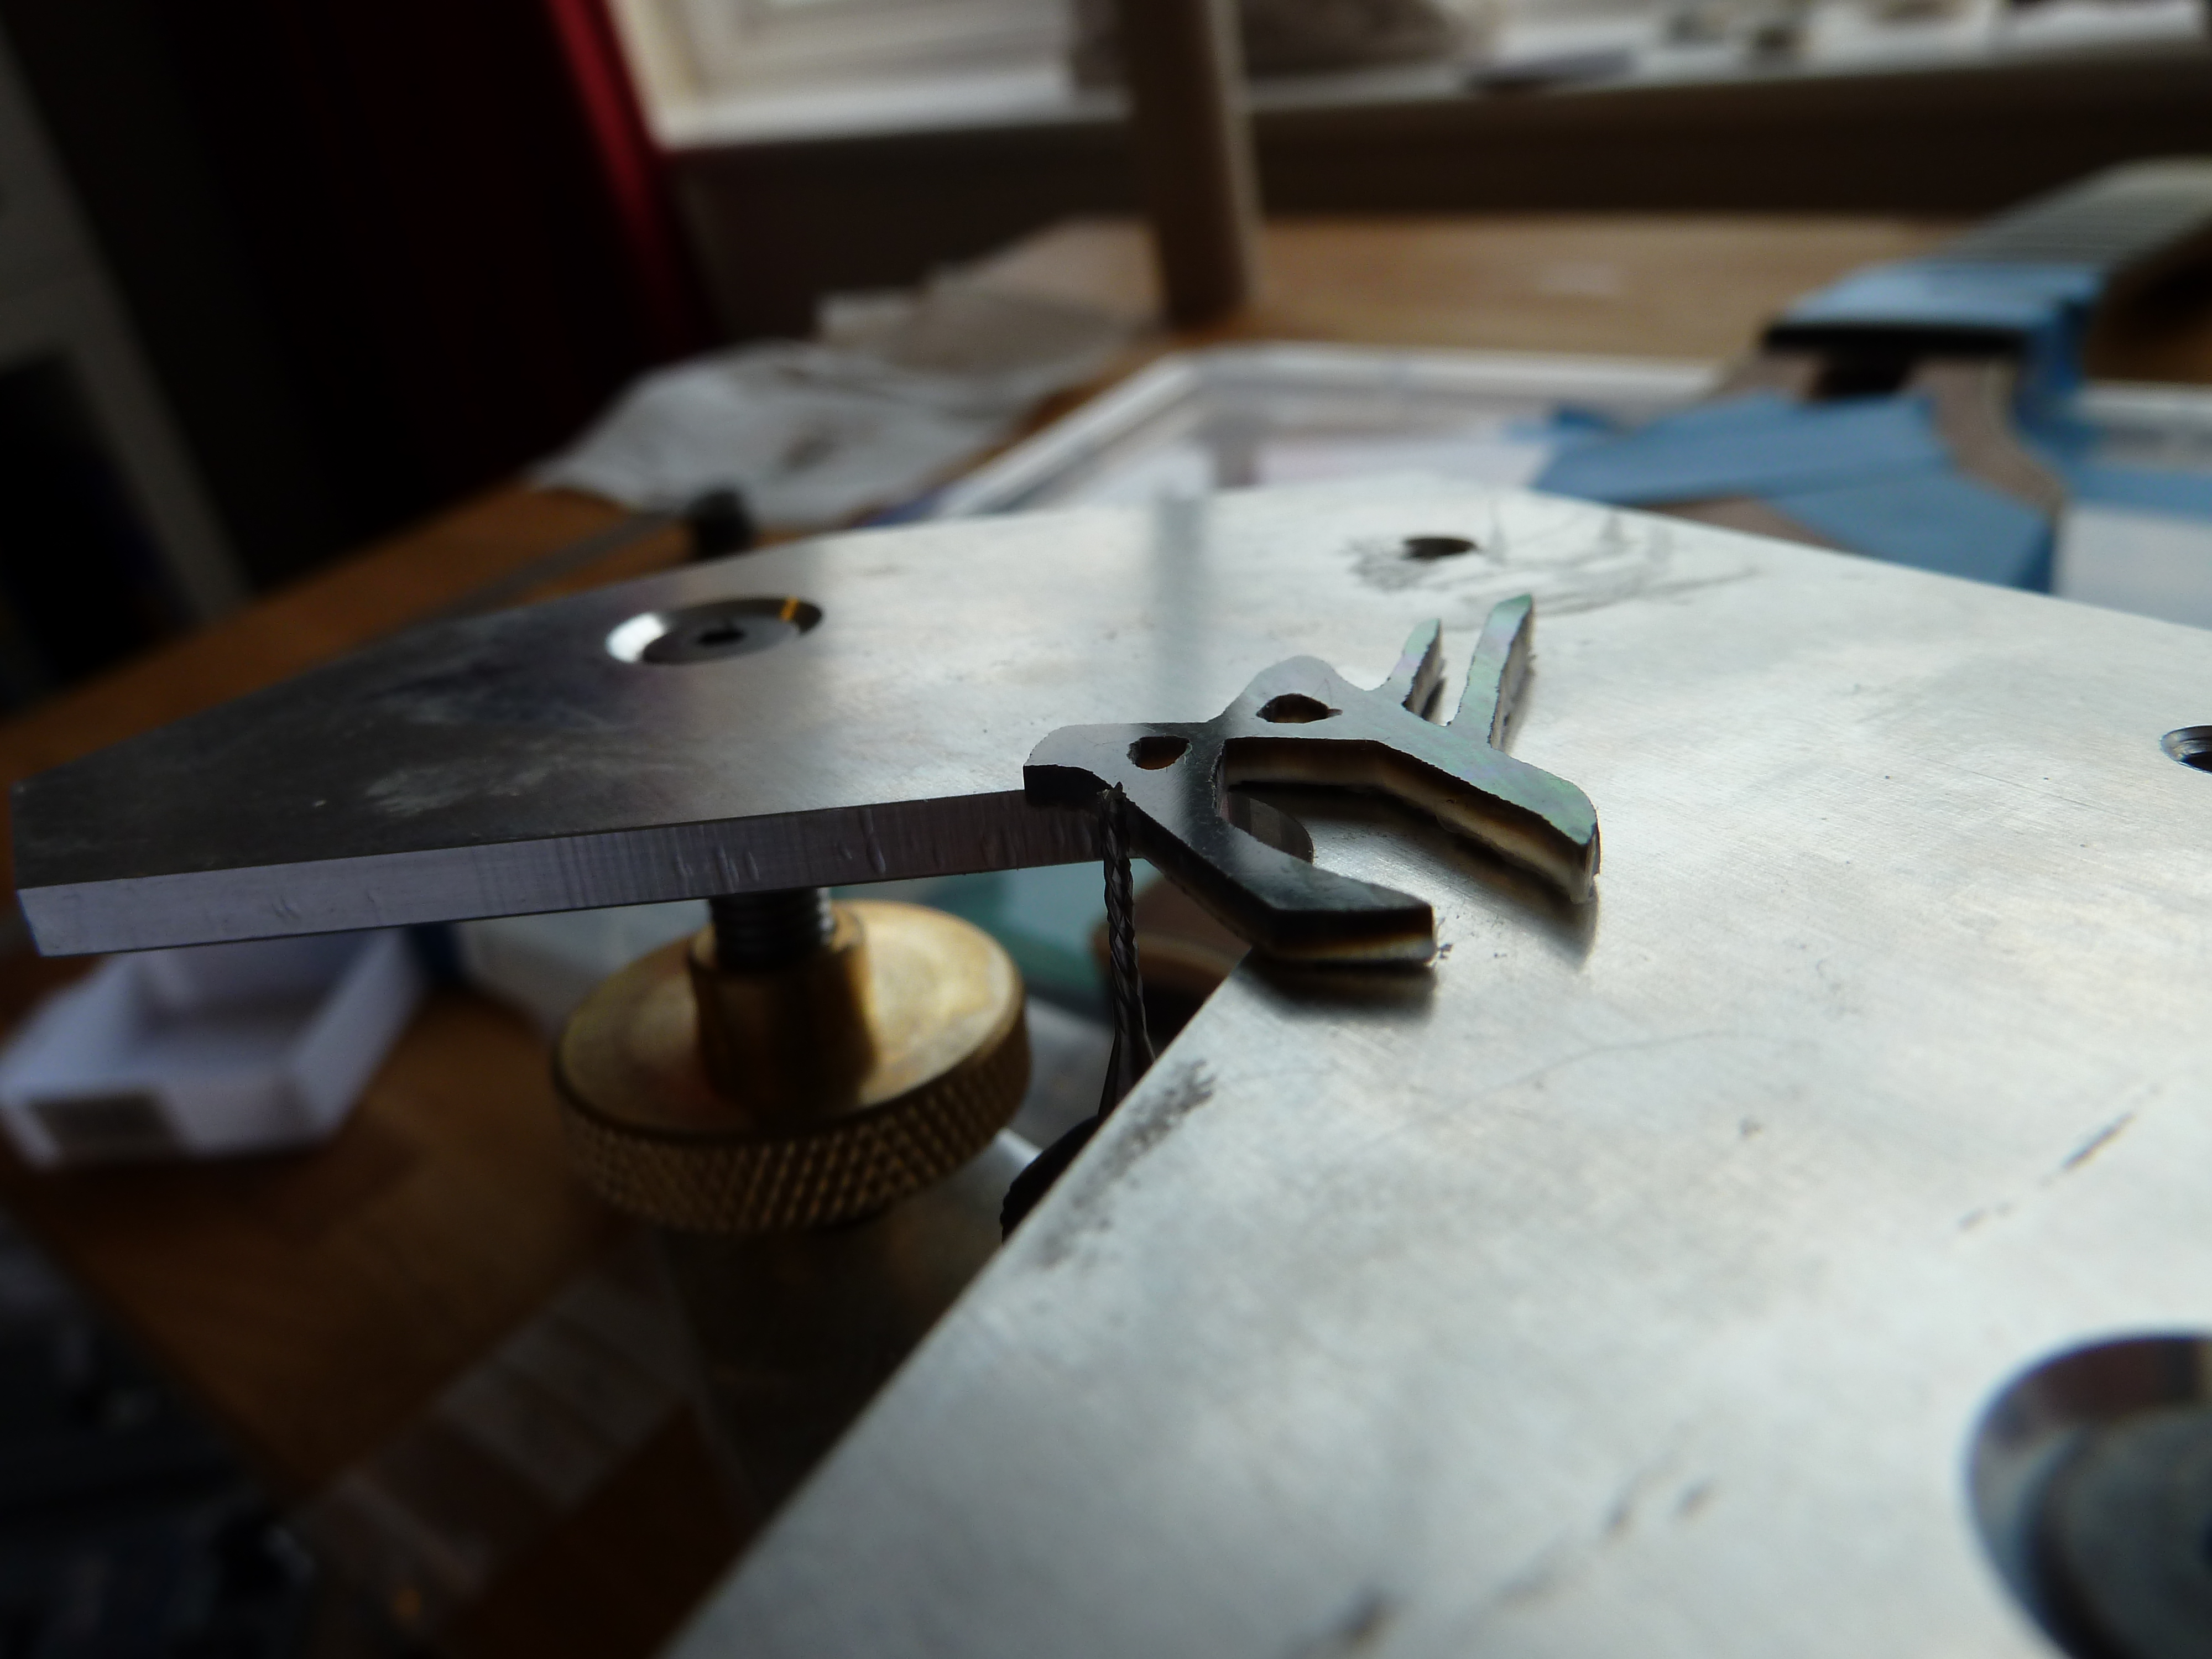
My initial ideas for a logo revolved around Runology as these characters are simple by design (so not too fiddly to make many inlays) and also enabled me to divulge my inner LOTR geek. Keeping things very simple, I have just amalgamated the Mannaz and Fehu runes (‘M’ and ‘G’) to reflect my initials. The Fehu rune is a little controvertial as it can be regarded as an ‘F’ character, but if it is good enough for Gandalf the Grey then it’s good enough for me.
This logo will appear on all guitars built by myself as a headstock inlay of varying materials.
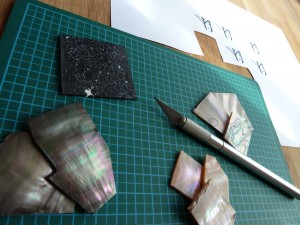
I have recently restocked my supply of marquetry supplies from Small Wonder Music, and decided to cut out a headstock logo ready to inlay into a personal Les Paul project guitar.
I have a selection of different abalone shell materials including Black Tahiti, Red Abalone and Japanese Awabi. Also there is a small piece of reconstituted rock ‘Black Web’ that I wam planning to use as a Raven fretboard inlay in Huginn. In this case the inlay will be inteneded for a Walnut neck, so I wanted to aim for a little mor subtelty and opt for something dark.
The Black Tahiti abalone has a very dark green hue, but also has flashes of purple and blue in different light.
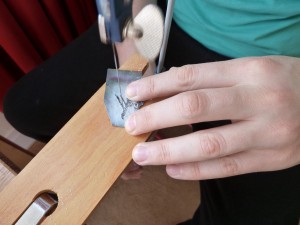 Progress was pretty slow as I needed to use a very 0/2 grade saw blade to allow the tight turns around the points of the runes. Cutting the arms of the logo was a little delicate so as not to crack the thin shell on the downward cutting stroke, but on the whole the process just requires a little patience.
For anybody looking to cut Abalone for the first time, ensure you have an N95-rated dust mask as the resulting powder can be pretty nasty to inhale.
Almost ready to inlay into the headstock, just a short session with some needle files to tidy up the edges and it’s time to get the Dremel out.