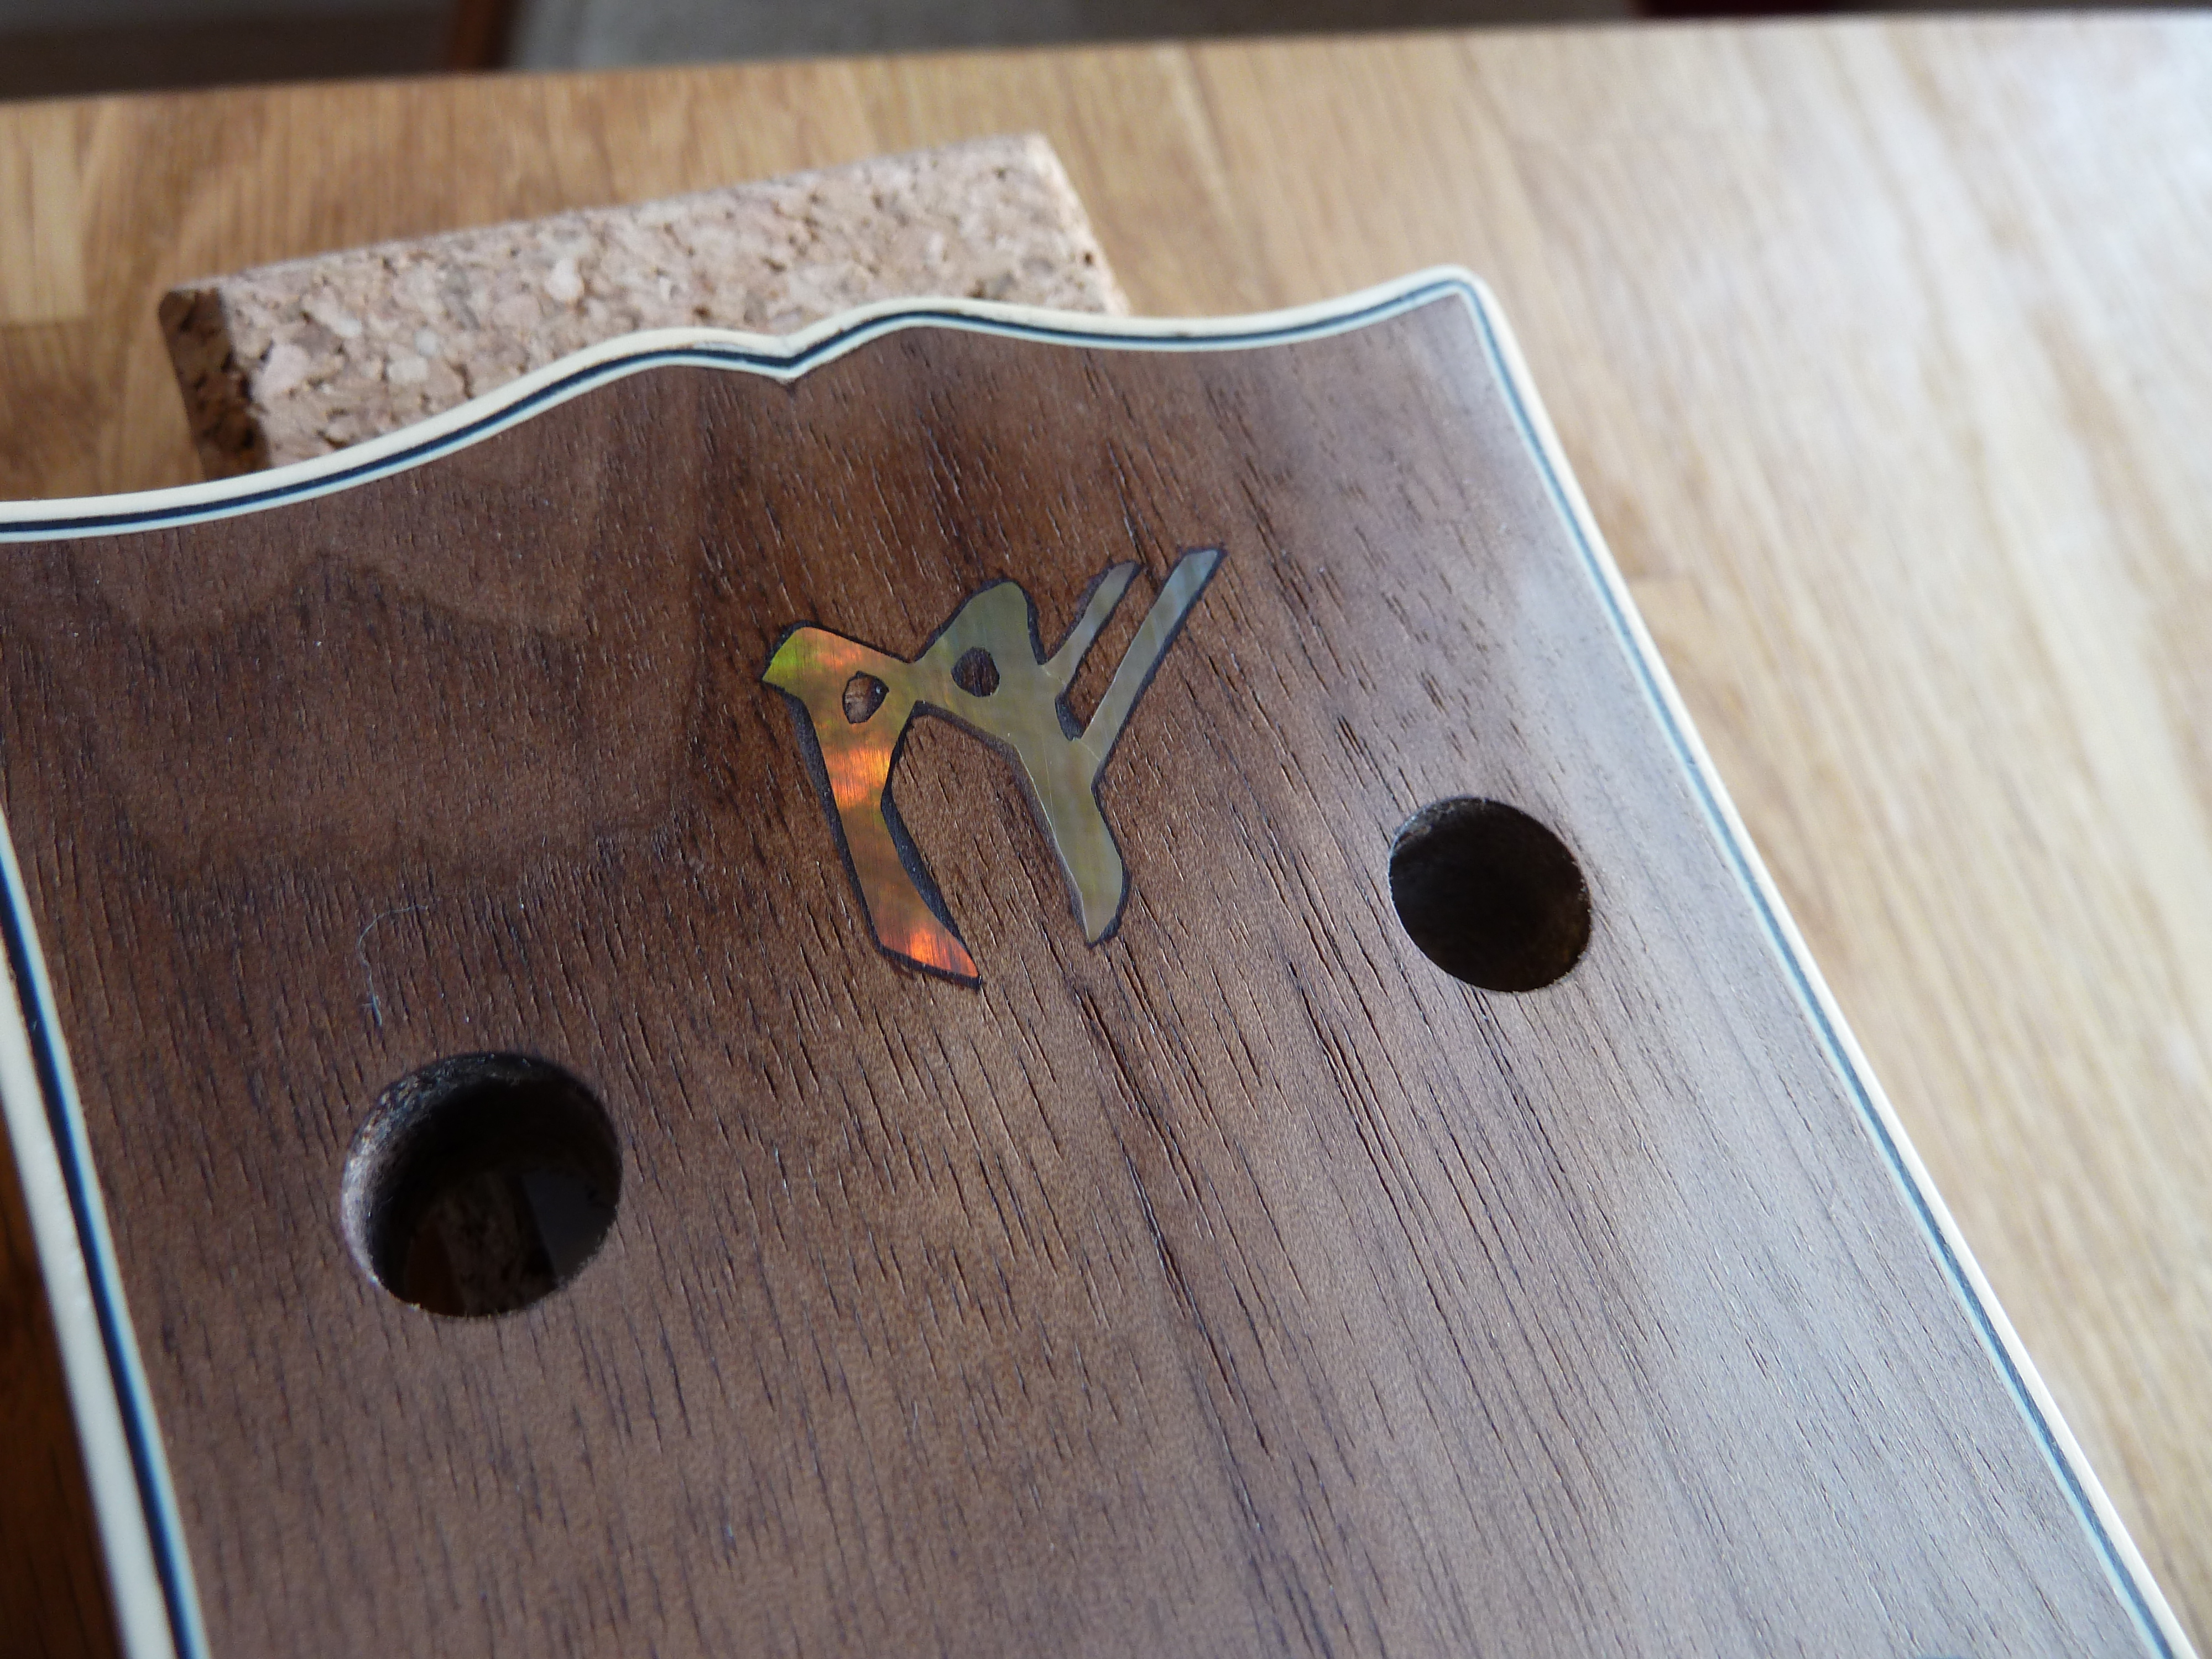
This post charts the process of inlaying my standard logo into the headstock of a personal guitar project. In this case, I am using 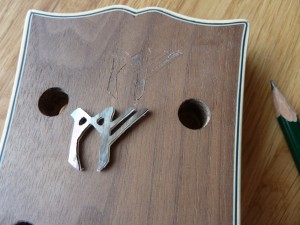 Black Tahiti Abalone, which gives black, green and purple hues in different lights. This has been chosen as a match for the Walnut neck predominantly for its darker appearance.
Once the design has been cut out and finished with needle files (see previous posts), the inlay is glued to the headstock, and once dried, scored around with a scalpel. This can be tricky with heavily grained timbers like Walnut as the blade can catch in the grain and travel off course. I am waiting for the delivery of an engineer’s scribe for future work, as this should make things easier on the first pass.
At this point ideally, some coloured chalk should be cross-hatched around the scoring to highlight the boundaries of the design to be routed. Snooker chalk is good for this, but I couldn’t find anything in the ‘Man-drawer’ that would suffice, so I did without. This becomes very tricky as the cutting progresses due to the build-up of sawdust covering the guidelines.
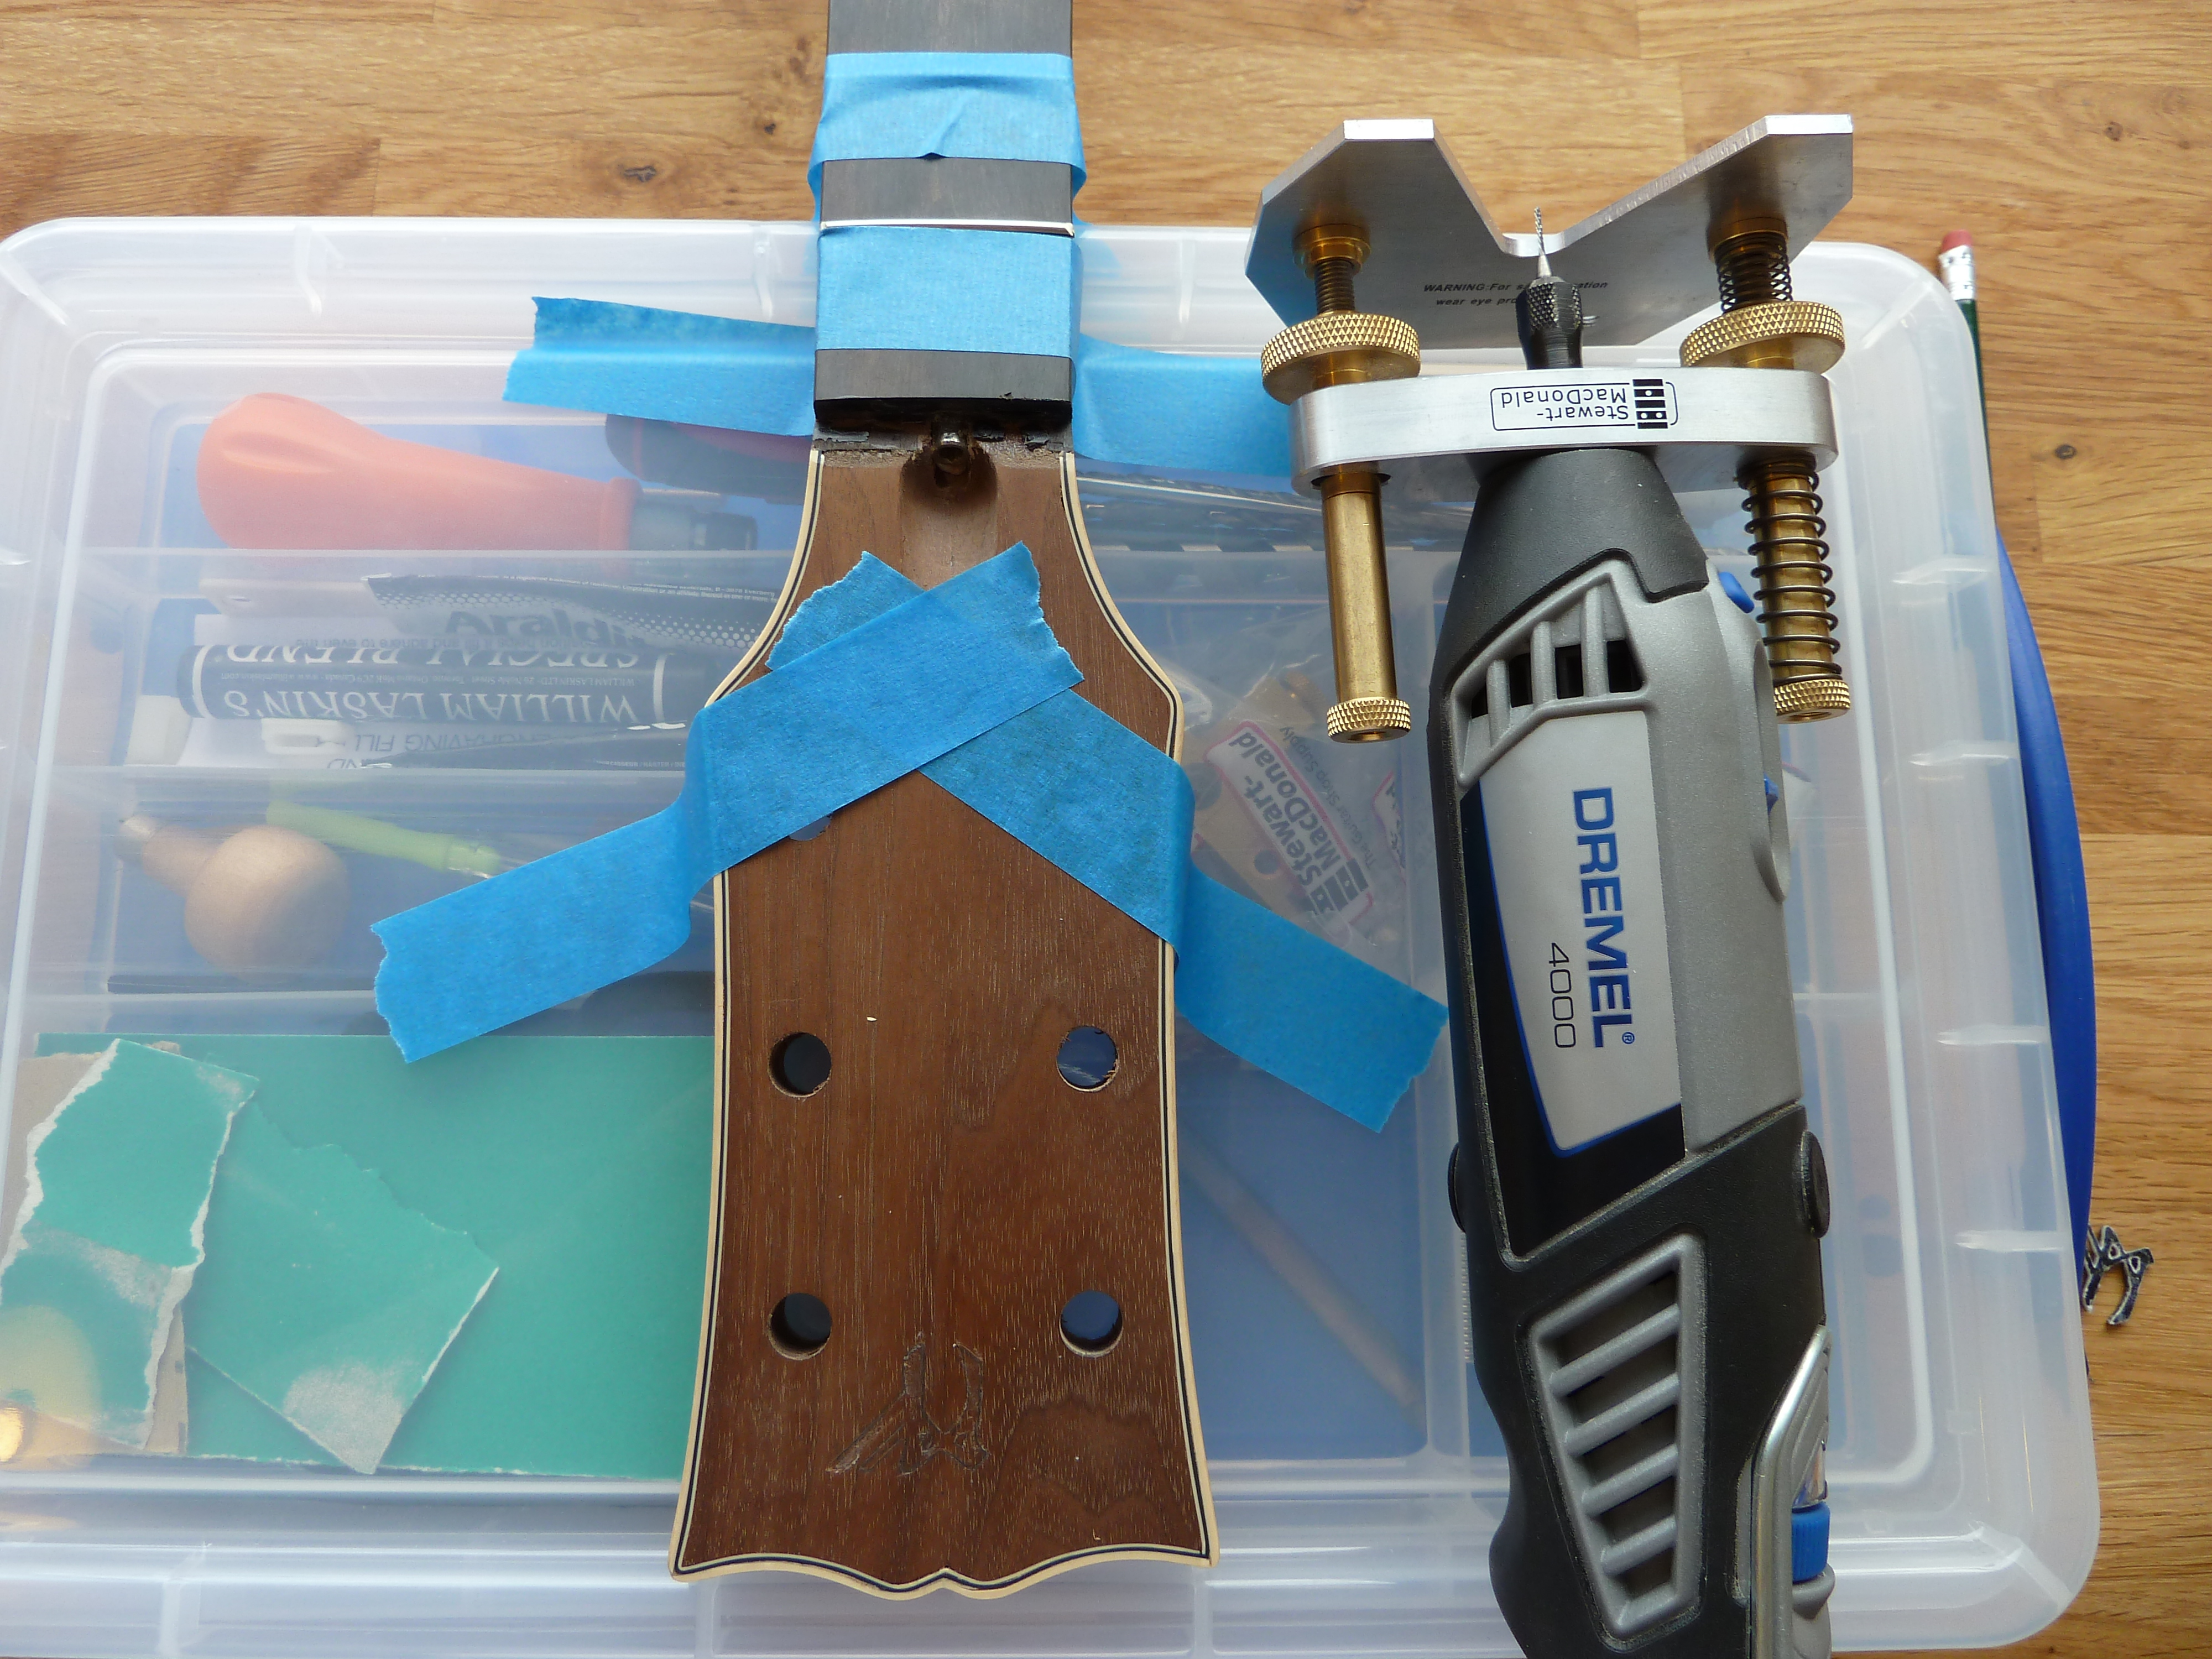 A Dremel multi-tool and Stewart MacDonald router base are essential for intricate routing work like this.
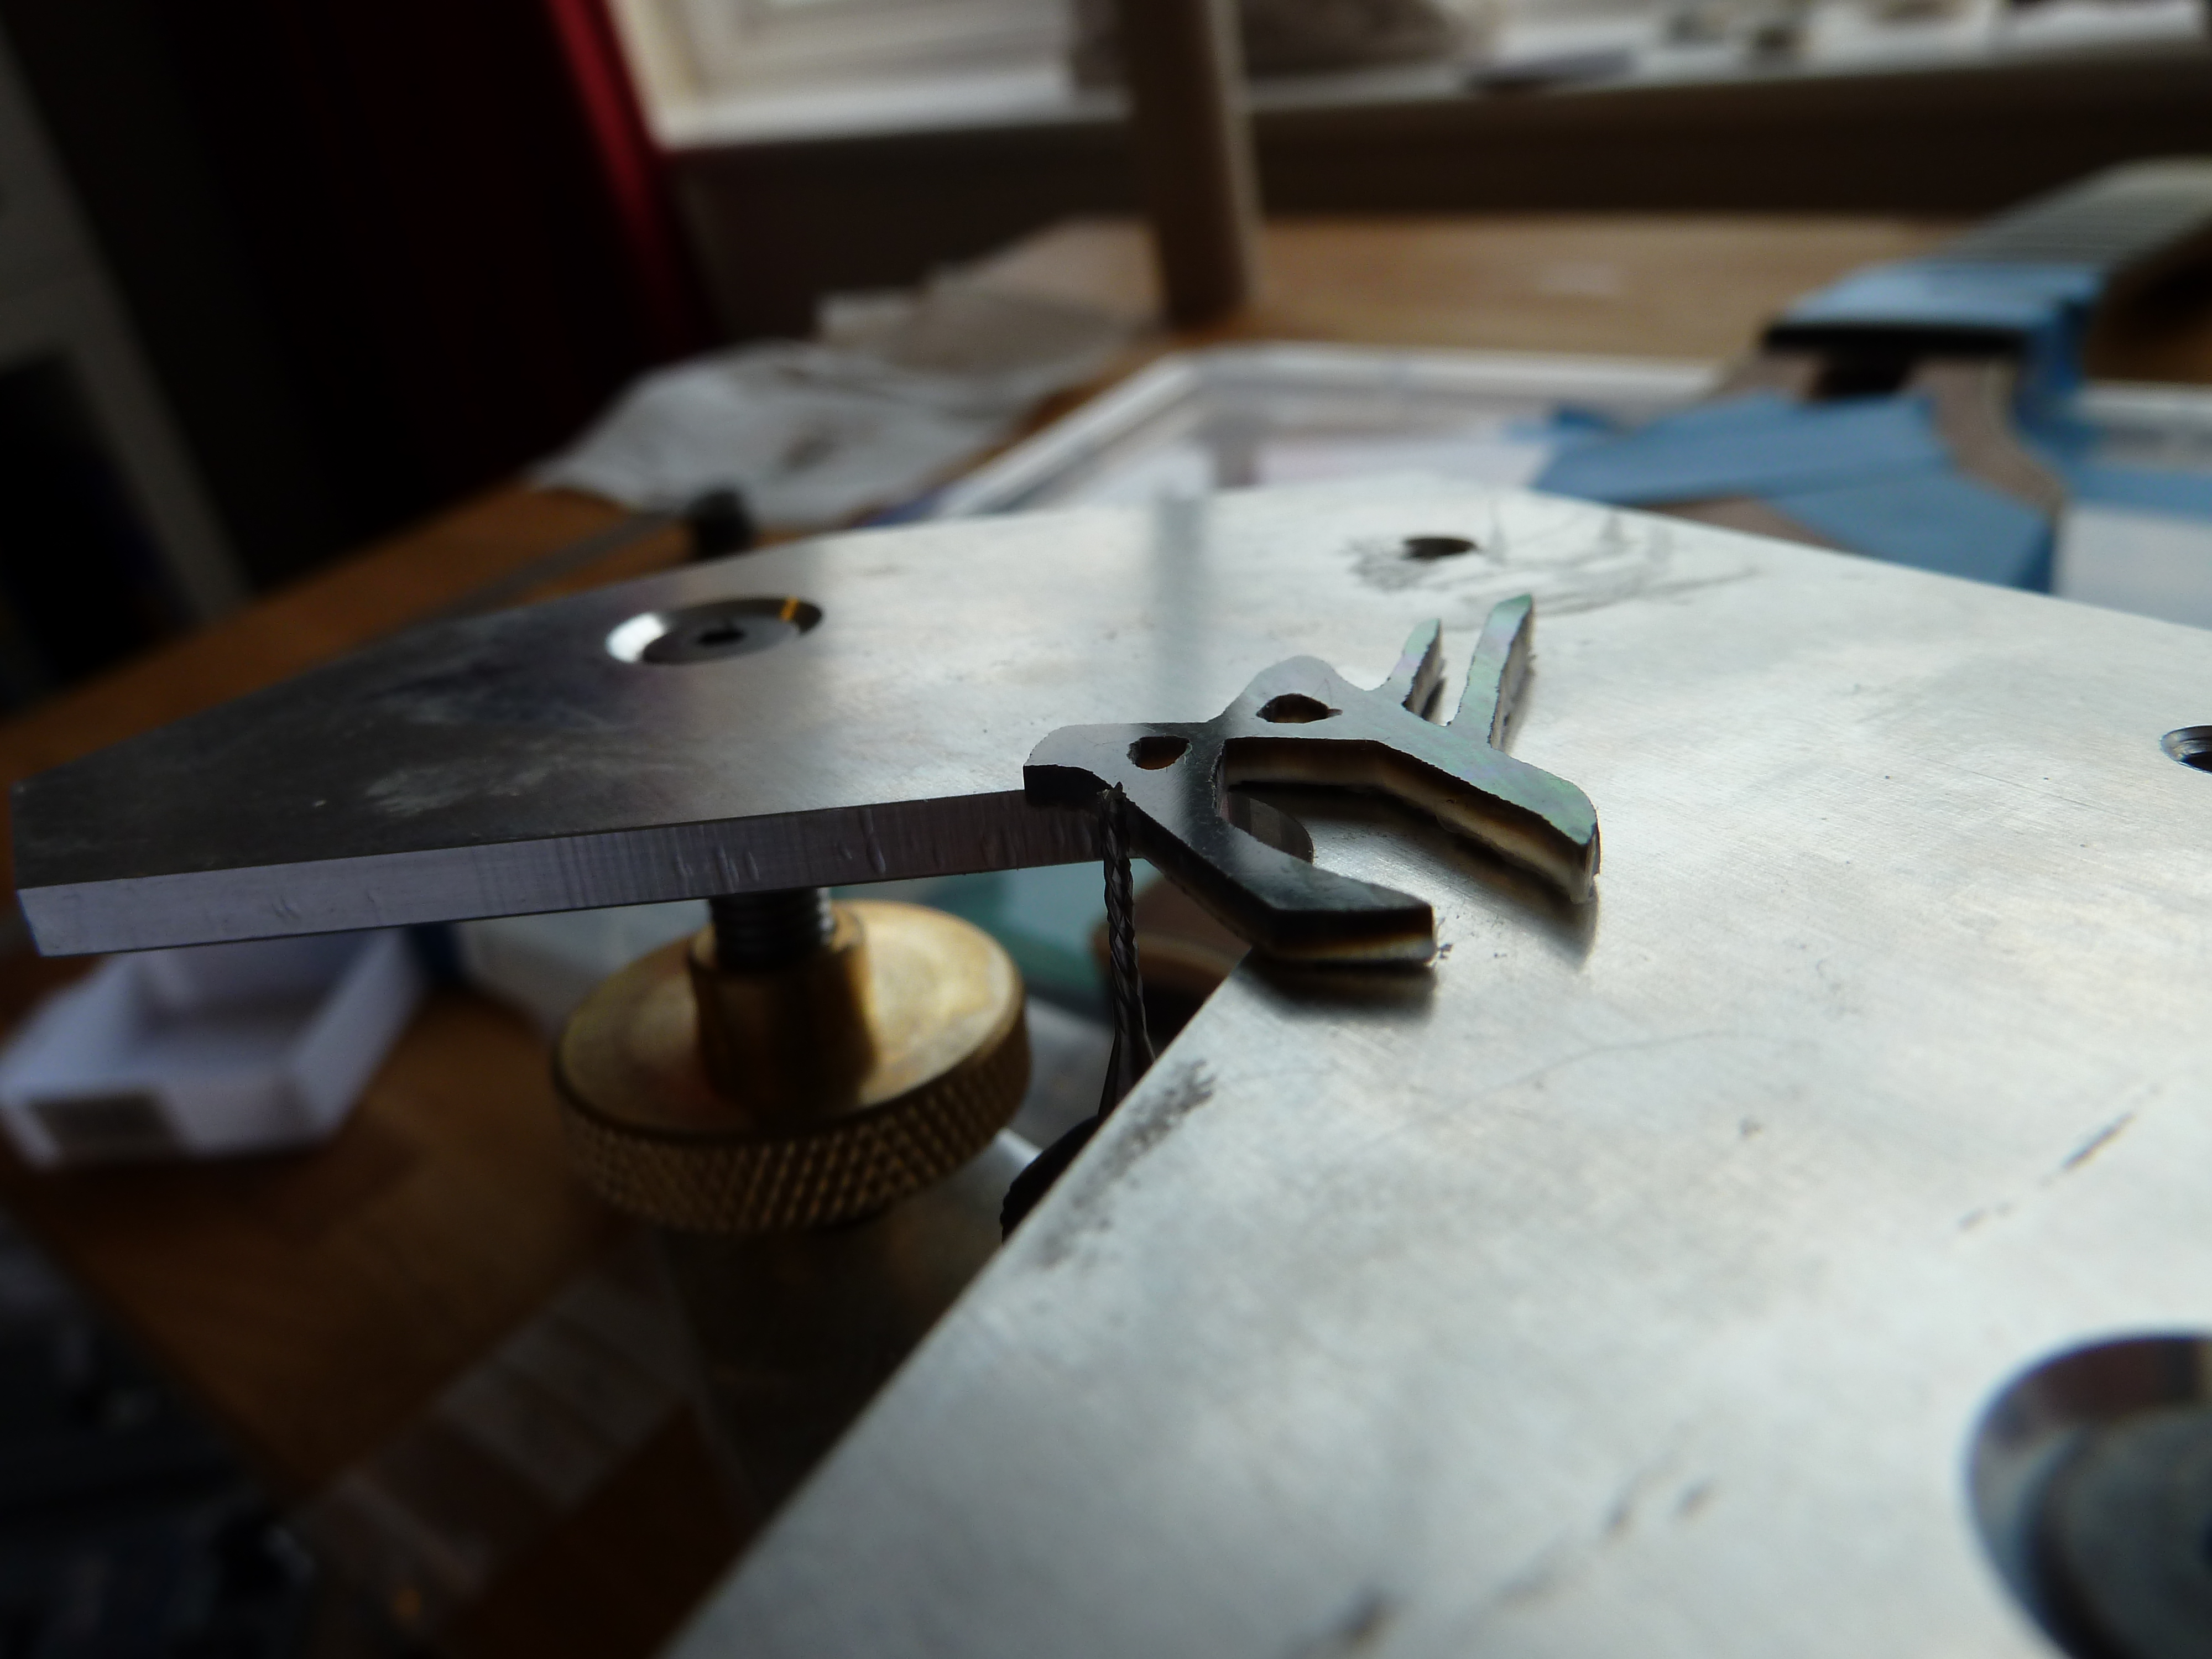 When adjusting the cutting depth, it’s always better to cut deeper than required, especially with a thick substrate like abalone. This allows a much greater tolerance for a tight fit. It’s easy to pad the routing with epoxy to raise the level if the inlay is sitting too low.
I mix the leftover sawdust with some epoxy resin to create a darker colour. Without this darkening effect, the resin can tend to look too translucent and can spoil the definition of the edges of the inlay.
Even though they reckon Epoxy doesn’t shrink during the curing process like super glue, I find that it does tend to settle and can leave holes and gaps if the excess is skimmed off. For this reason I leave a good mound of Epoxy over the inlay to cure (a minimum of 24 hours).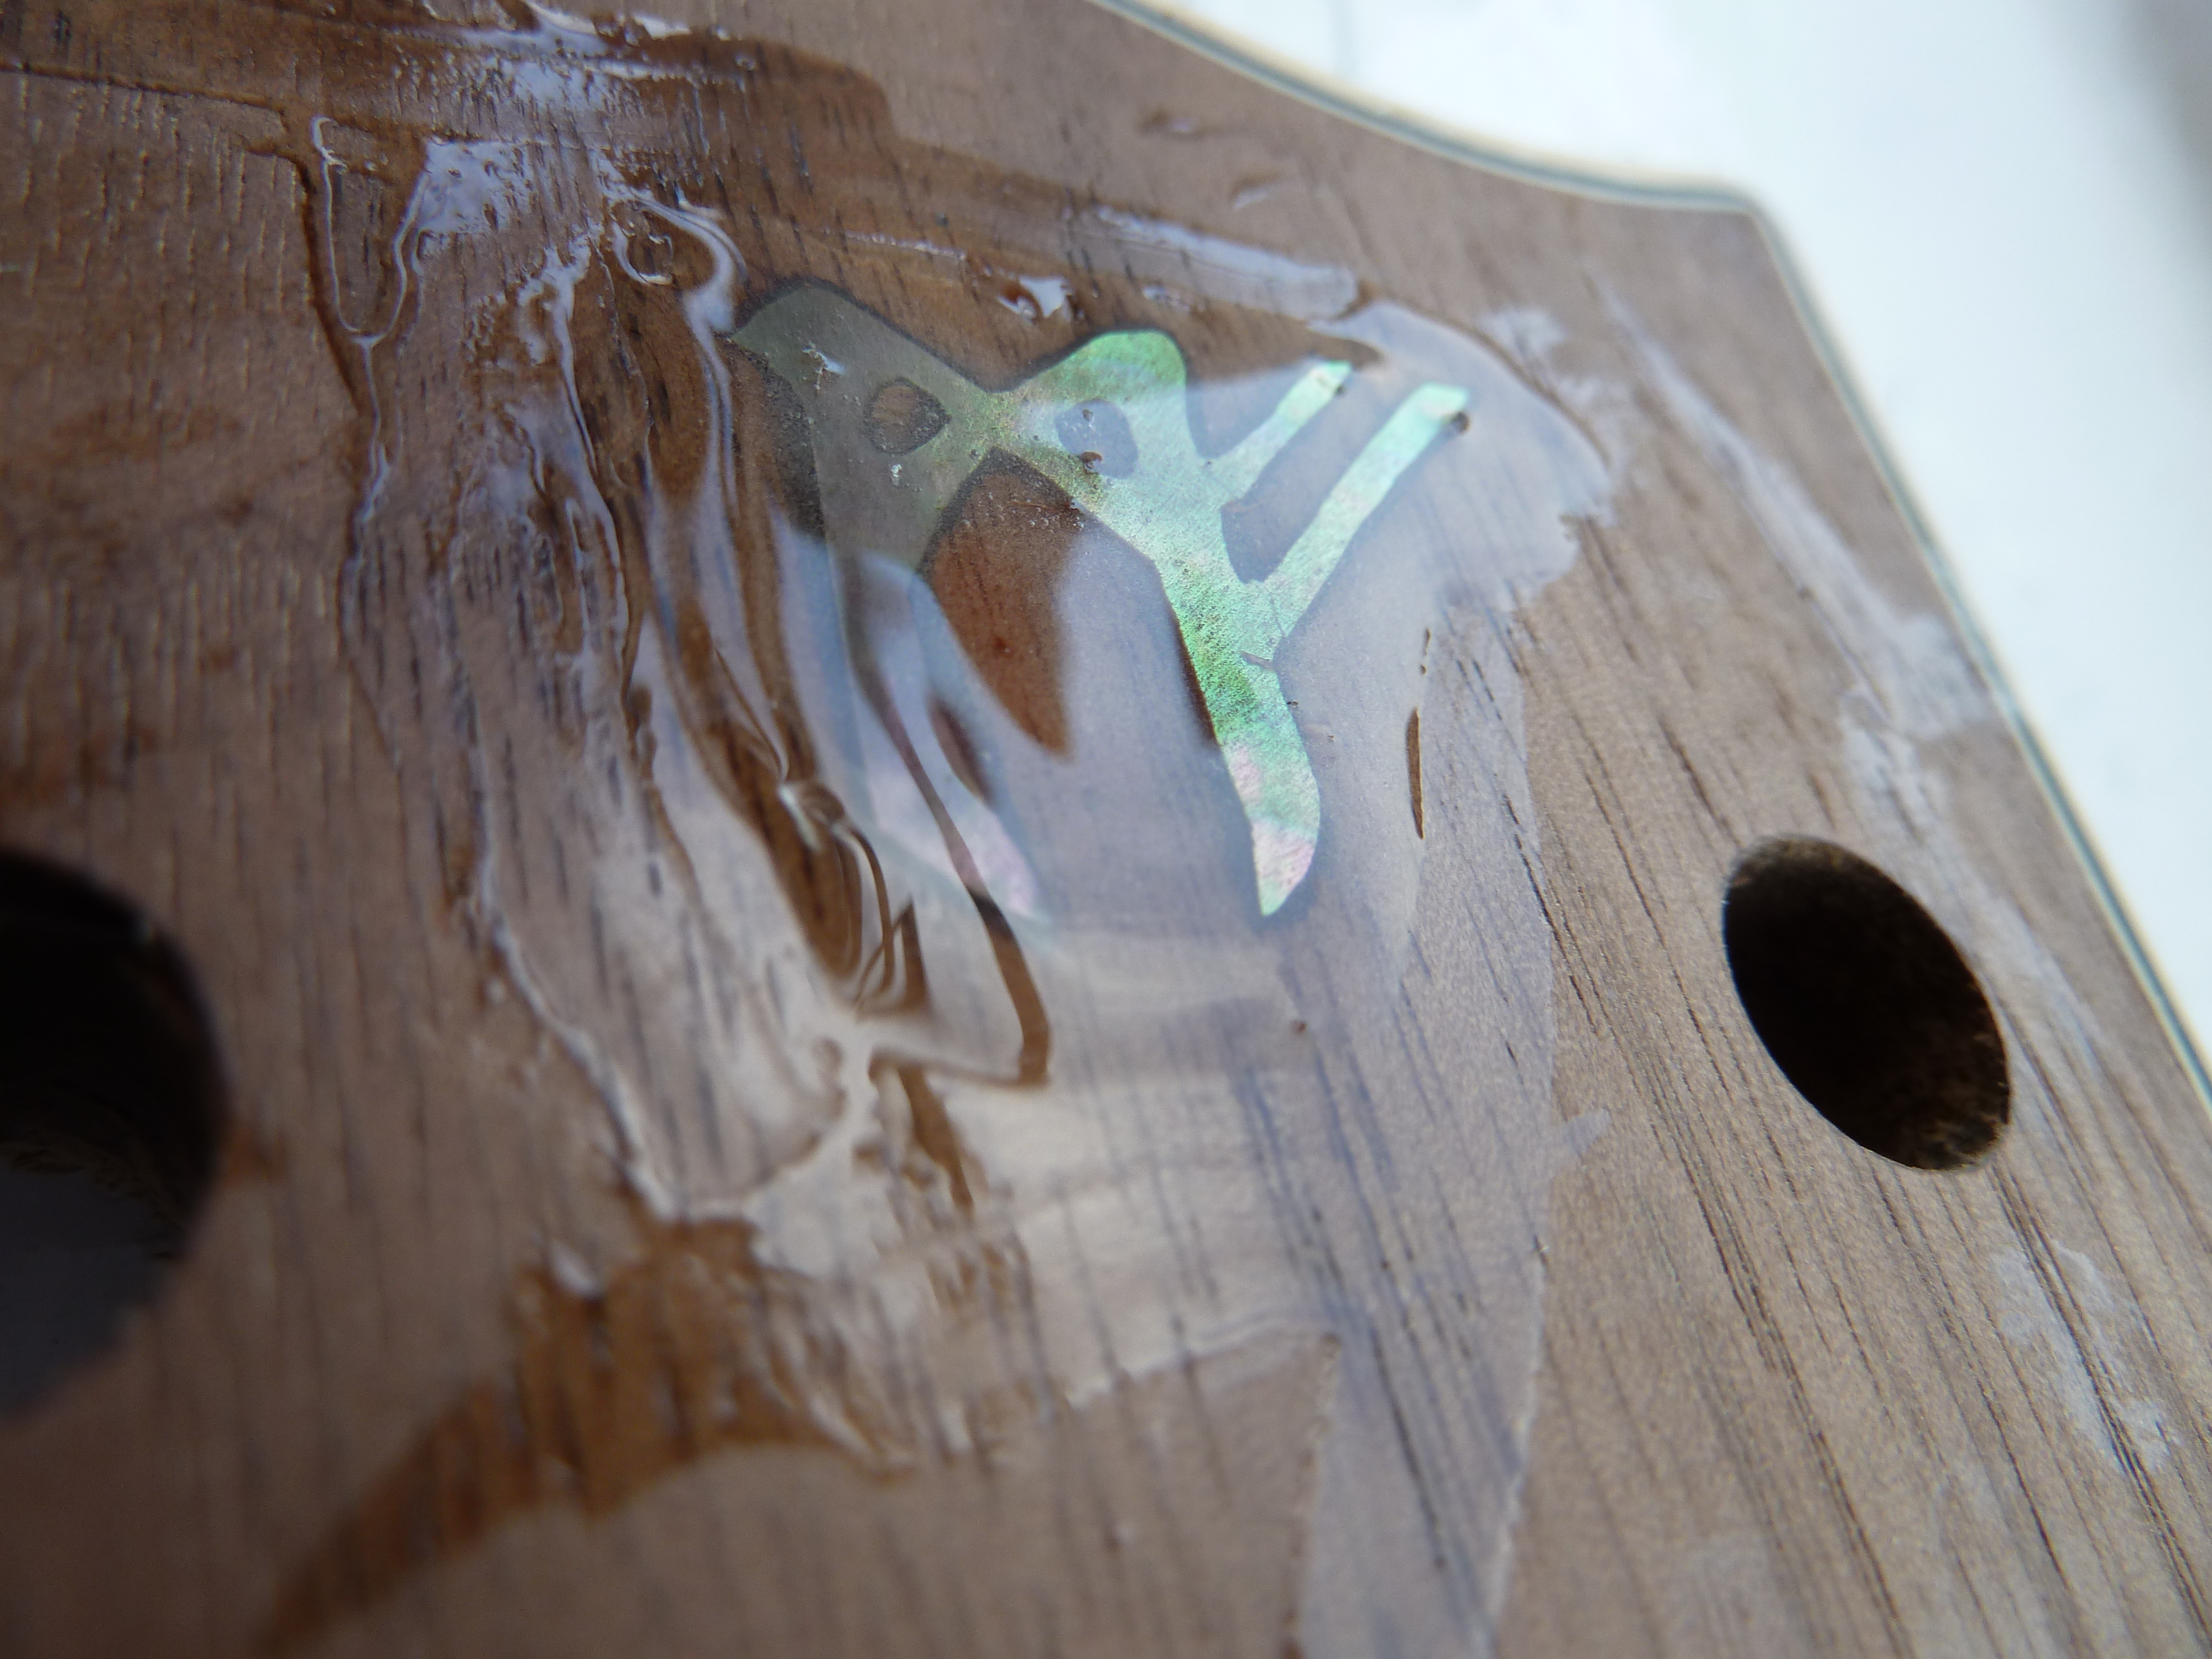
It’s then just a case of sanding off the excess after curing. I started with 80-grit, and worked down to 240 via 180. As a Wudtone finish is going to be applied to this neck, I did not want to sand the timber too fine. However, to ensure the inlay itself is highly polished, I used some 0000 ultra-fine steel wool and a little Lemon oil as a lubricant to make it shine.