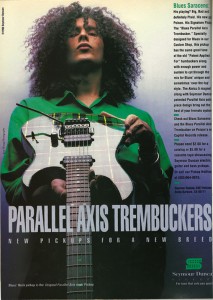
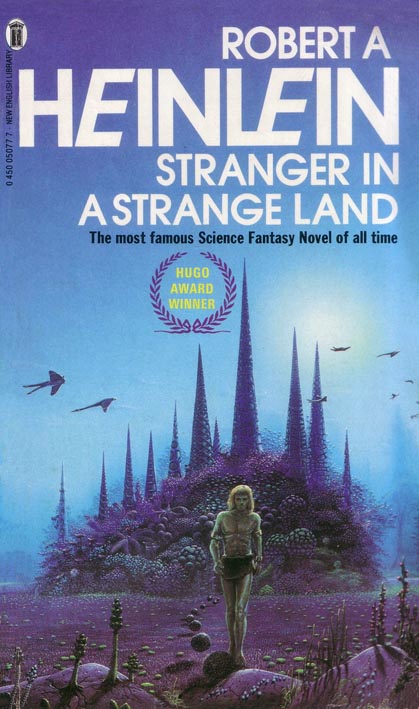
 I have been thinking recently about the next project I would like to work on following completion of Huginn, and have wanted to own a guitar with a deep green finish ever since I saw a Blues Saraceno promo in one of my brother Lee’s guitar magazines, circa 1993.
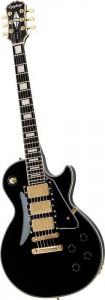
This idea reignited during a day trip to York last summer. I popped into a coffee shop just around the corner from the Guy Fawkes Inn with the latest copy of Guitarist magazine. Pending a rendezvous with Chloe, I had an hour to kill and sat reading the articles with some forgotten bun. The main article was regarding the Latest Ibanez Jem model called UV70P (catchy). A predominantly black finished guitar, though it had green highlights of pickups, controls and inlays. This was no doubt a subtle tribute to Vai’s guitar during the early part of his career, 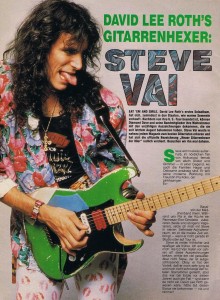 affectionately known as the Green Meanie. This was actually a Charvel manufactured guitar, so Ibanez would not be able to build an official replica tribute of this without stepping on someone’s toes. Vai had used this during his stint with Alcatrazz (it was a sunburst finish then before the ‘Loch-ness Green’ application) and more famously with David Lee Roth where he had carved out the lower horn to allow higher access to the fret-board (visible in the image on the left). As all the Jem guitars were built on the specifications of the Green meanie, it is a pretty iconic model.
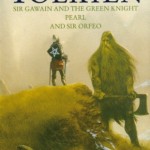
This gave me the impetus to start thinking about a Green Meanie tribute myself. However, I have spent the last couple of years working on the Raven projects, which are super Strat inspired, floating-point tremolo guitars; I want to focus on a couple of carved top Les Paul type projects. Focussing more on figured timbers and minimalisim, these will likely have a single hard-tail bridge, solitary bridge humbucker and maximum control selectivity with a minimum of actual control components (ideally just one control knob). The body finish will be a trans-sunburst satin finish ranging from a very dark, almost black, moss-green up to a deep emereld. It will need to be a well figured grain as it will be wholly on show with the limited hardware, so I will be considering Walnut, Swamp Ash and Indigbo for the timber.
I have wanted to use a neck timber called Wenge for some time now, so this would probably remain natural with a clear finish as it will be dark enough to merge with the darker areas of the body finish. No scalloping this time, just jumbo frets with some elaborate fret-board inlay designs.

Wenge
Initially I wanted this to be in the same vein as the UV70P, i.e. predominantly black with green highlights, but recently I have decided on a theme for the build which would require an all green finish (albeit almost black in areas).
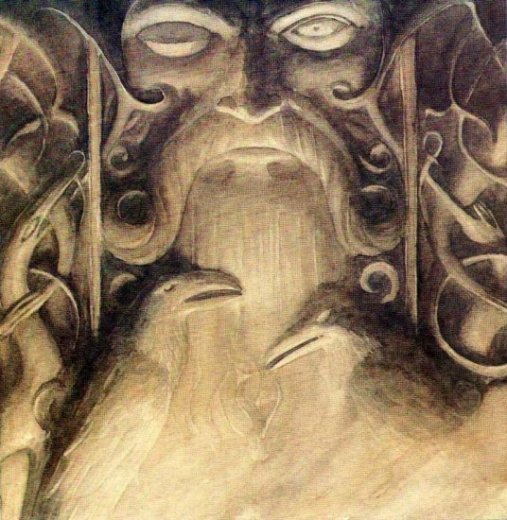
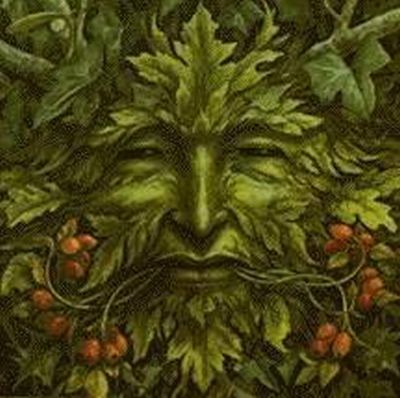
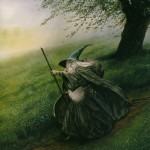
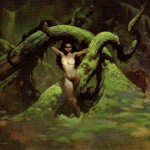
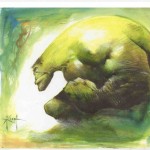
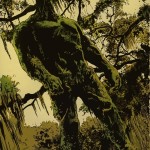
As always, I needed to choose a soul for th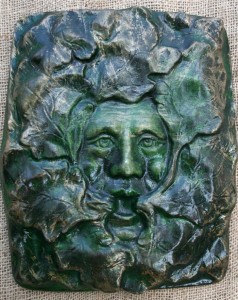 e project in keeping with my ethos, so taking note of the green theme and applying some Pagan/Tolkien influence I decided on the Green Man. This is typically a representation of a man’s face surrounded by foliage and sometimes spewing vegetation out from the mouth and/or eyes, and represents rebirth.
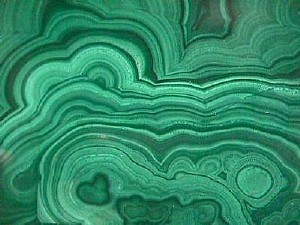
Malachite
My intention is to personify the symbol, and design a large headstock inlay constituted from varying shades of malachite, maybe in an Art Deco style.
The Green Man face will retain all the distinguishing features of the symbol, but will likely be stylised to cater for the (my) limitations of marquetry application. I plan to consider other similar mythical beings into the design such as Treebeard, Spriggans and Will-o’-the-wisps for fret-board inlay ideas.
Keep an eye out for posts in the Inspiration section as the project unfolds.

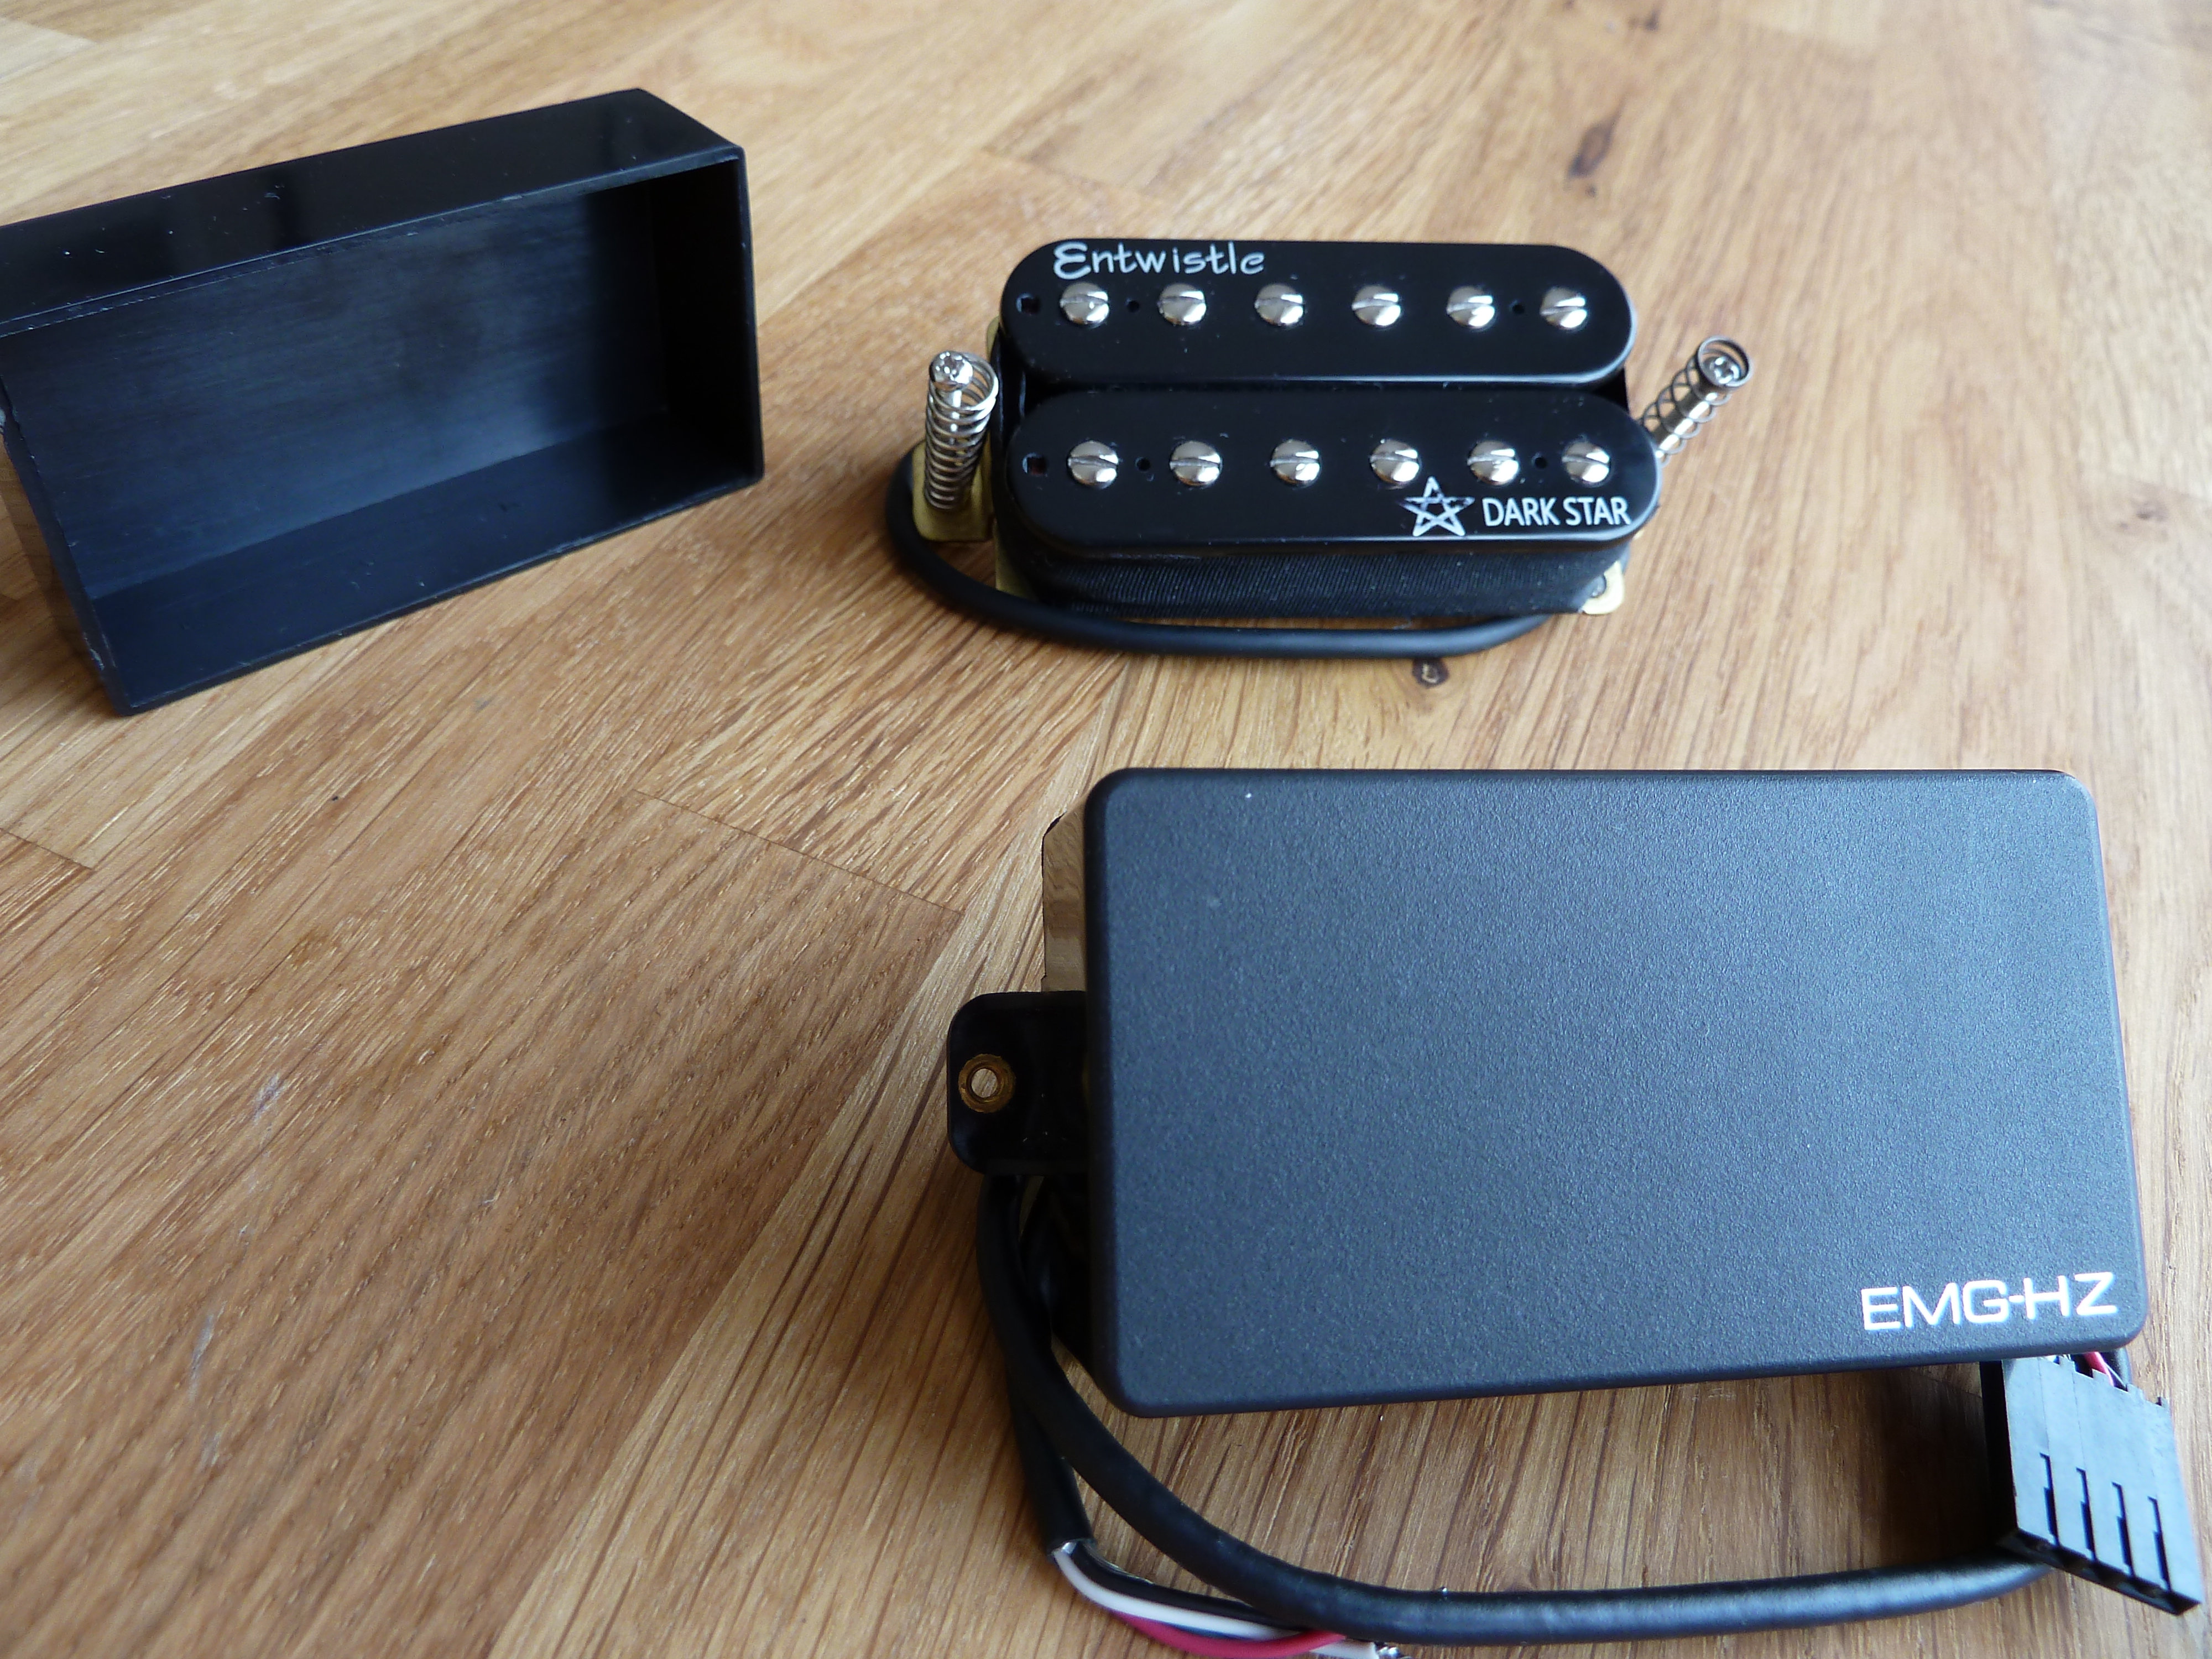
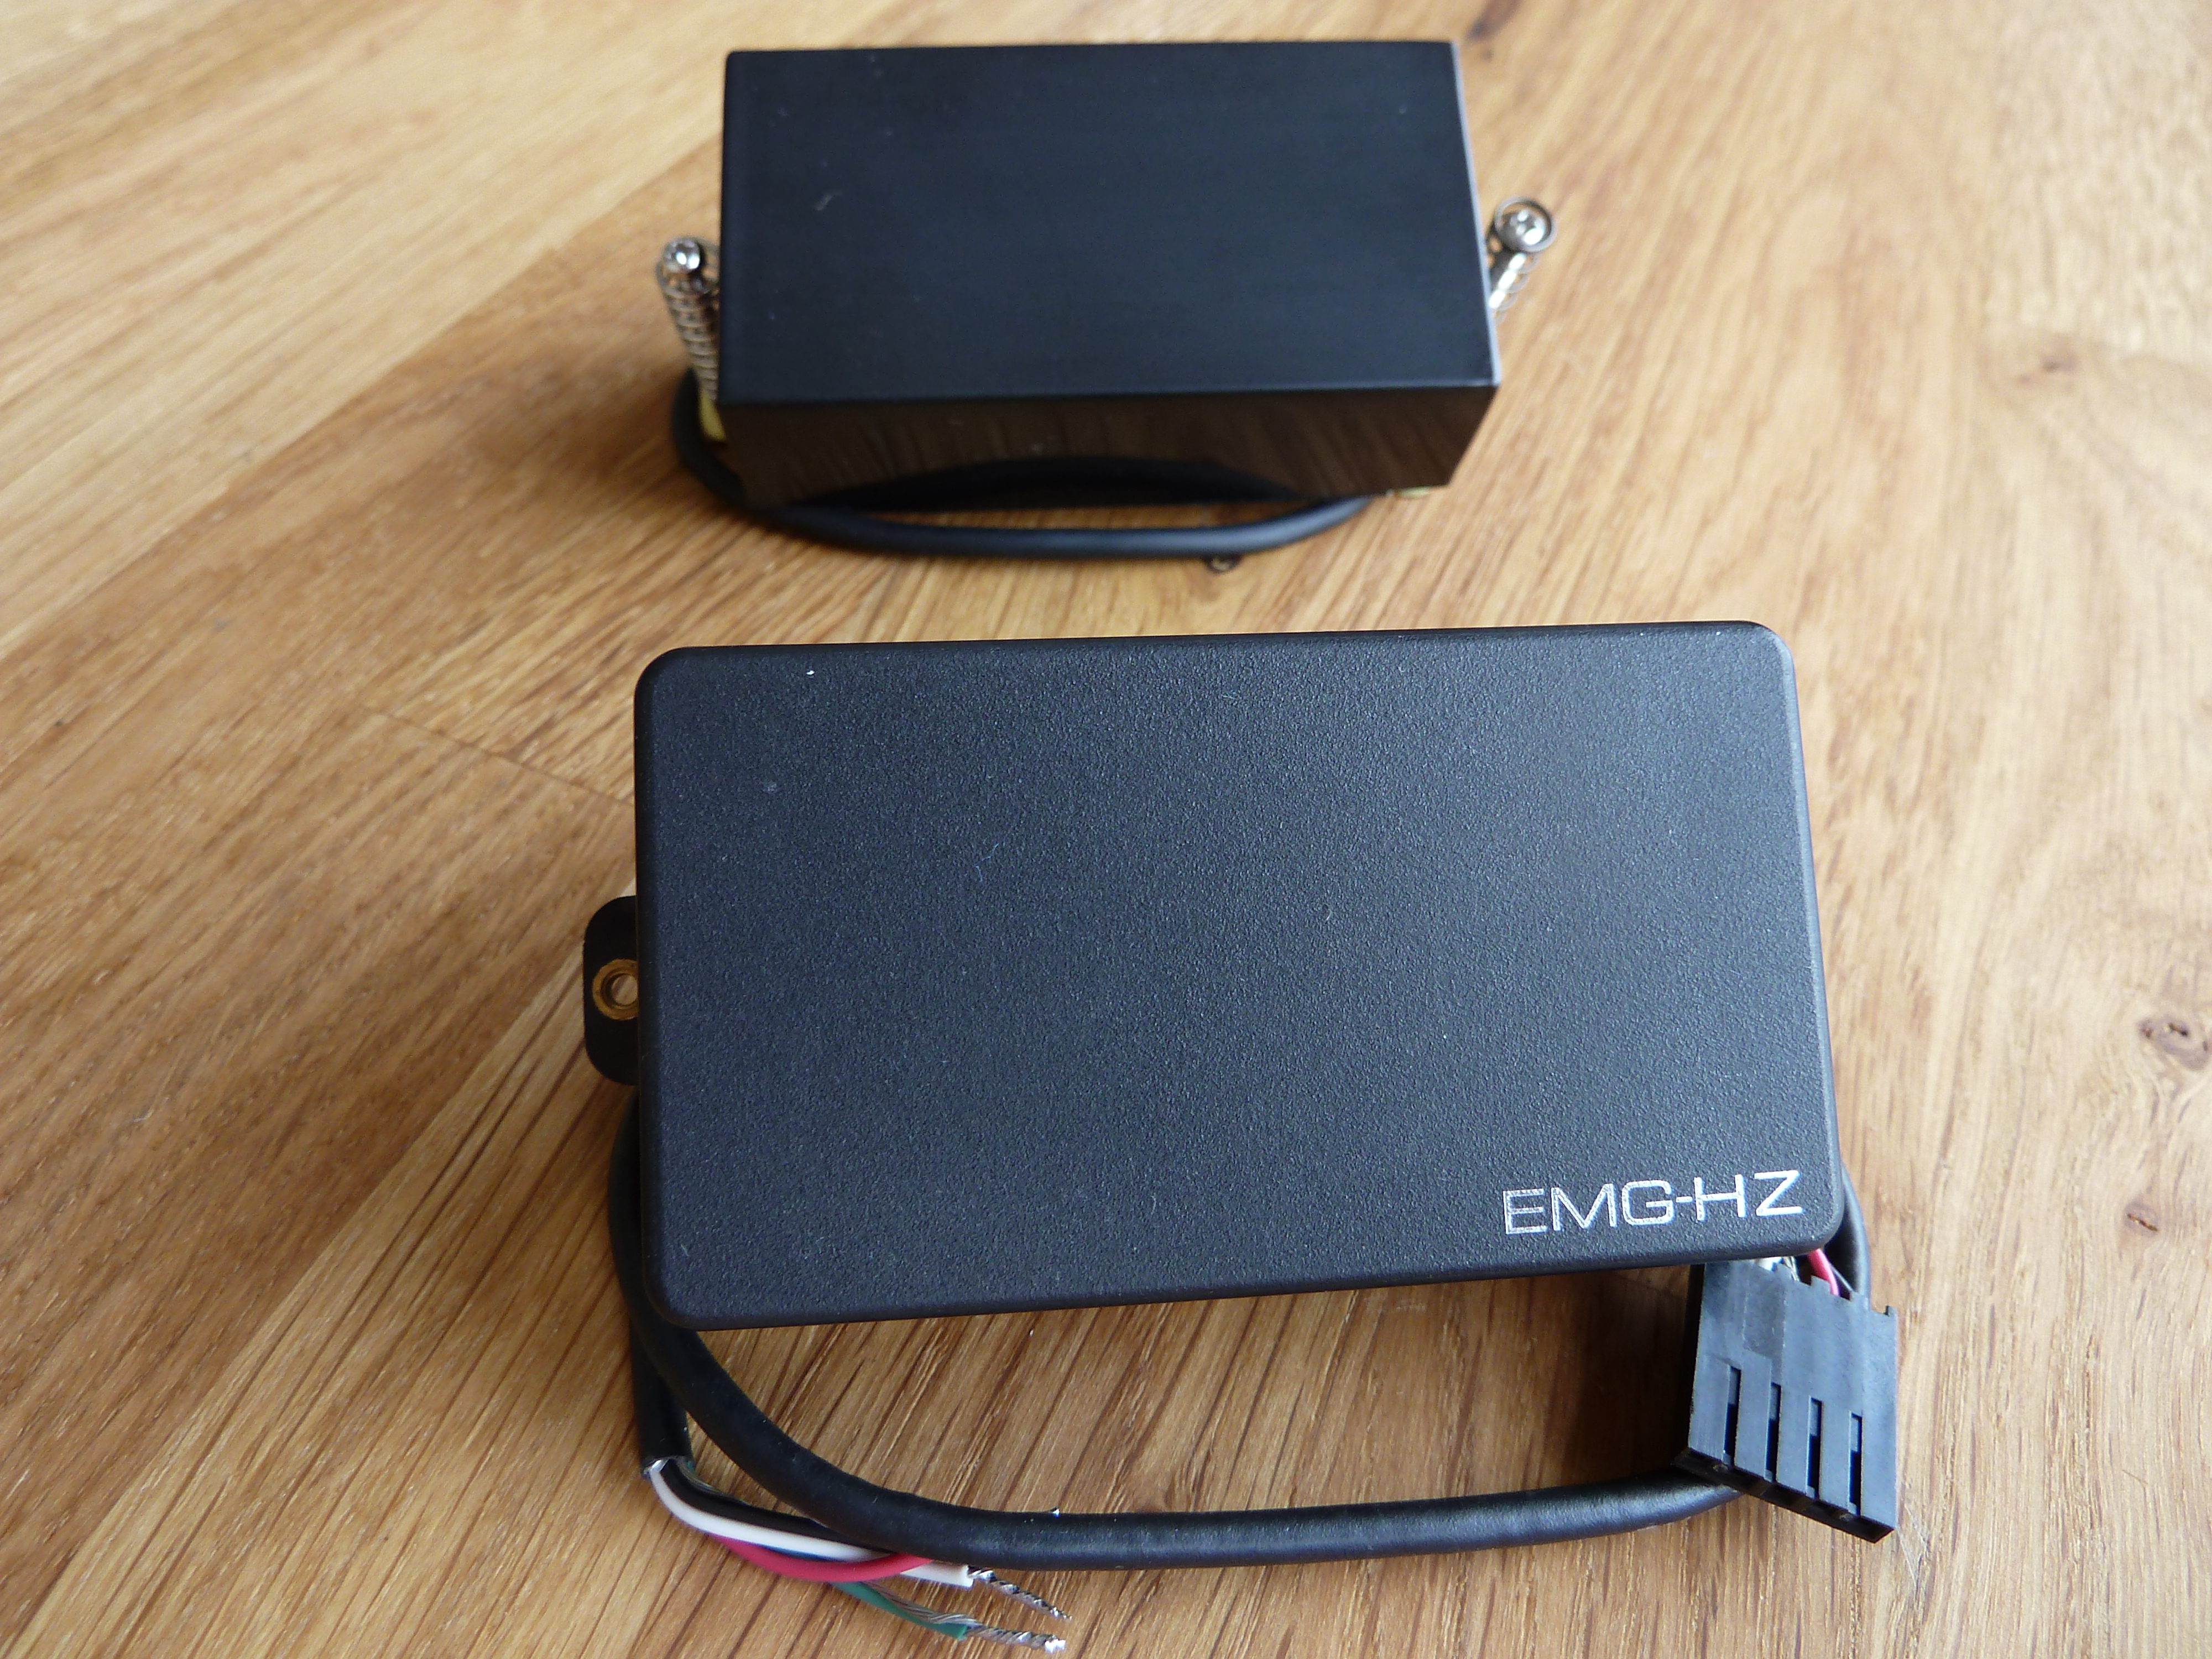
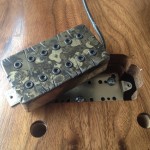
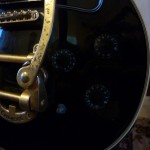
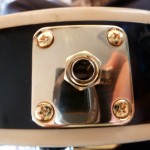
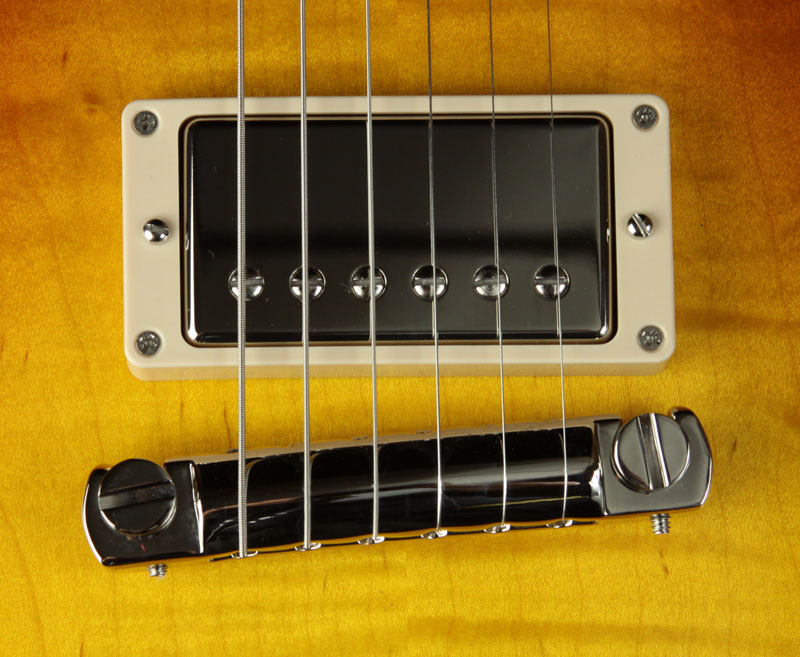 e.g. Stratocasters have pick-guards and Les Pauls have pickup rings. The mounting bolts pass through the pick-guard or ring, through an adjusting spring or silicone tube and finally screw into the pickups threaded side tabs.
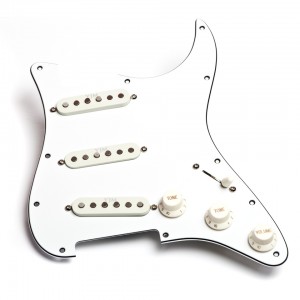 The height of the pickup is then adjusted by tightening or loosening the bolt on either side, while the spring or silicone tube applies the constant resistance required so that the pickup doesn’t flap around and moves up and down with the adjustment.
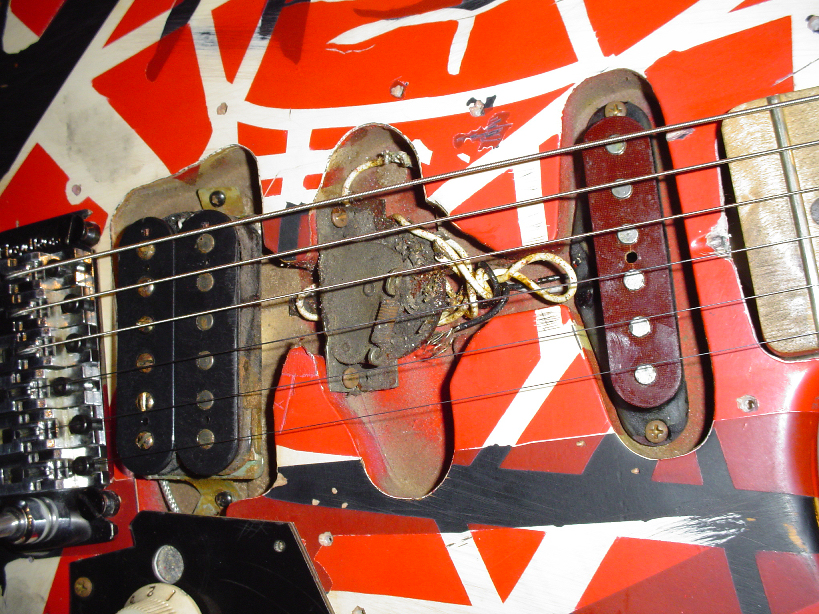
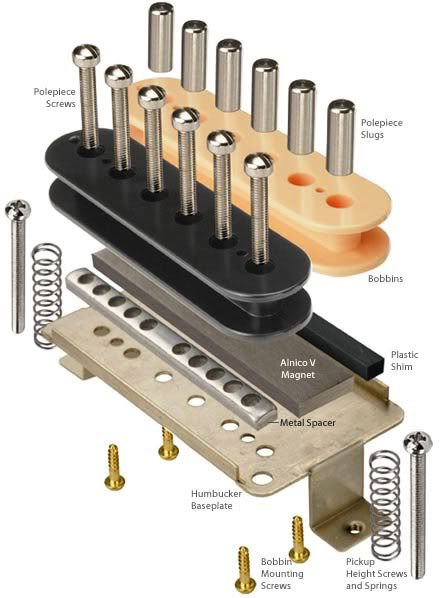
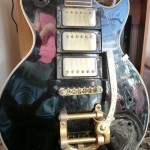
 The threaded holes in the side tabs of the chosen pickup still need to be drilled out to allow the bolts to pass through freely, but this is the only modification required (with possible exception to the mounting bolts).
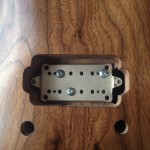

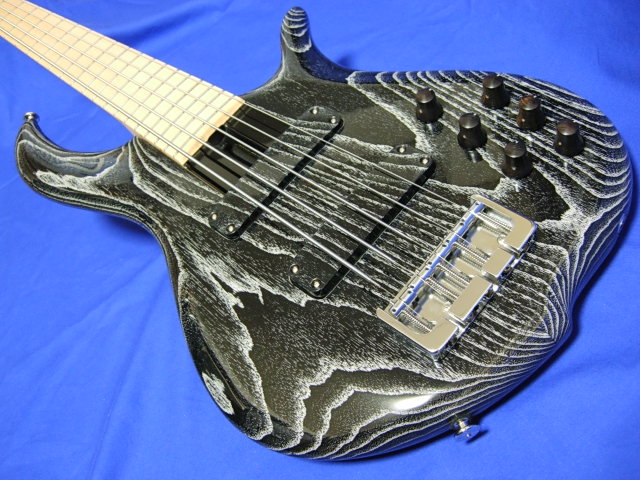

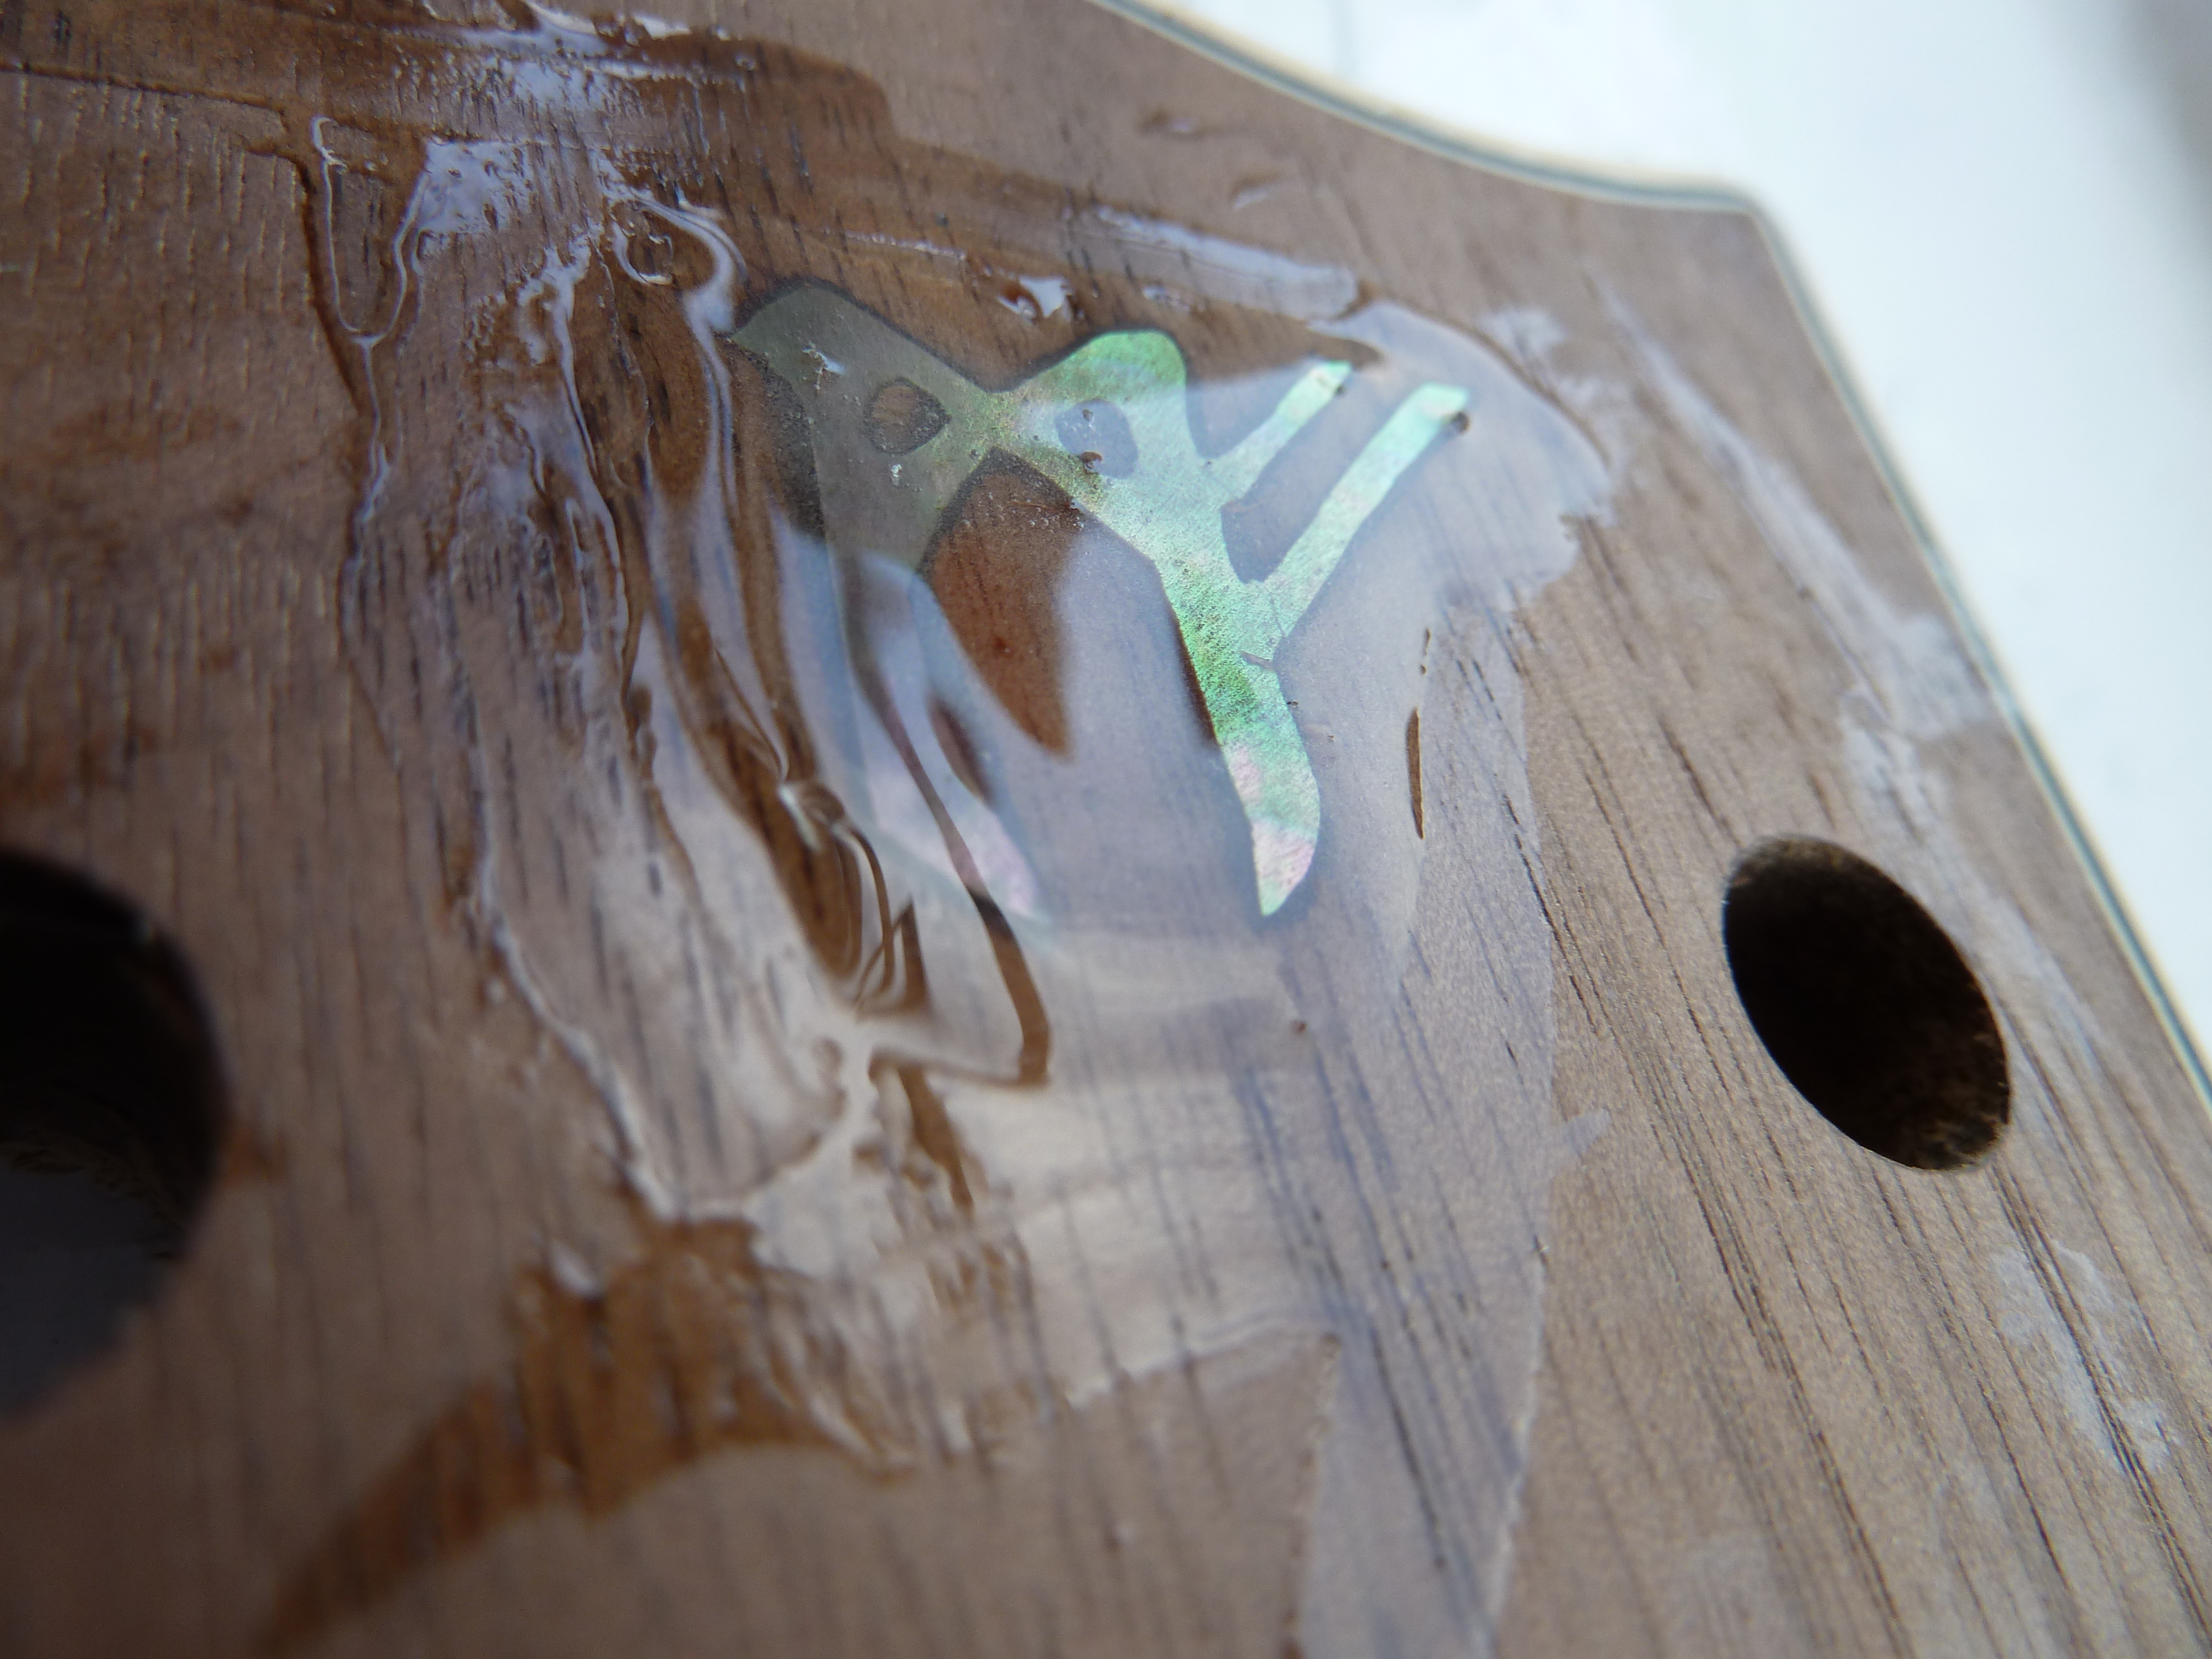
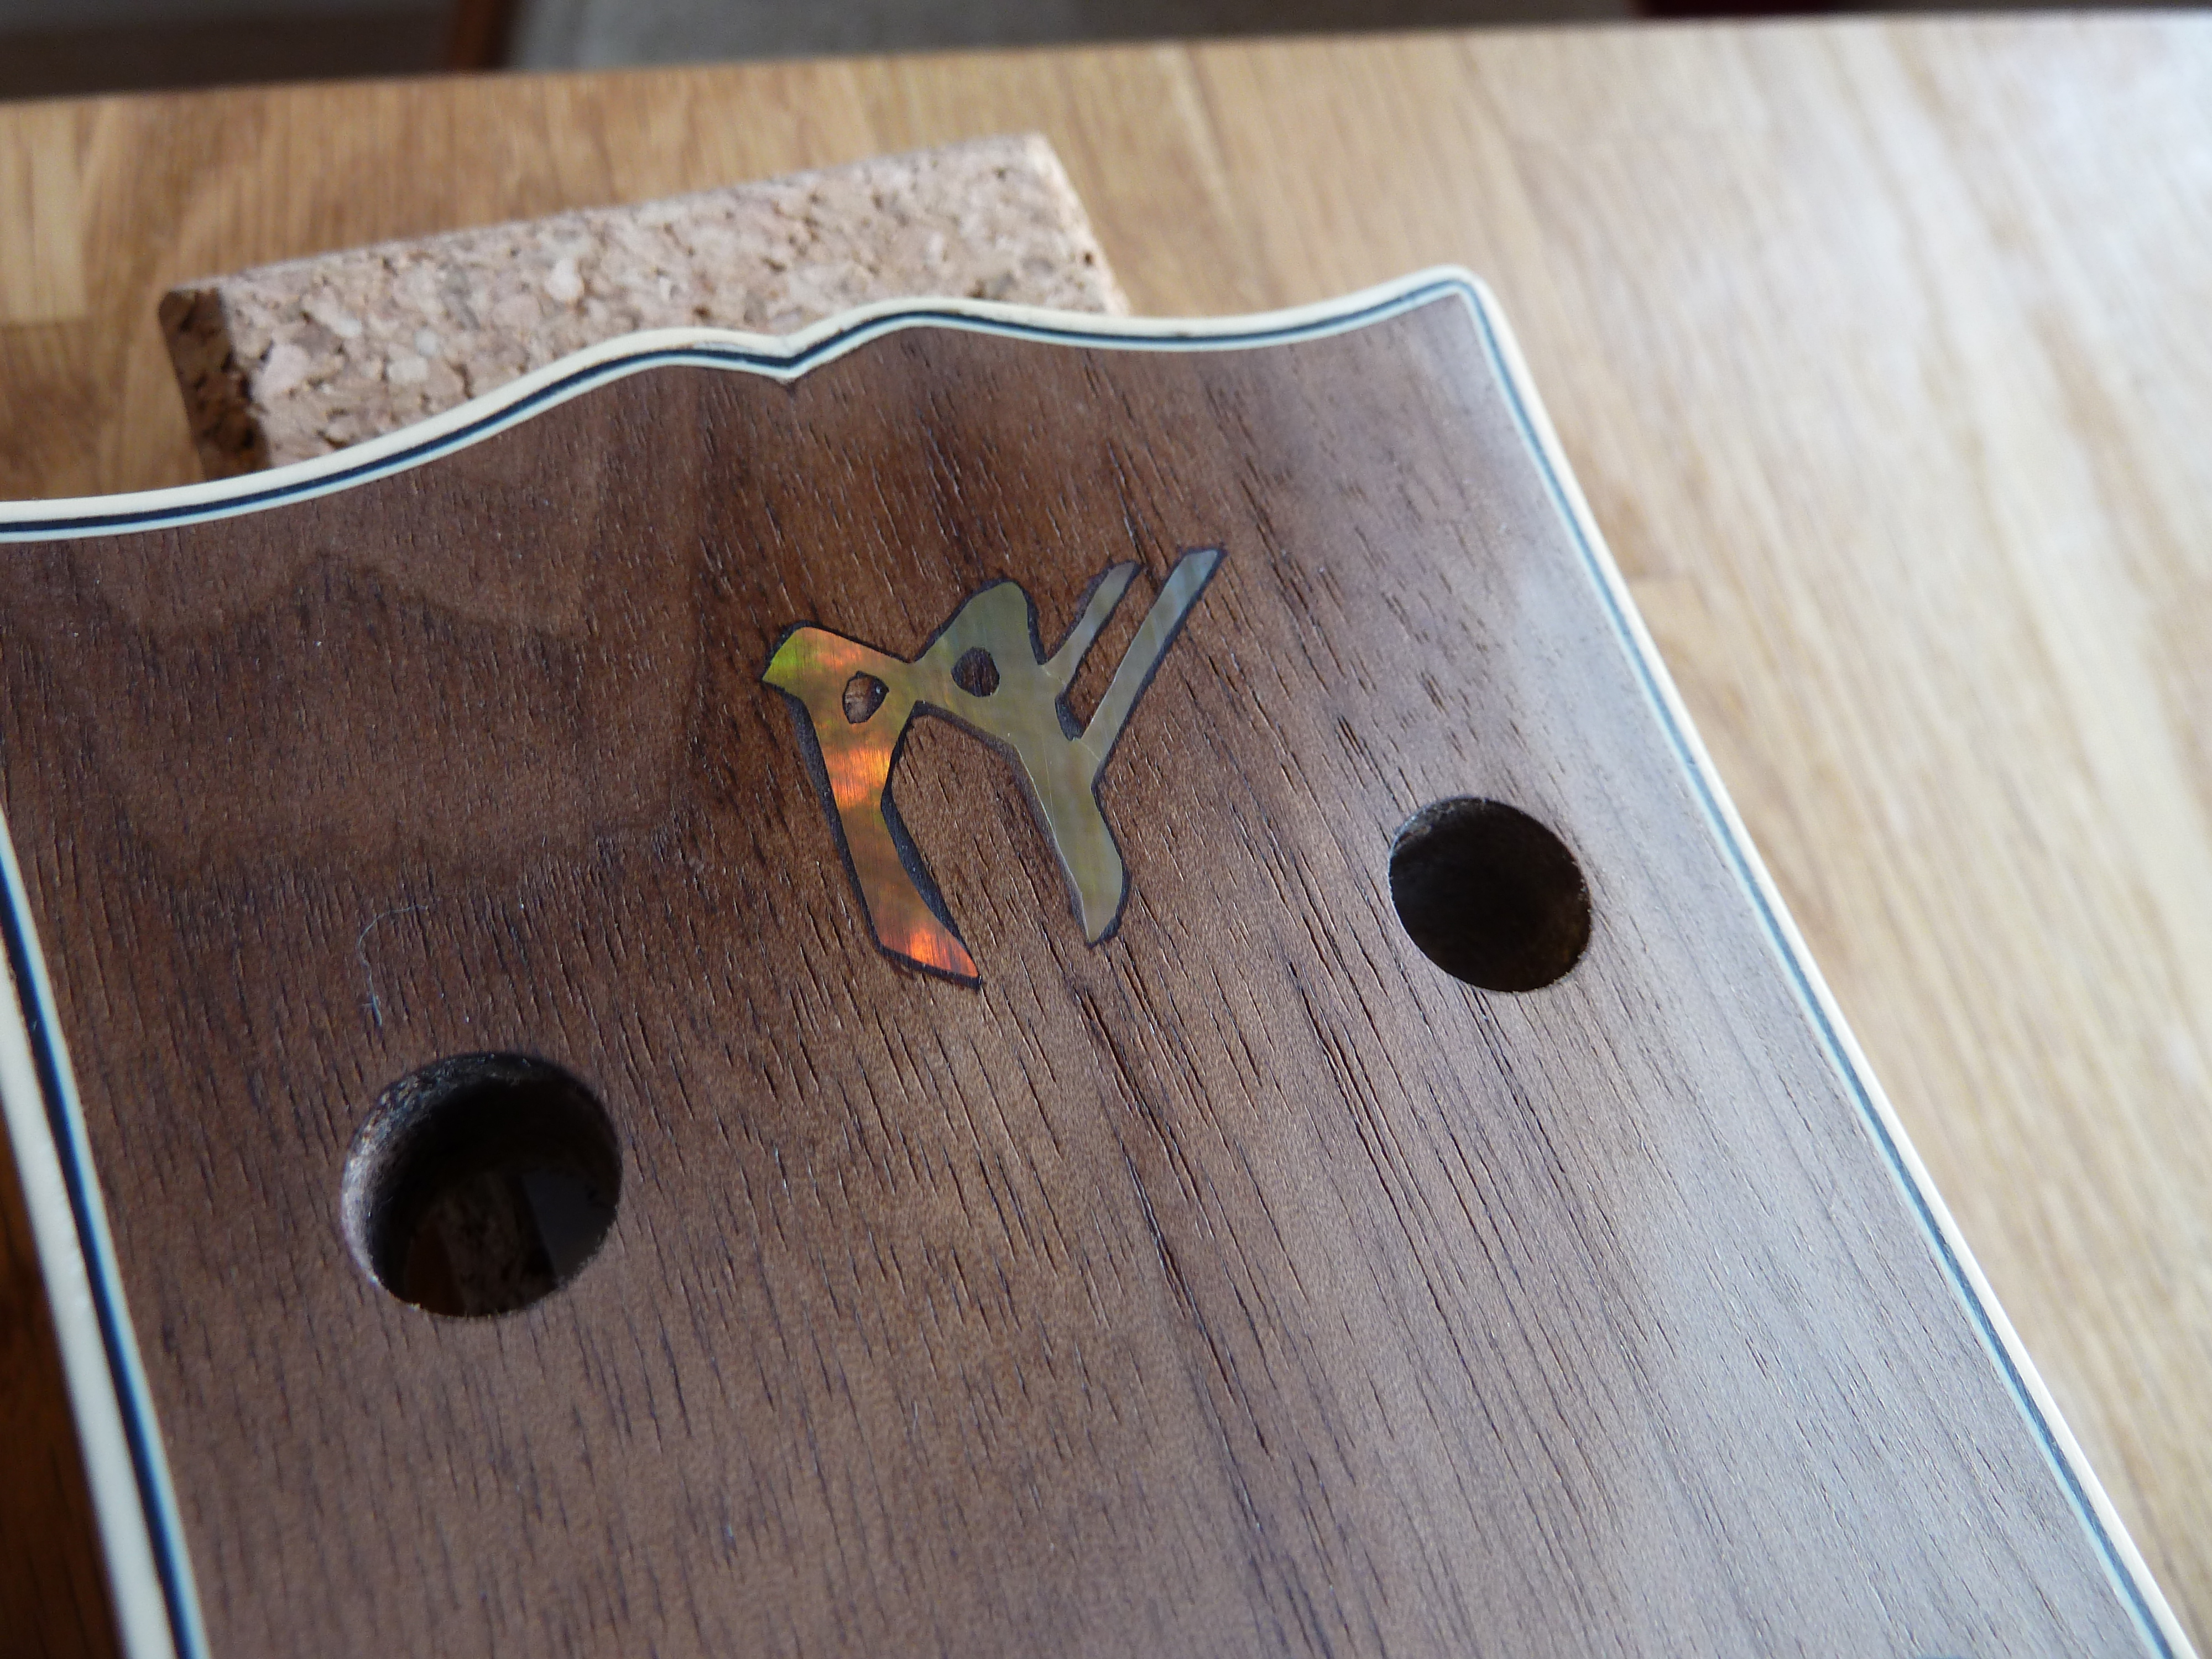
 Black Tahiti Abalone, which gives black, green and purple hues in different lights. This has been chosen as a match for the Walnut neck predominantly for its darker appearance.
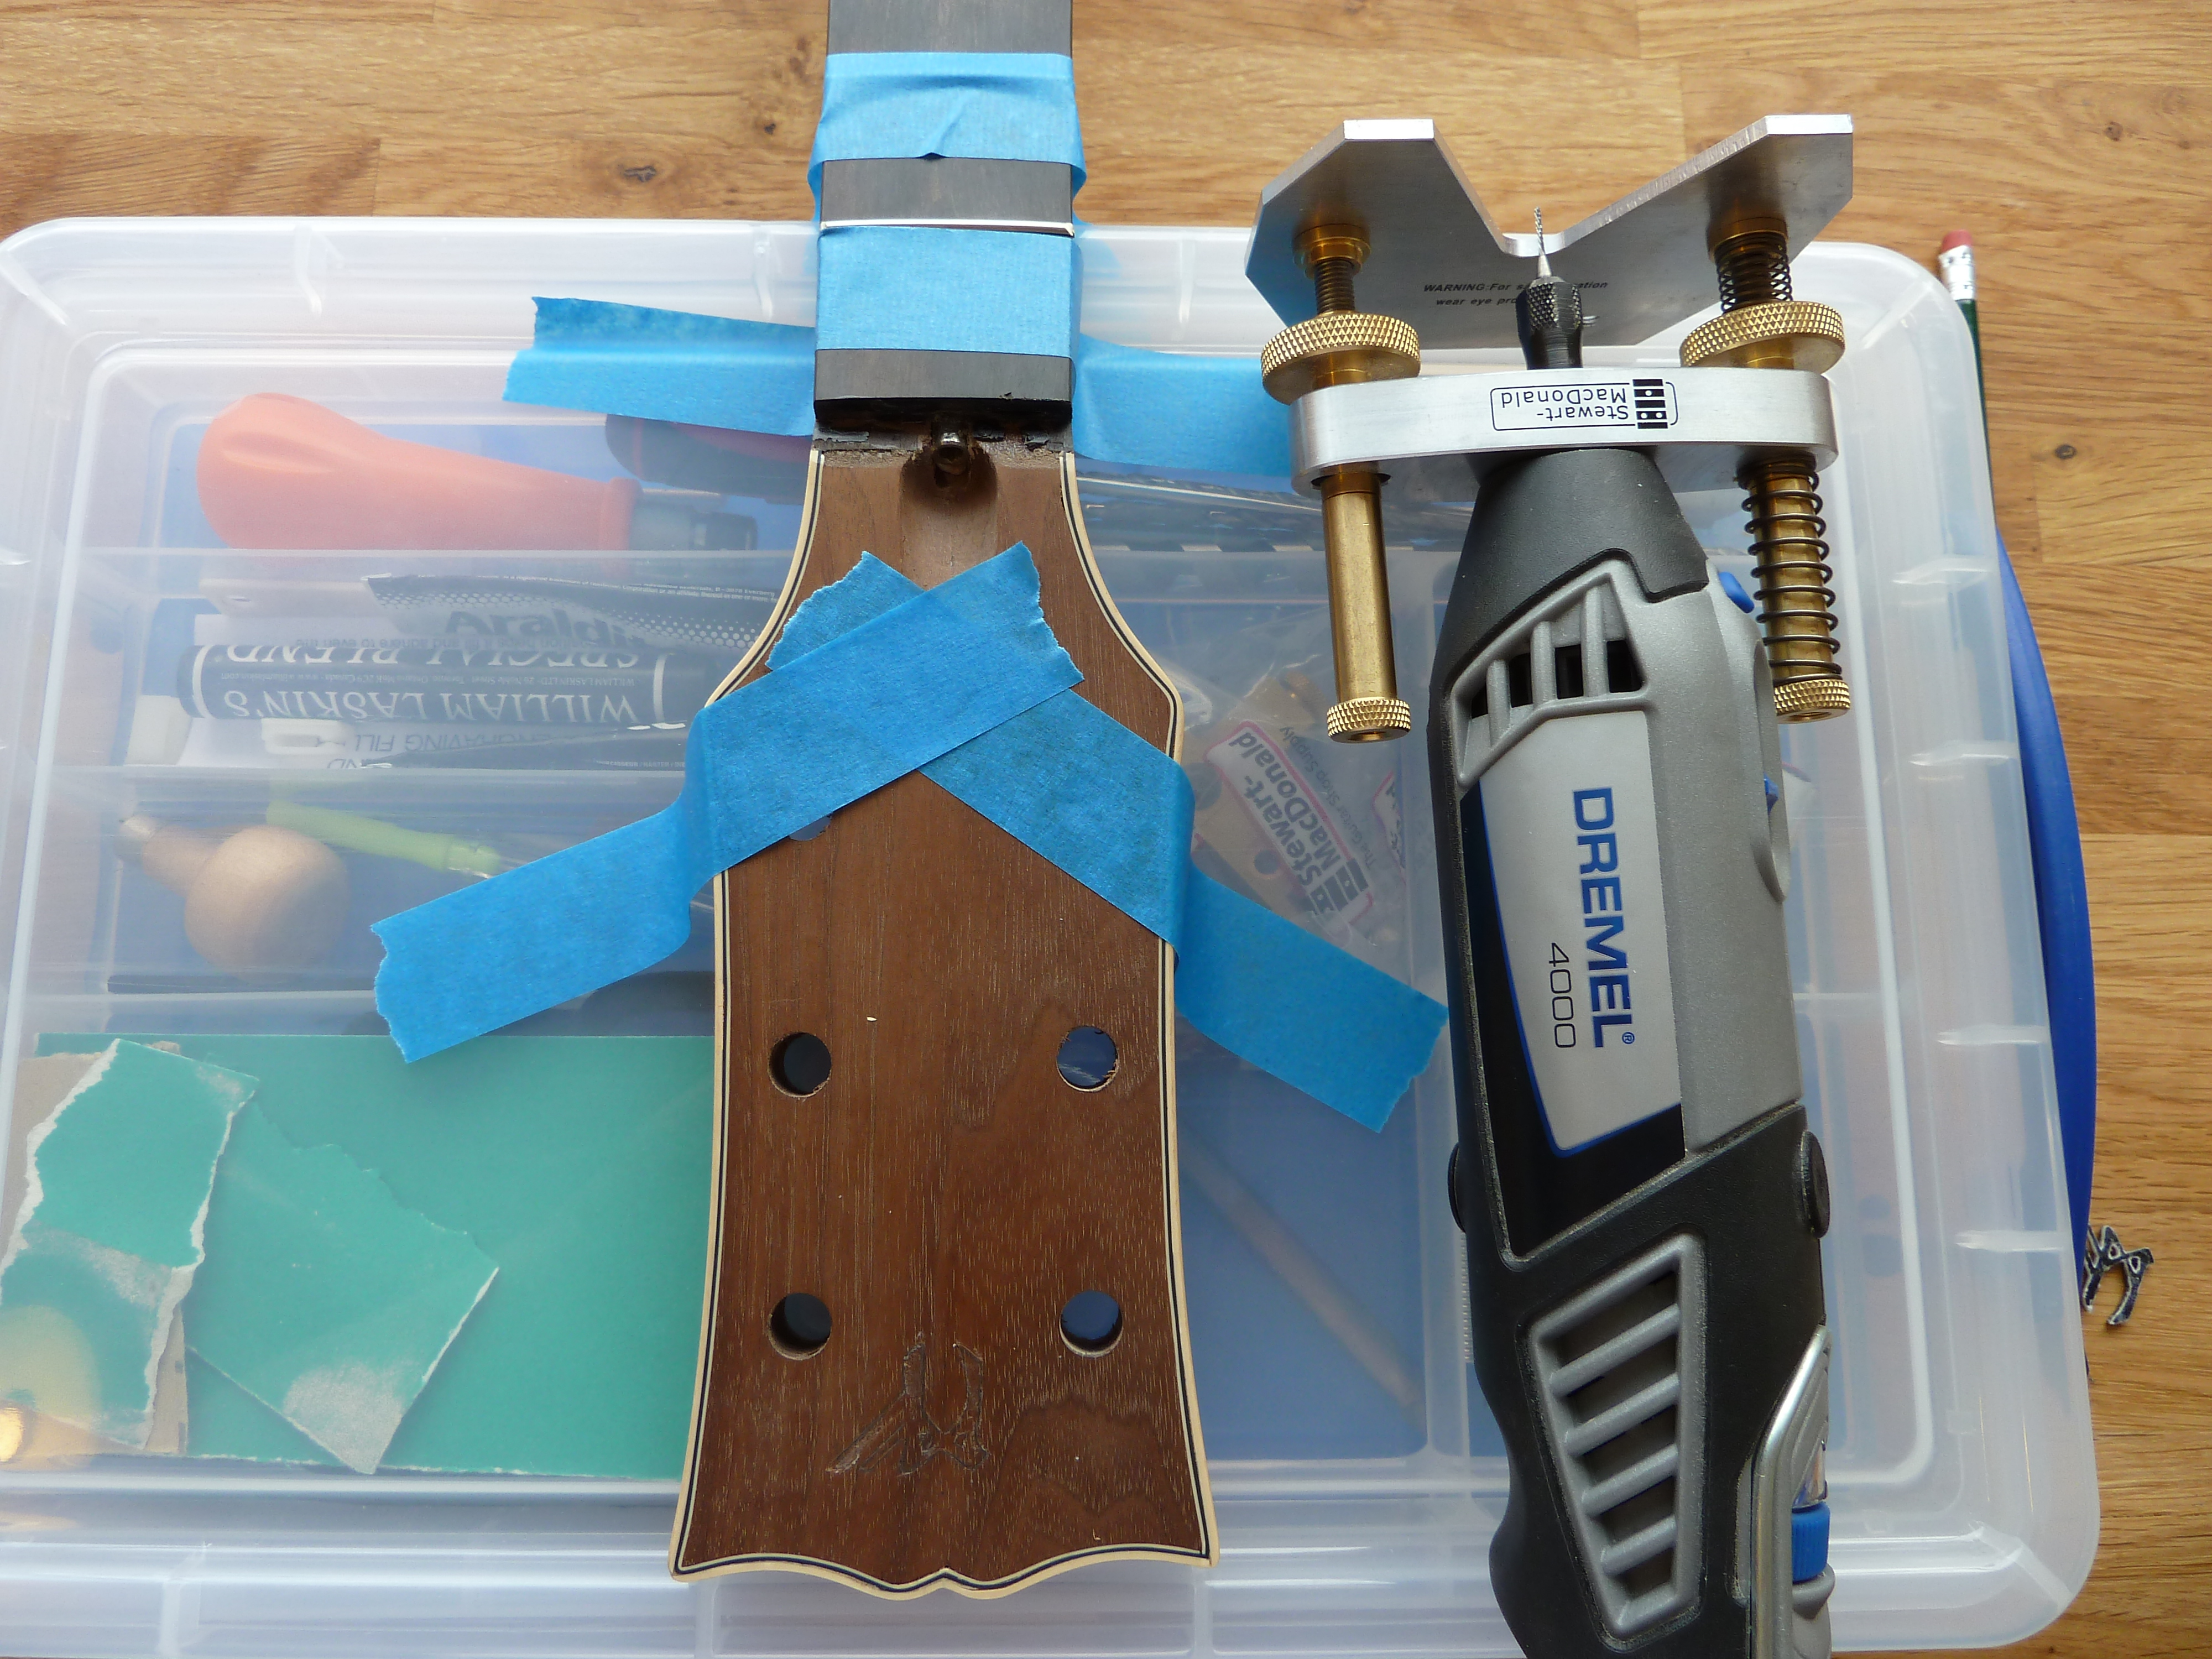


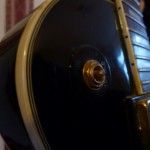
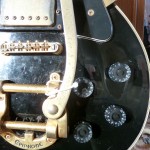
 somehow slipped from its upright position against an amp, landing face-down and breaking clean through the headstock itself just under the bottom machine-heads holes. This guitar was then out of commission for a long time as my friend requested quotes from local Luthiers to re-join the head.
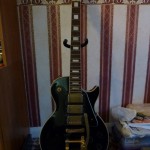


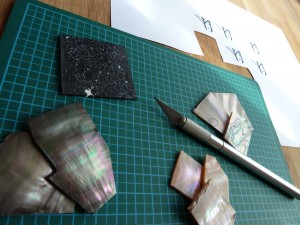
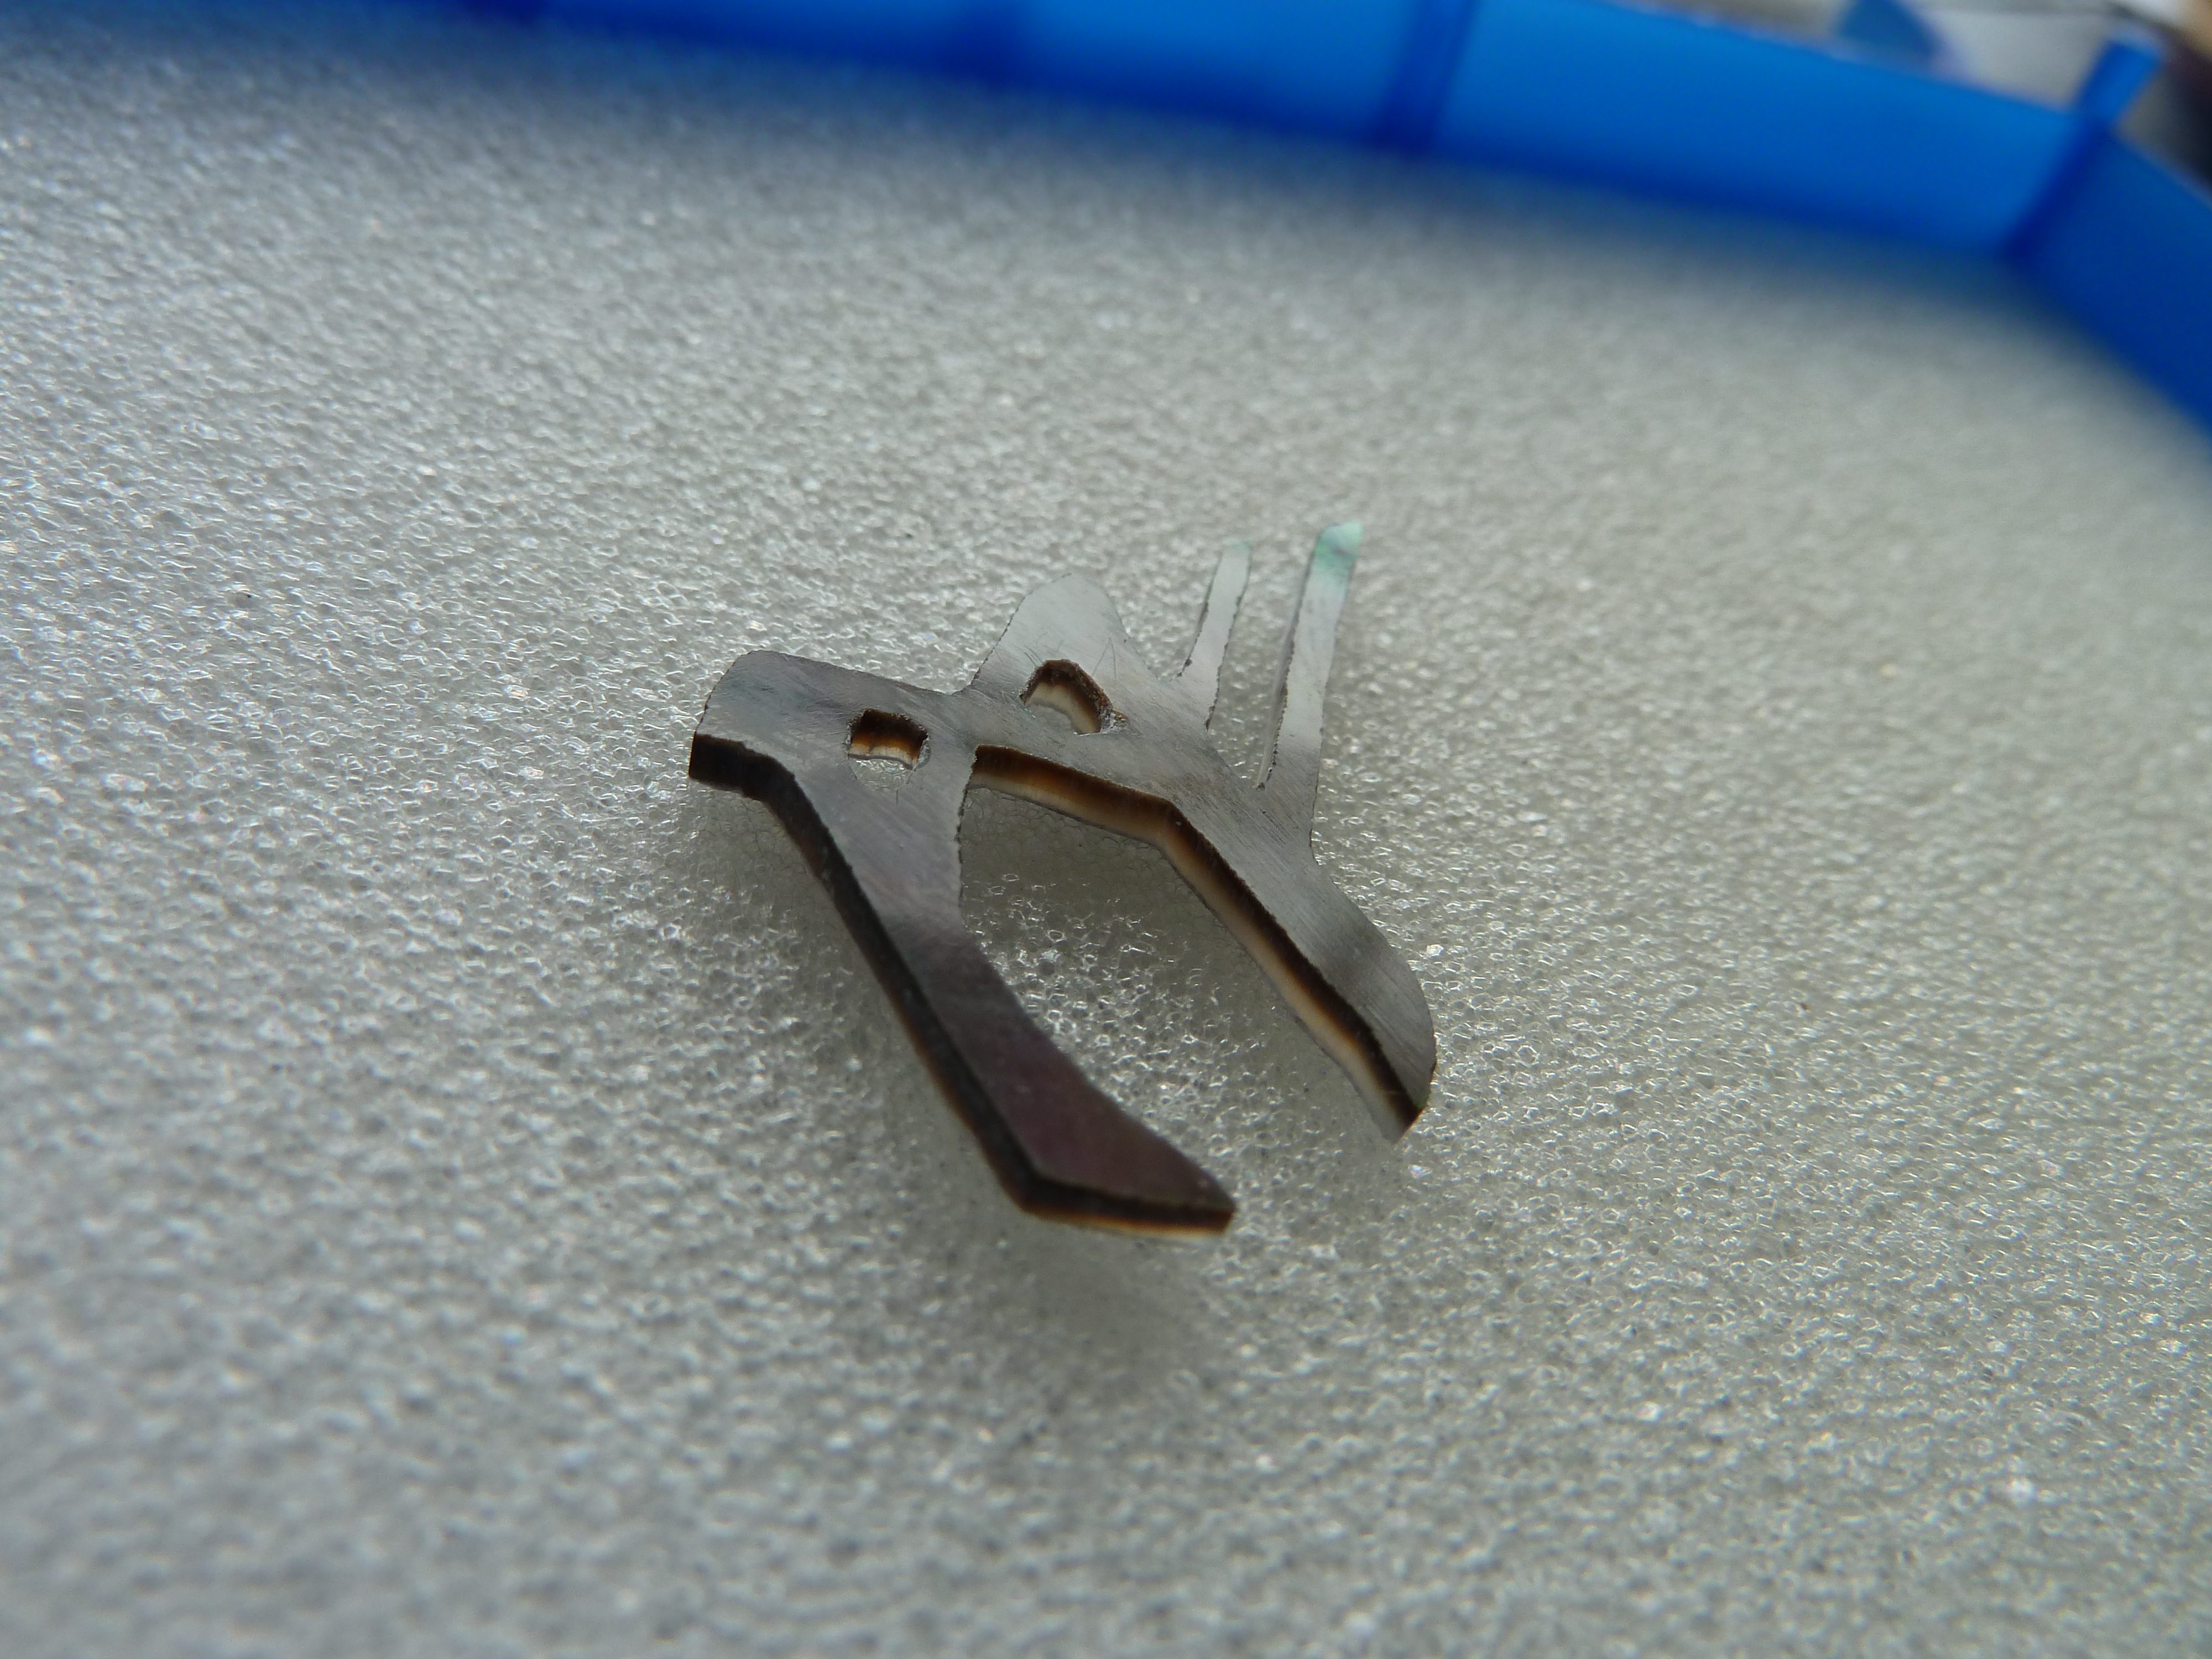
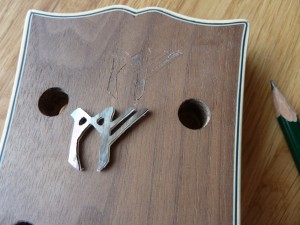
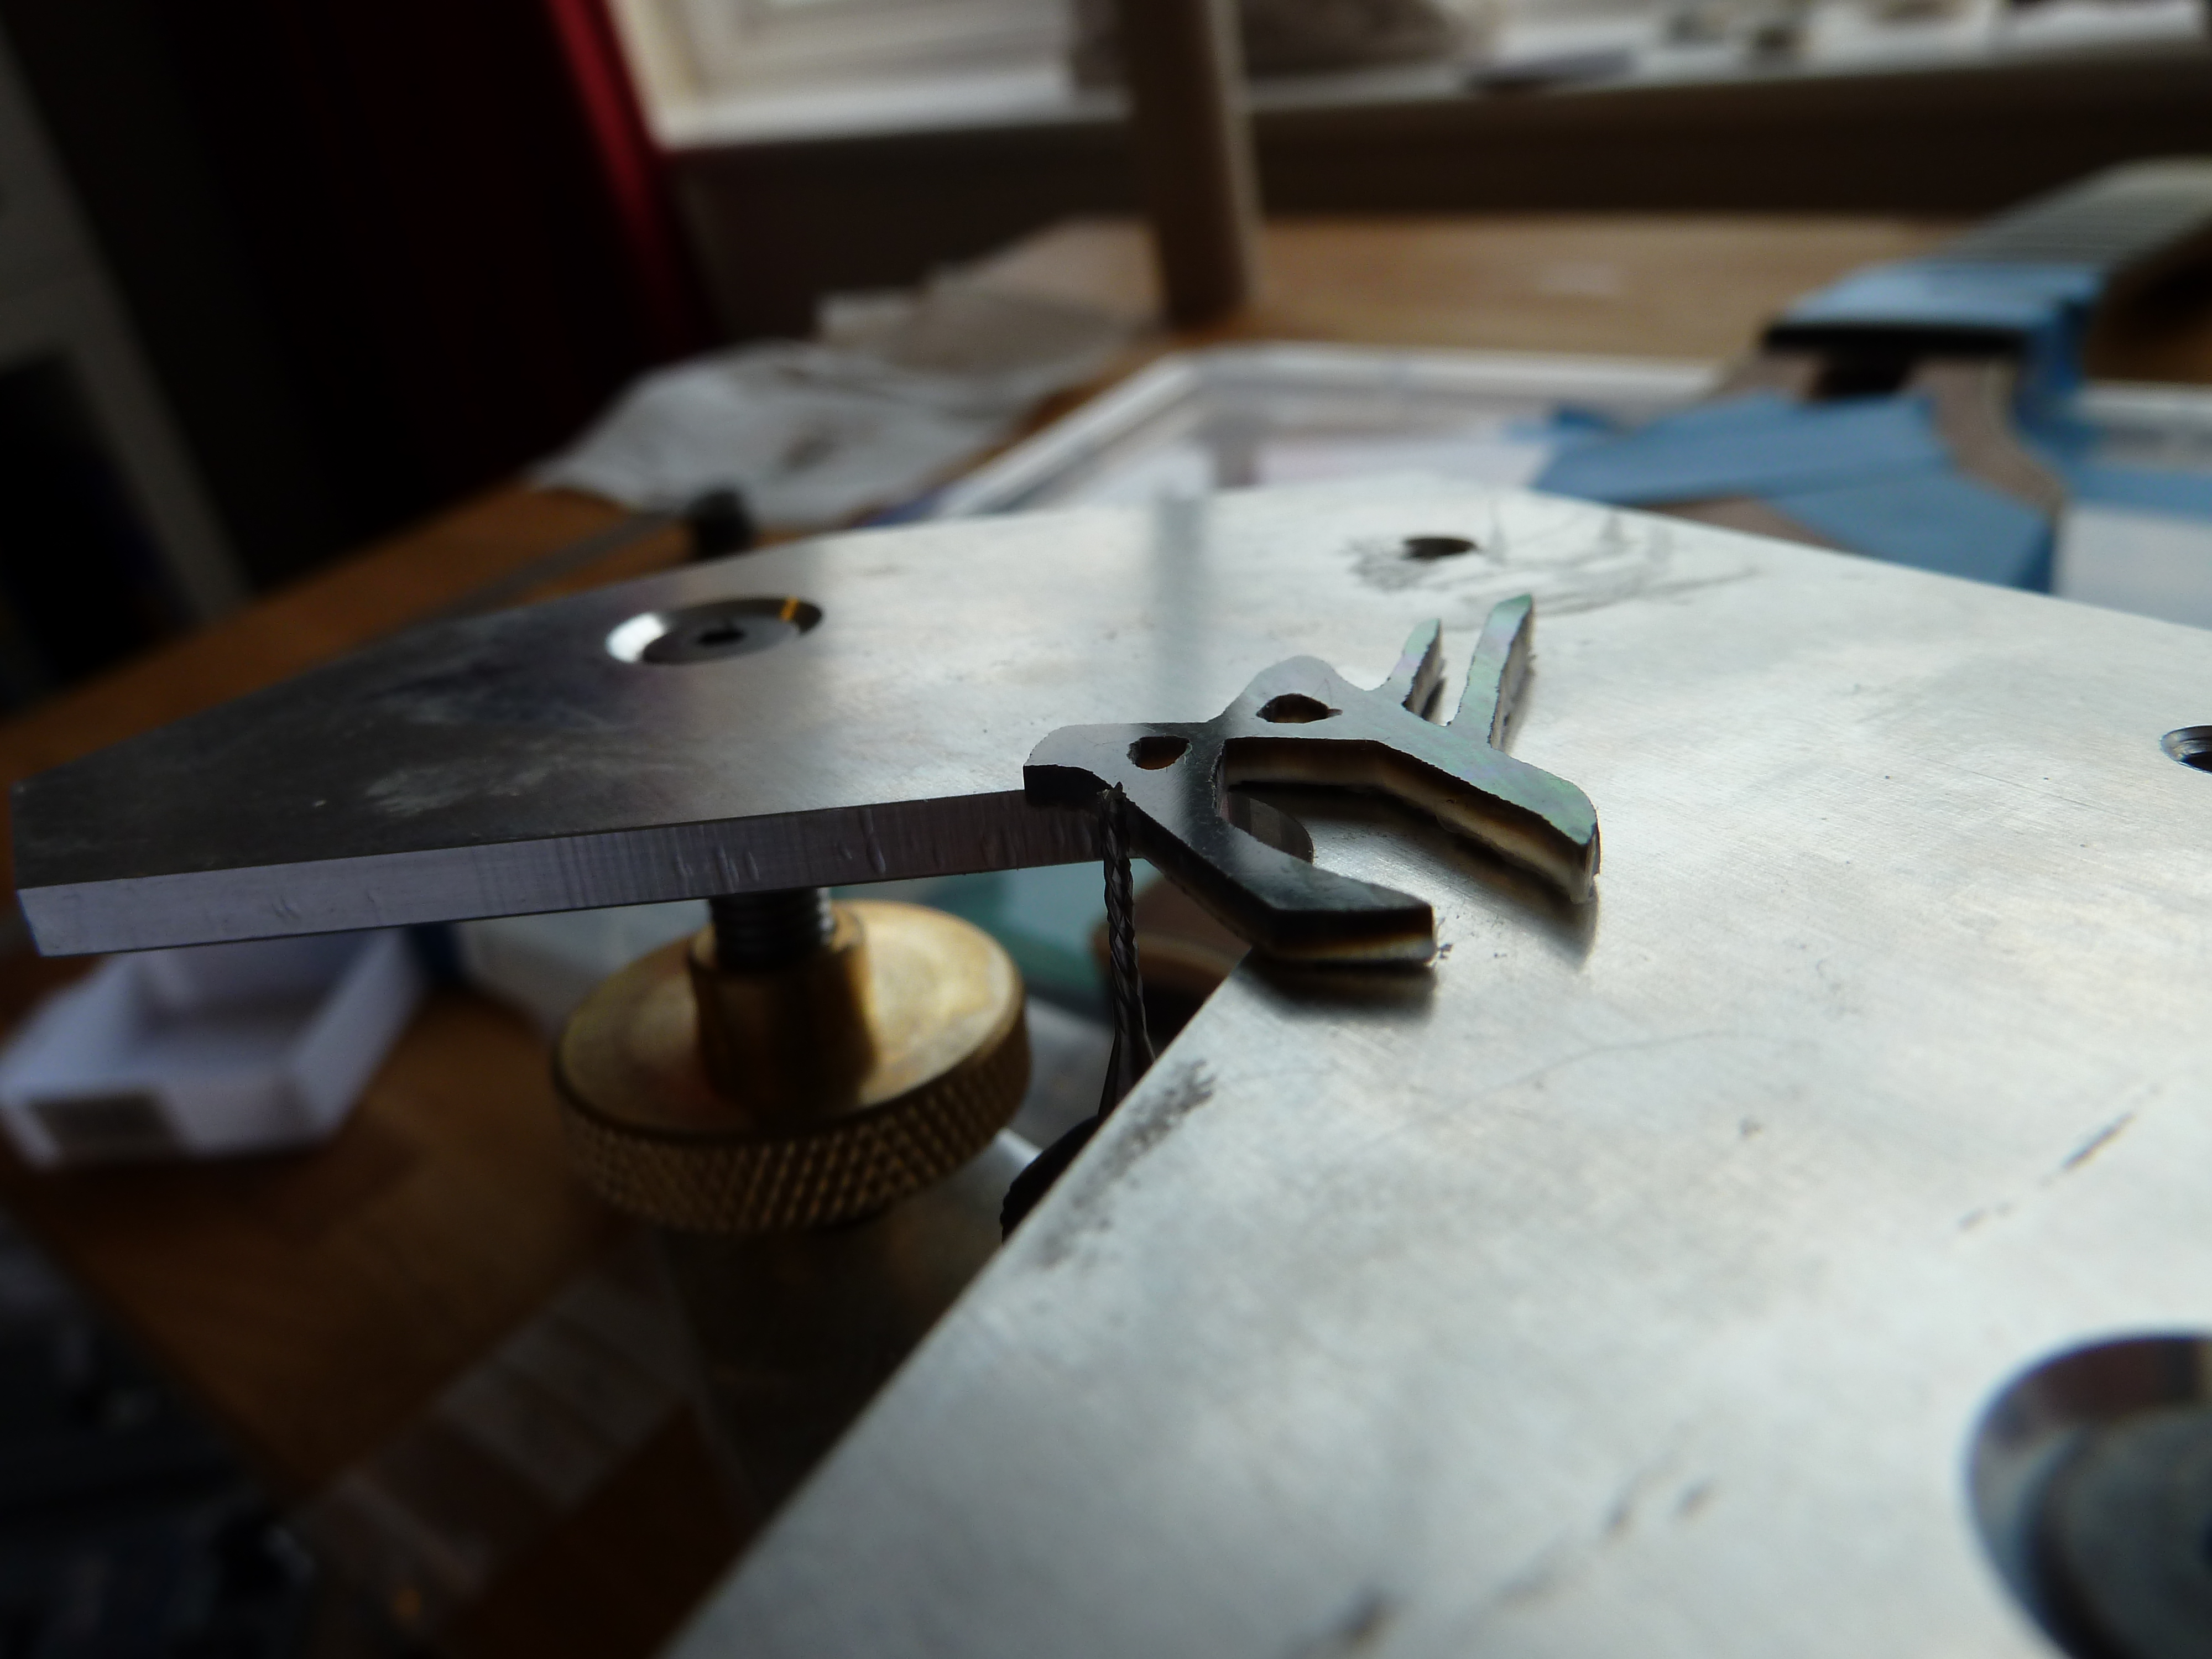
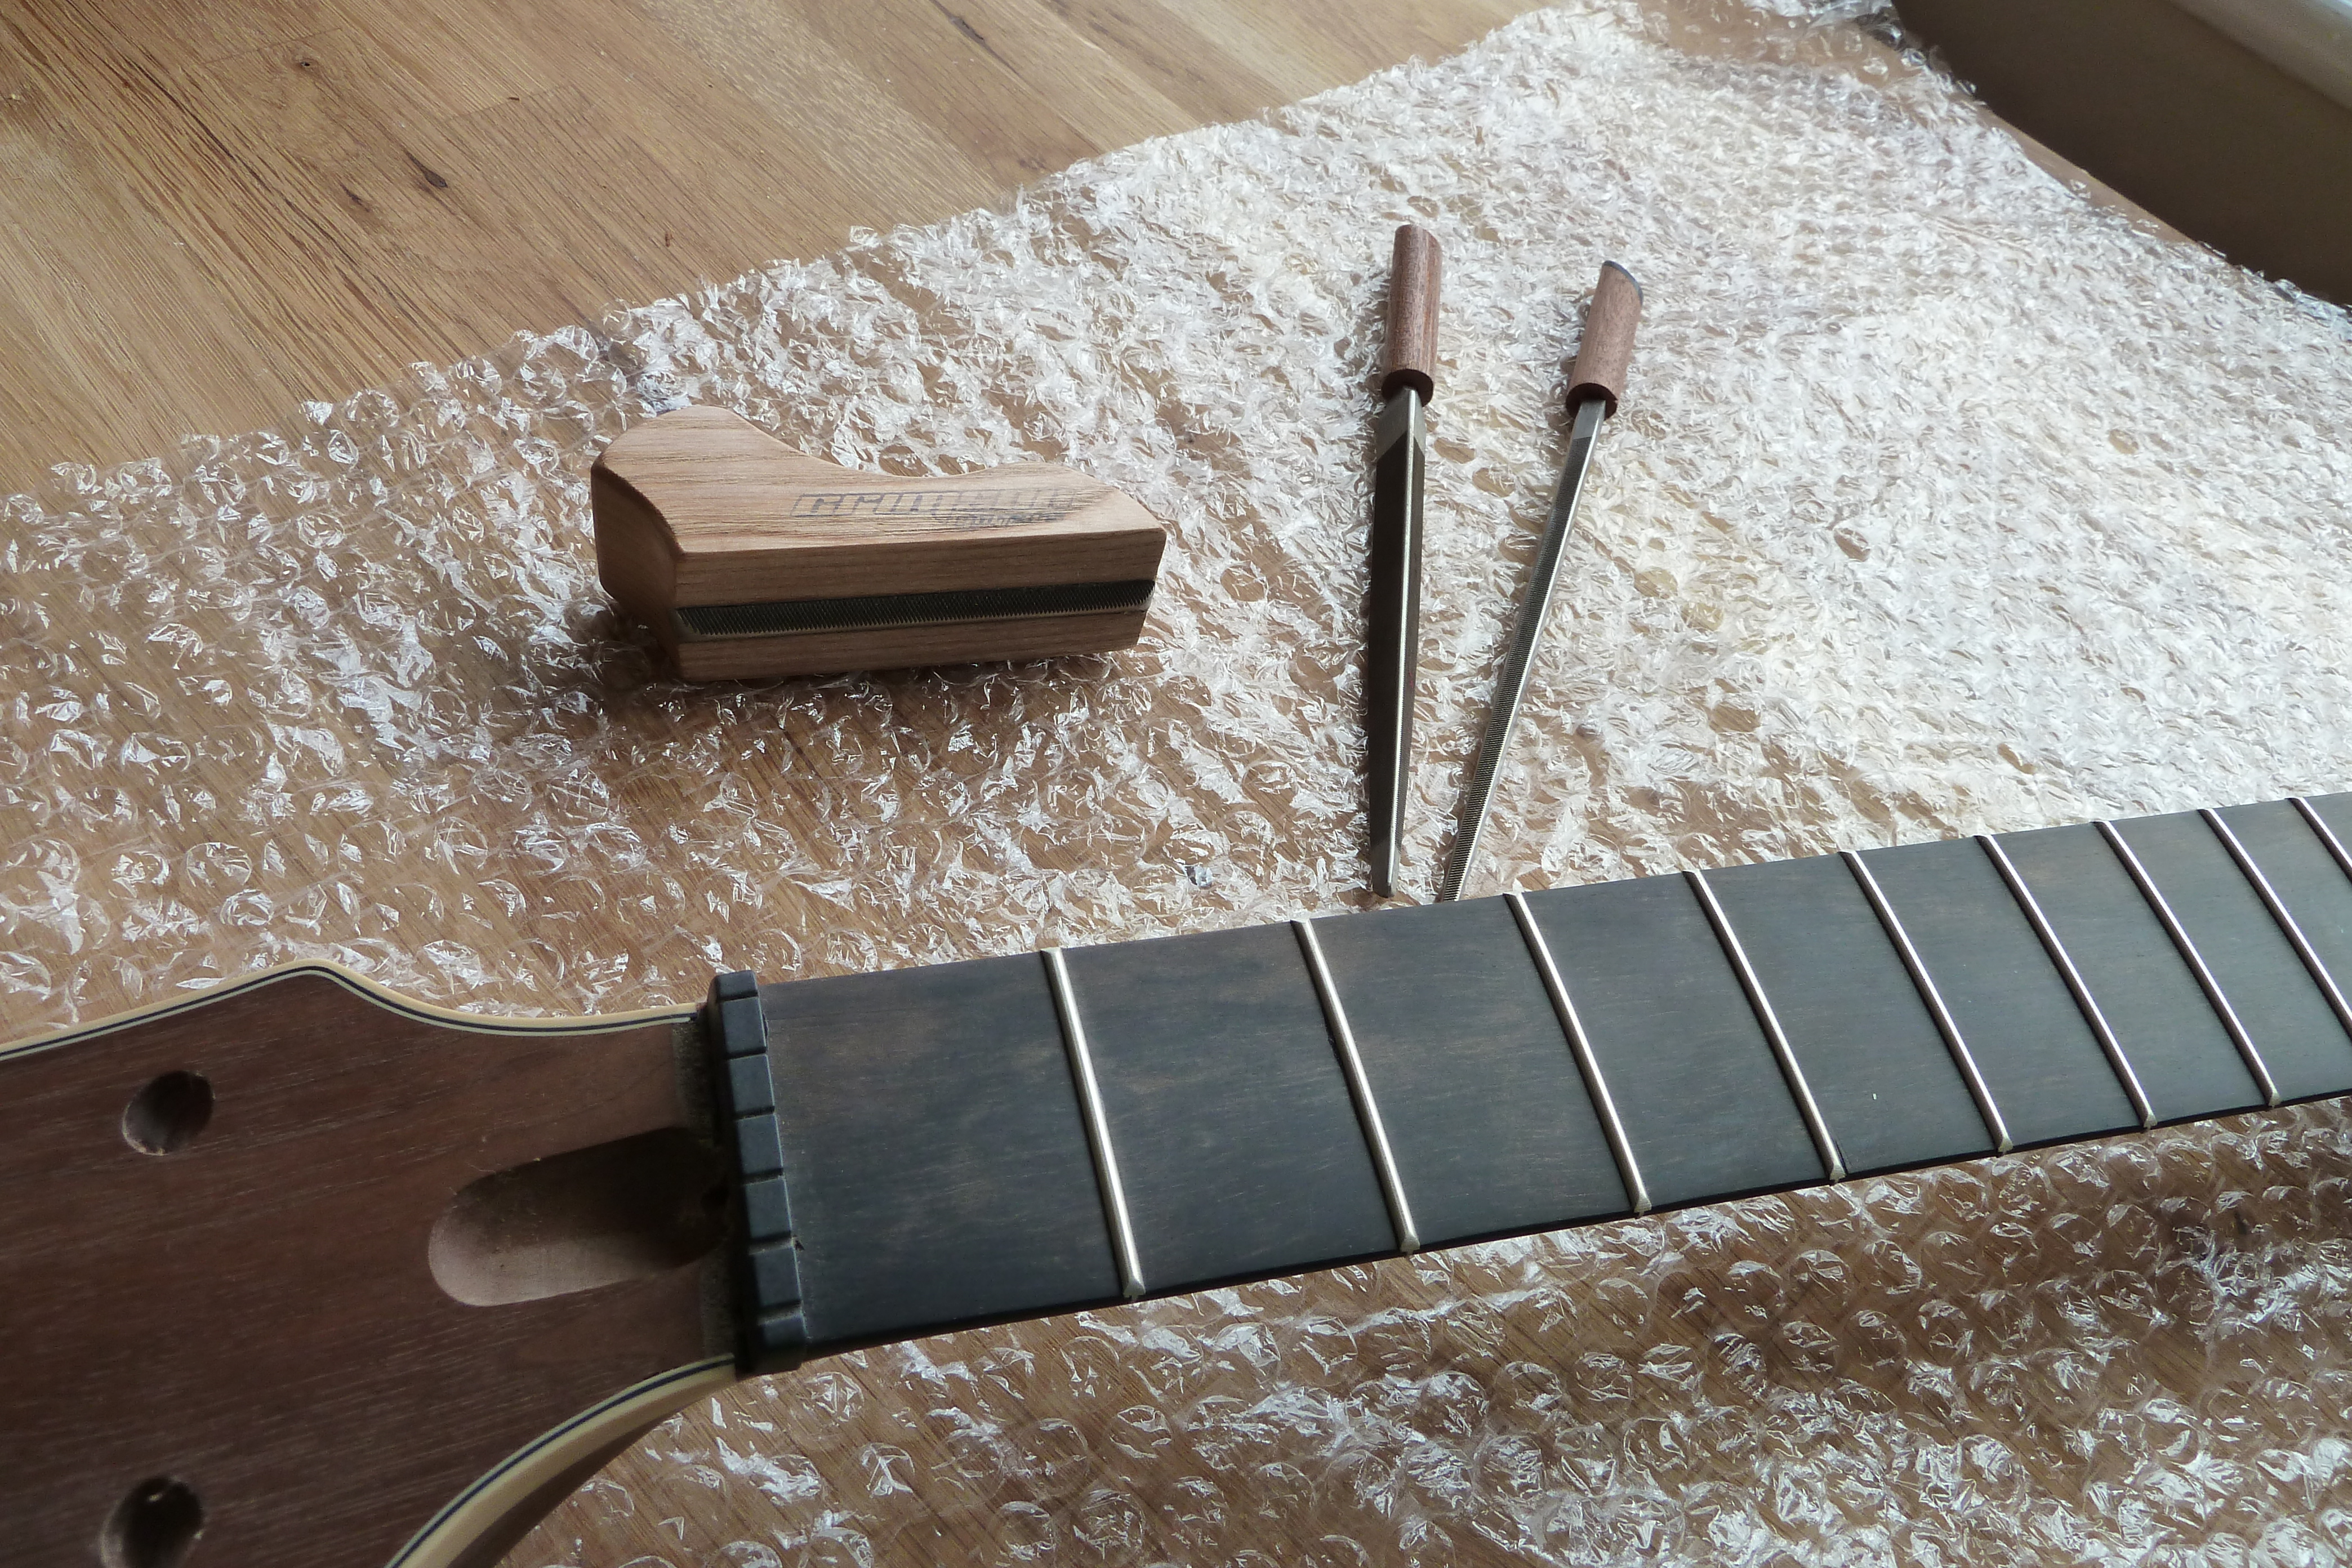
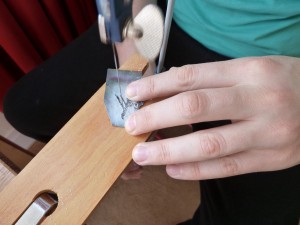 Progress was pretty slow as I needed to use a very 0/2 grade saw blade to allow the tight turns around the points of the runes. Cutting the arms of the logo was a little delicate so as not to crack the thin shell on the downward cutting stroke, but on the whole the process just requires a little patience.